Here's the tutorial and I'll add my running active time (hands on time) so you know not to ever attempt these if you want to make money on them.
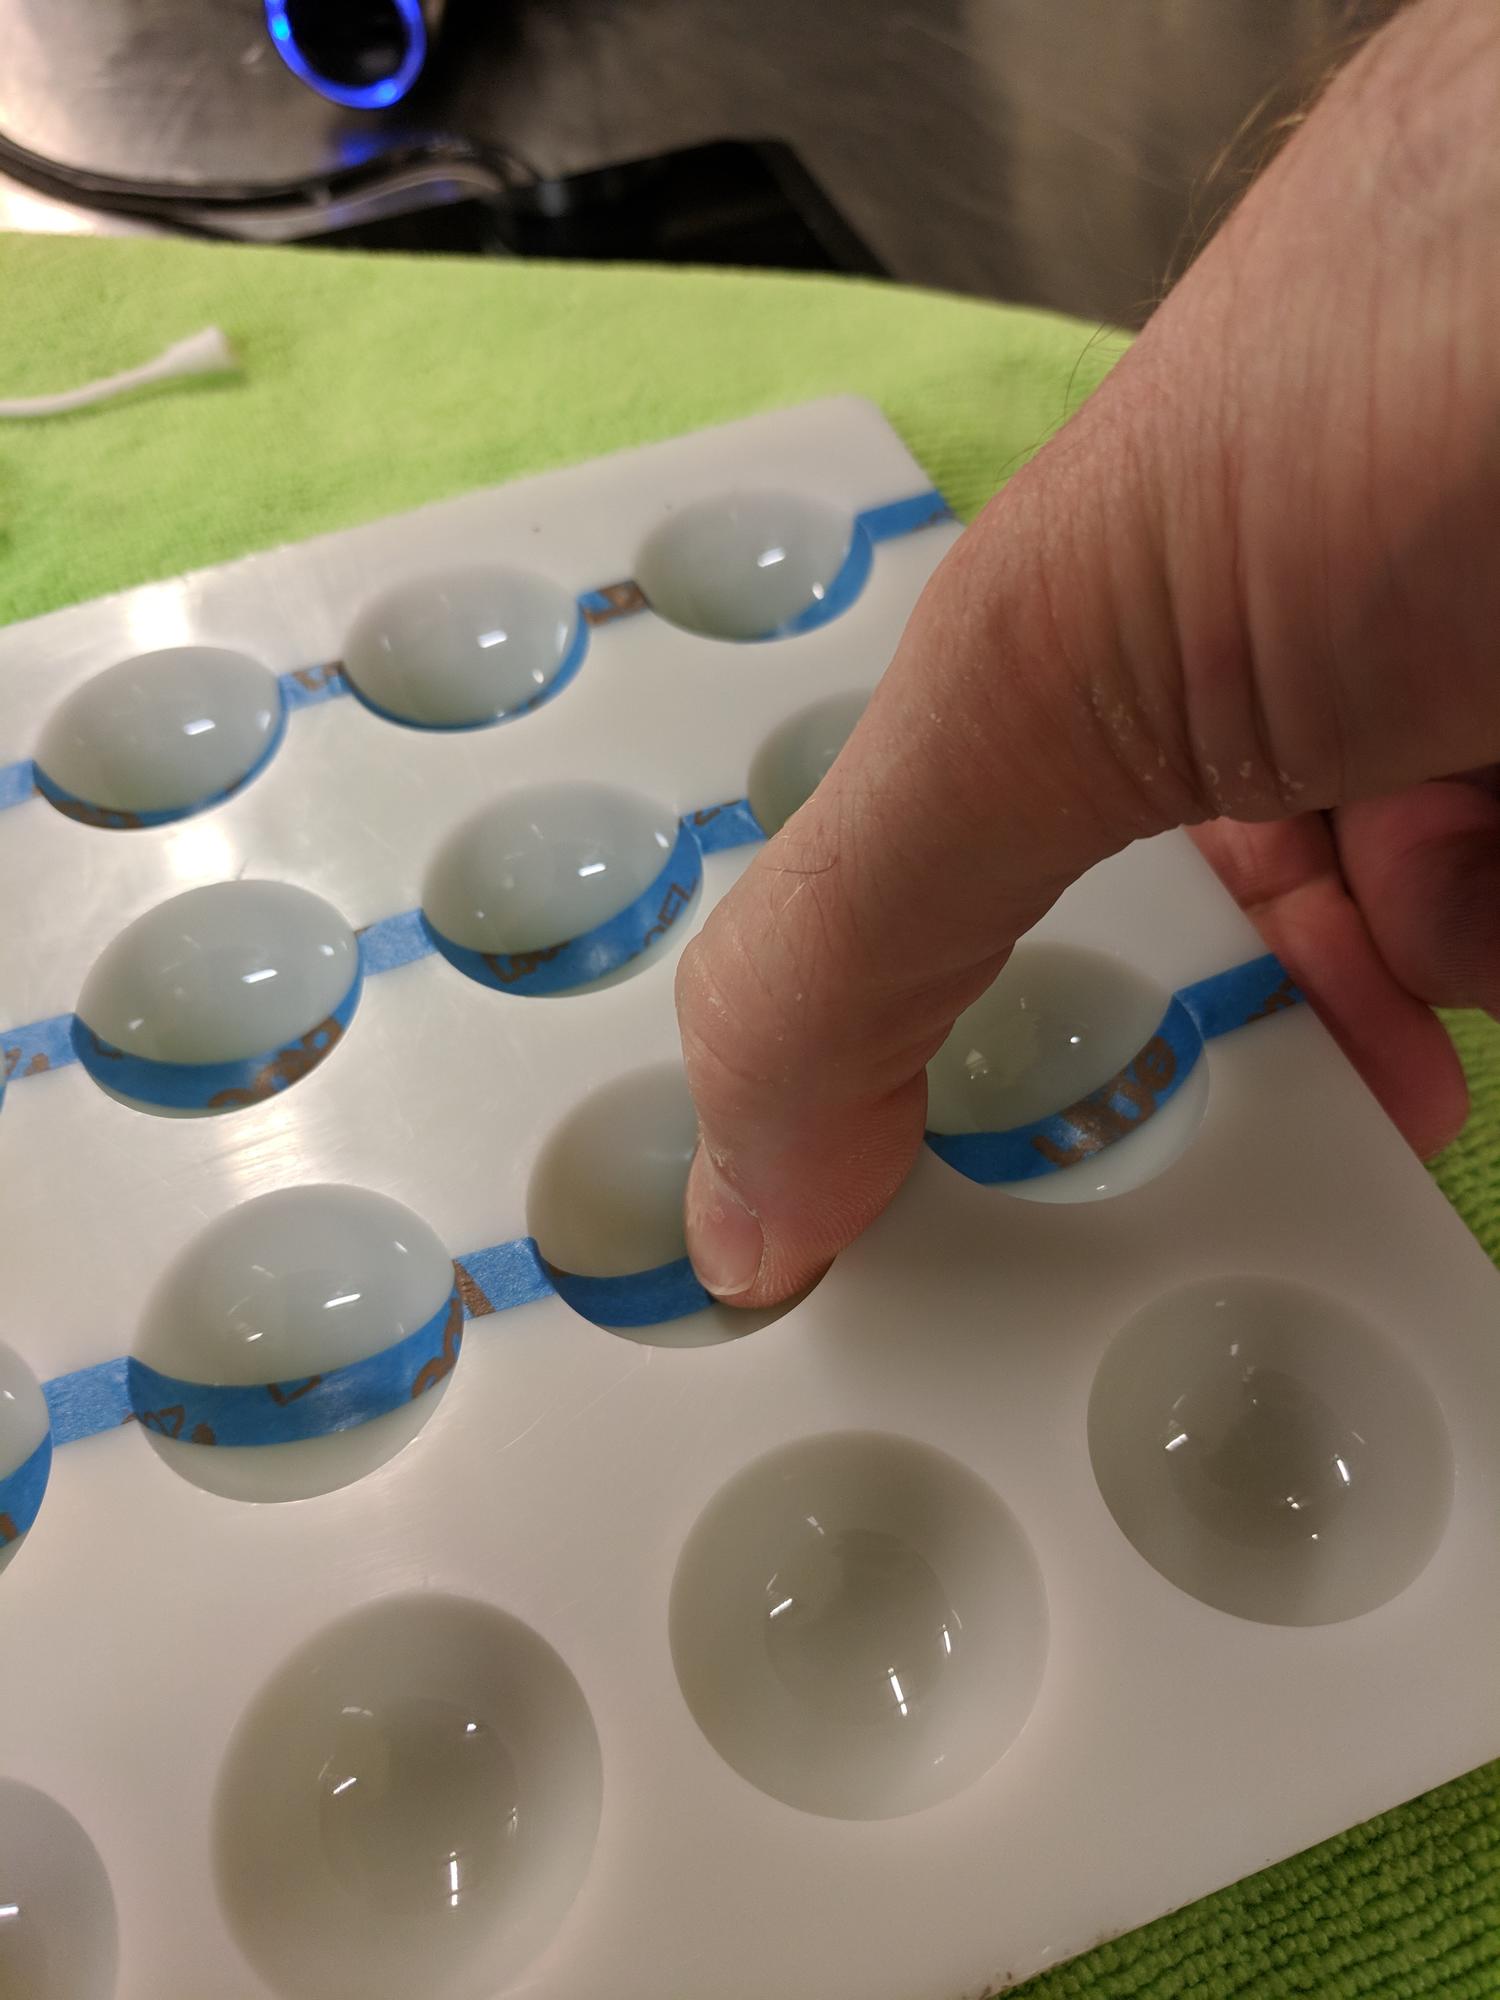
Start by polishing the mold. Then firmly press the tape into the cavity. She used her bare hands and we all questioned her on it, and her response was - if your hands are clean it will be fine. But more on that later. You'll have to develop your own technique. I have big fingers so I settled into a 3-phase pressing process for each strip.
Then press down with a q-tip to make sure there are no loose spots or air gaps.
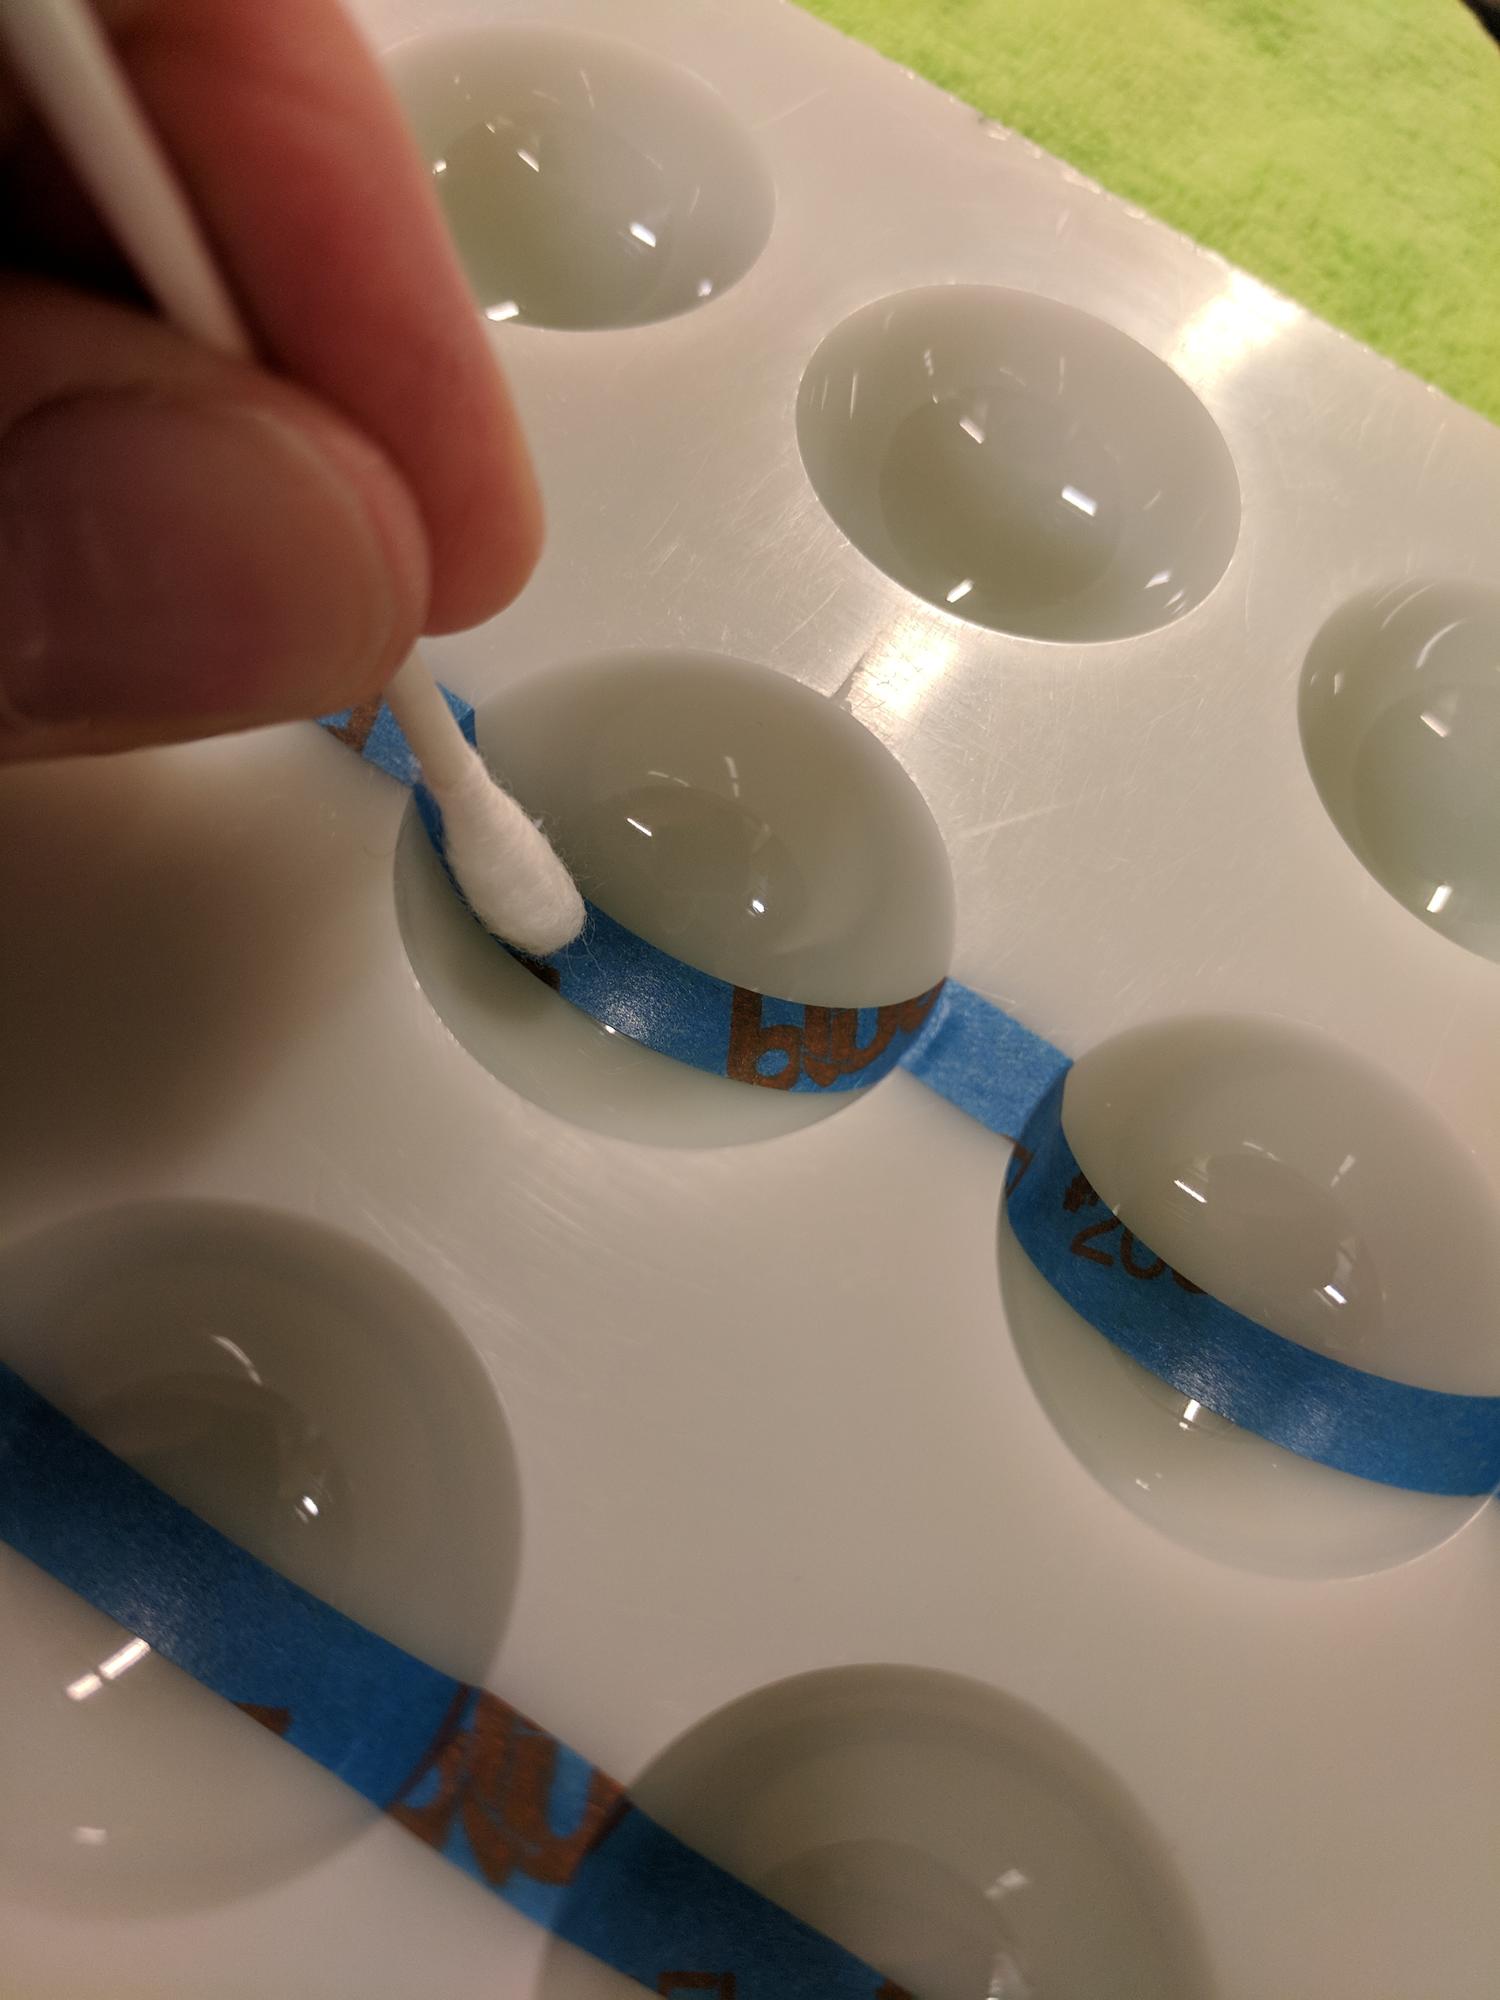
Add your perpendicular strip and repeat the whole process.
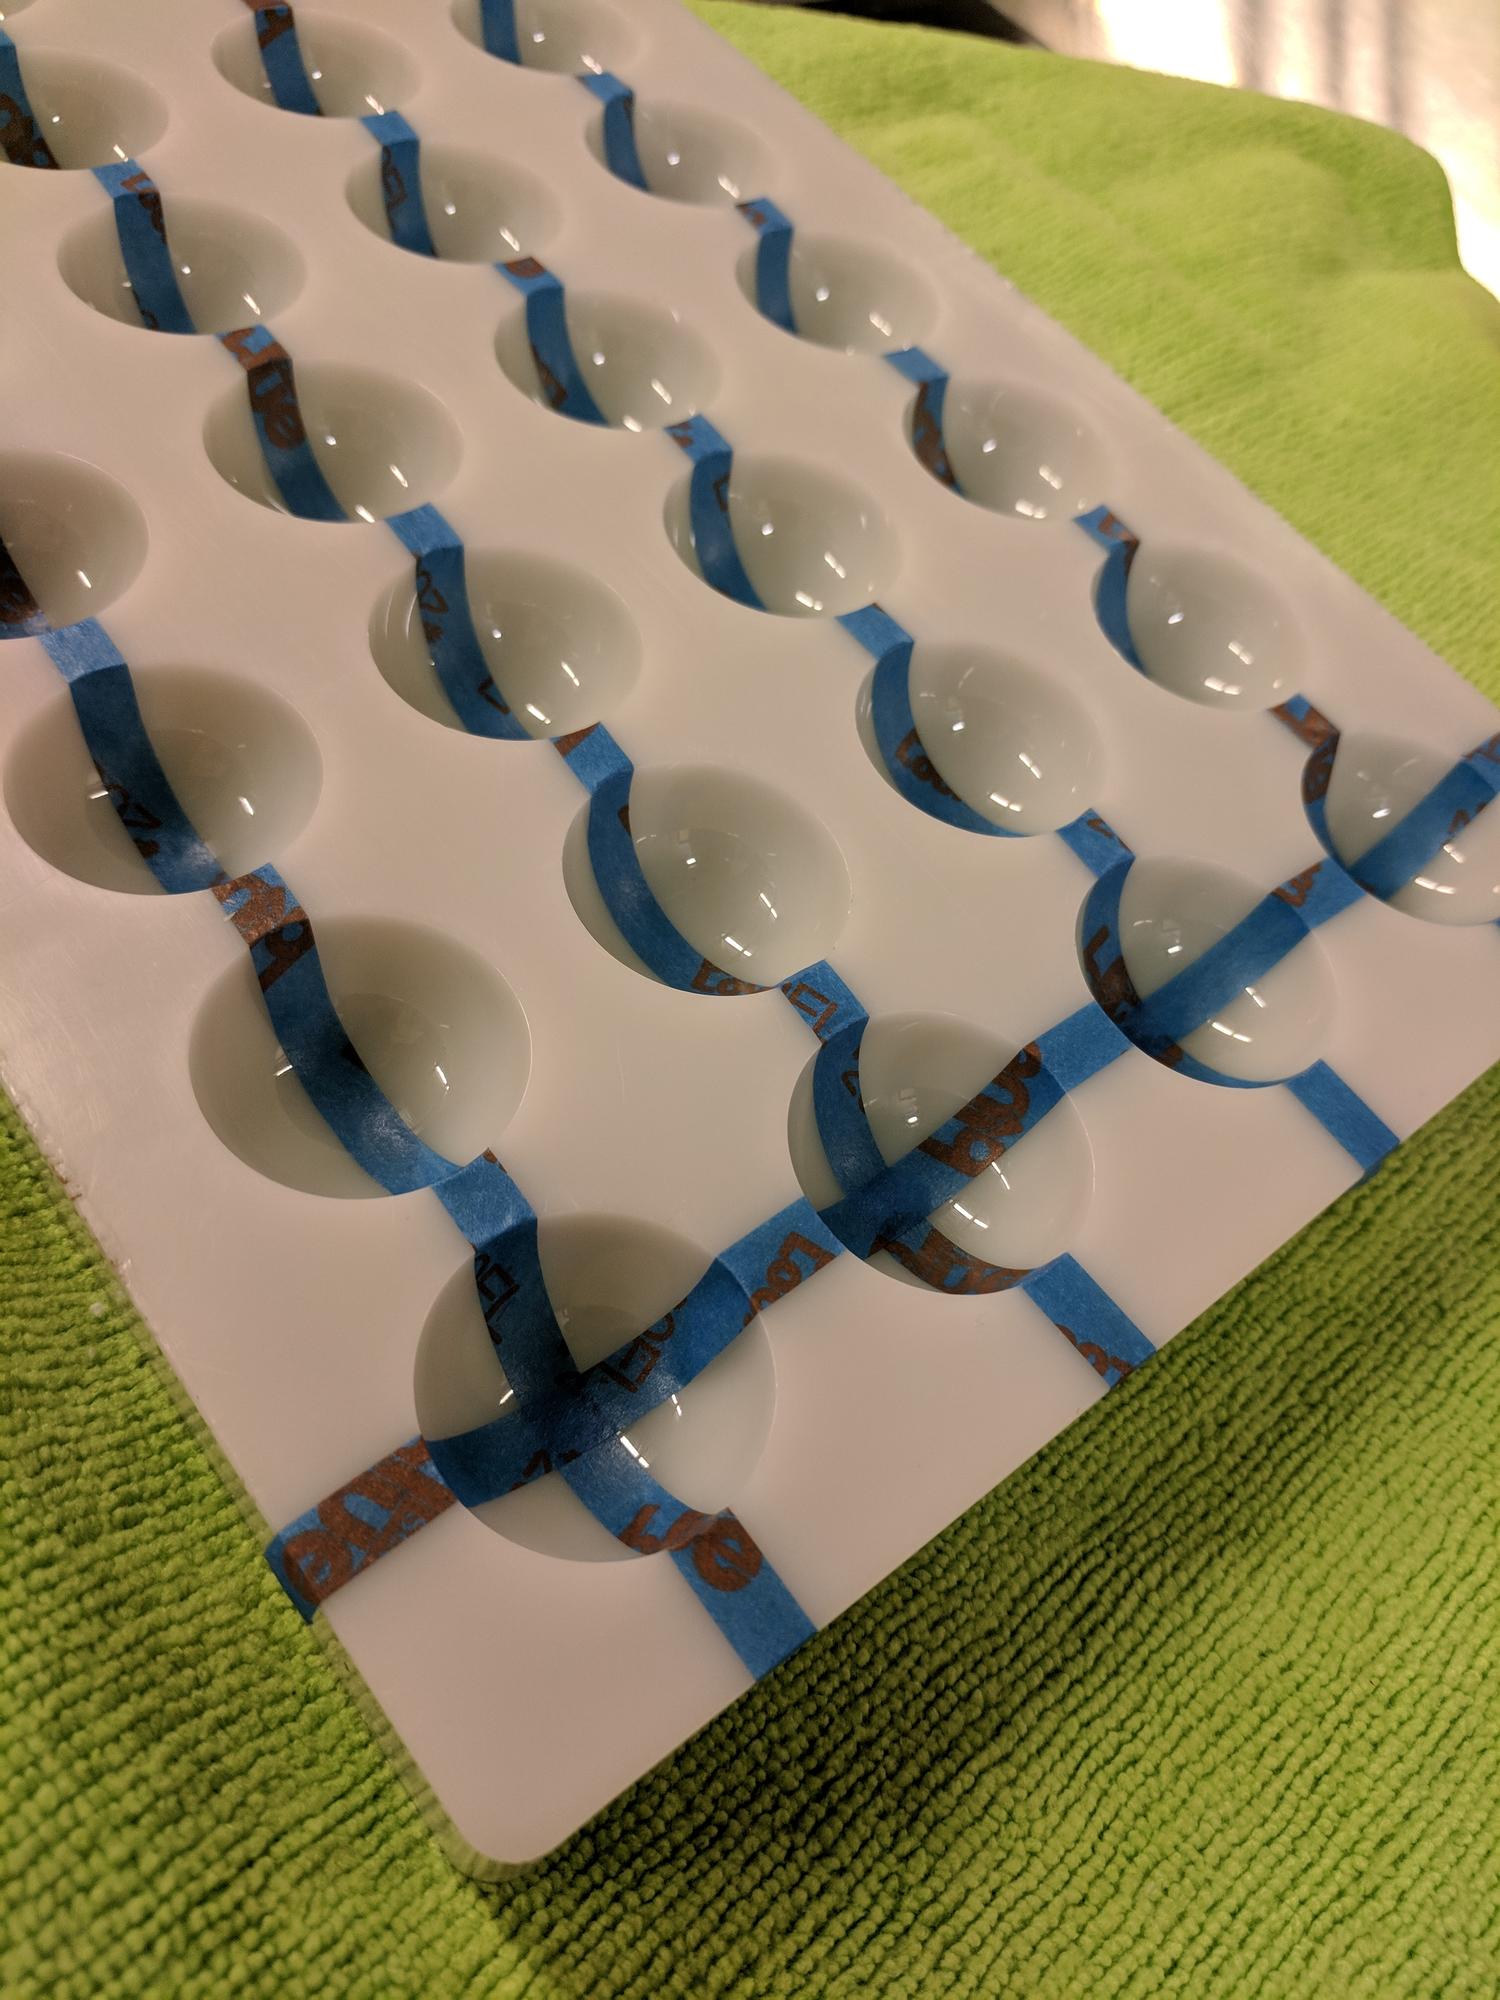
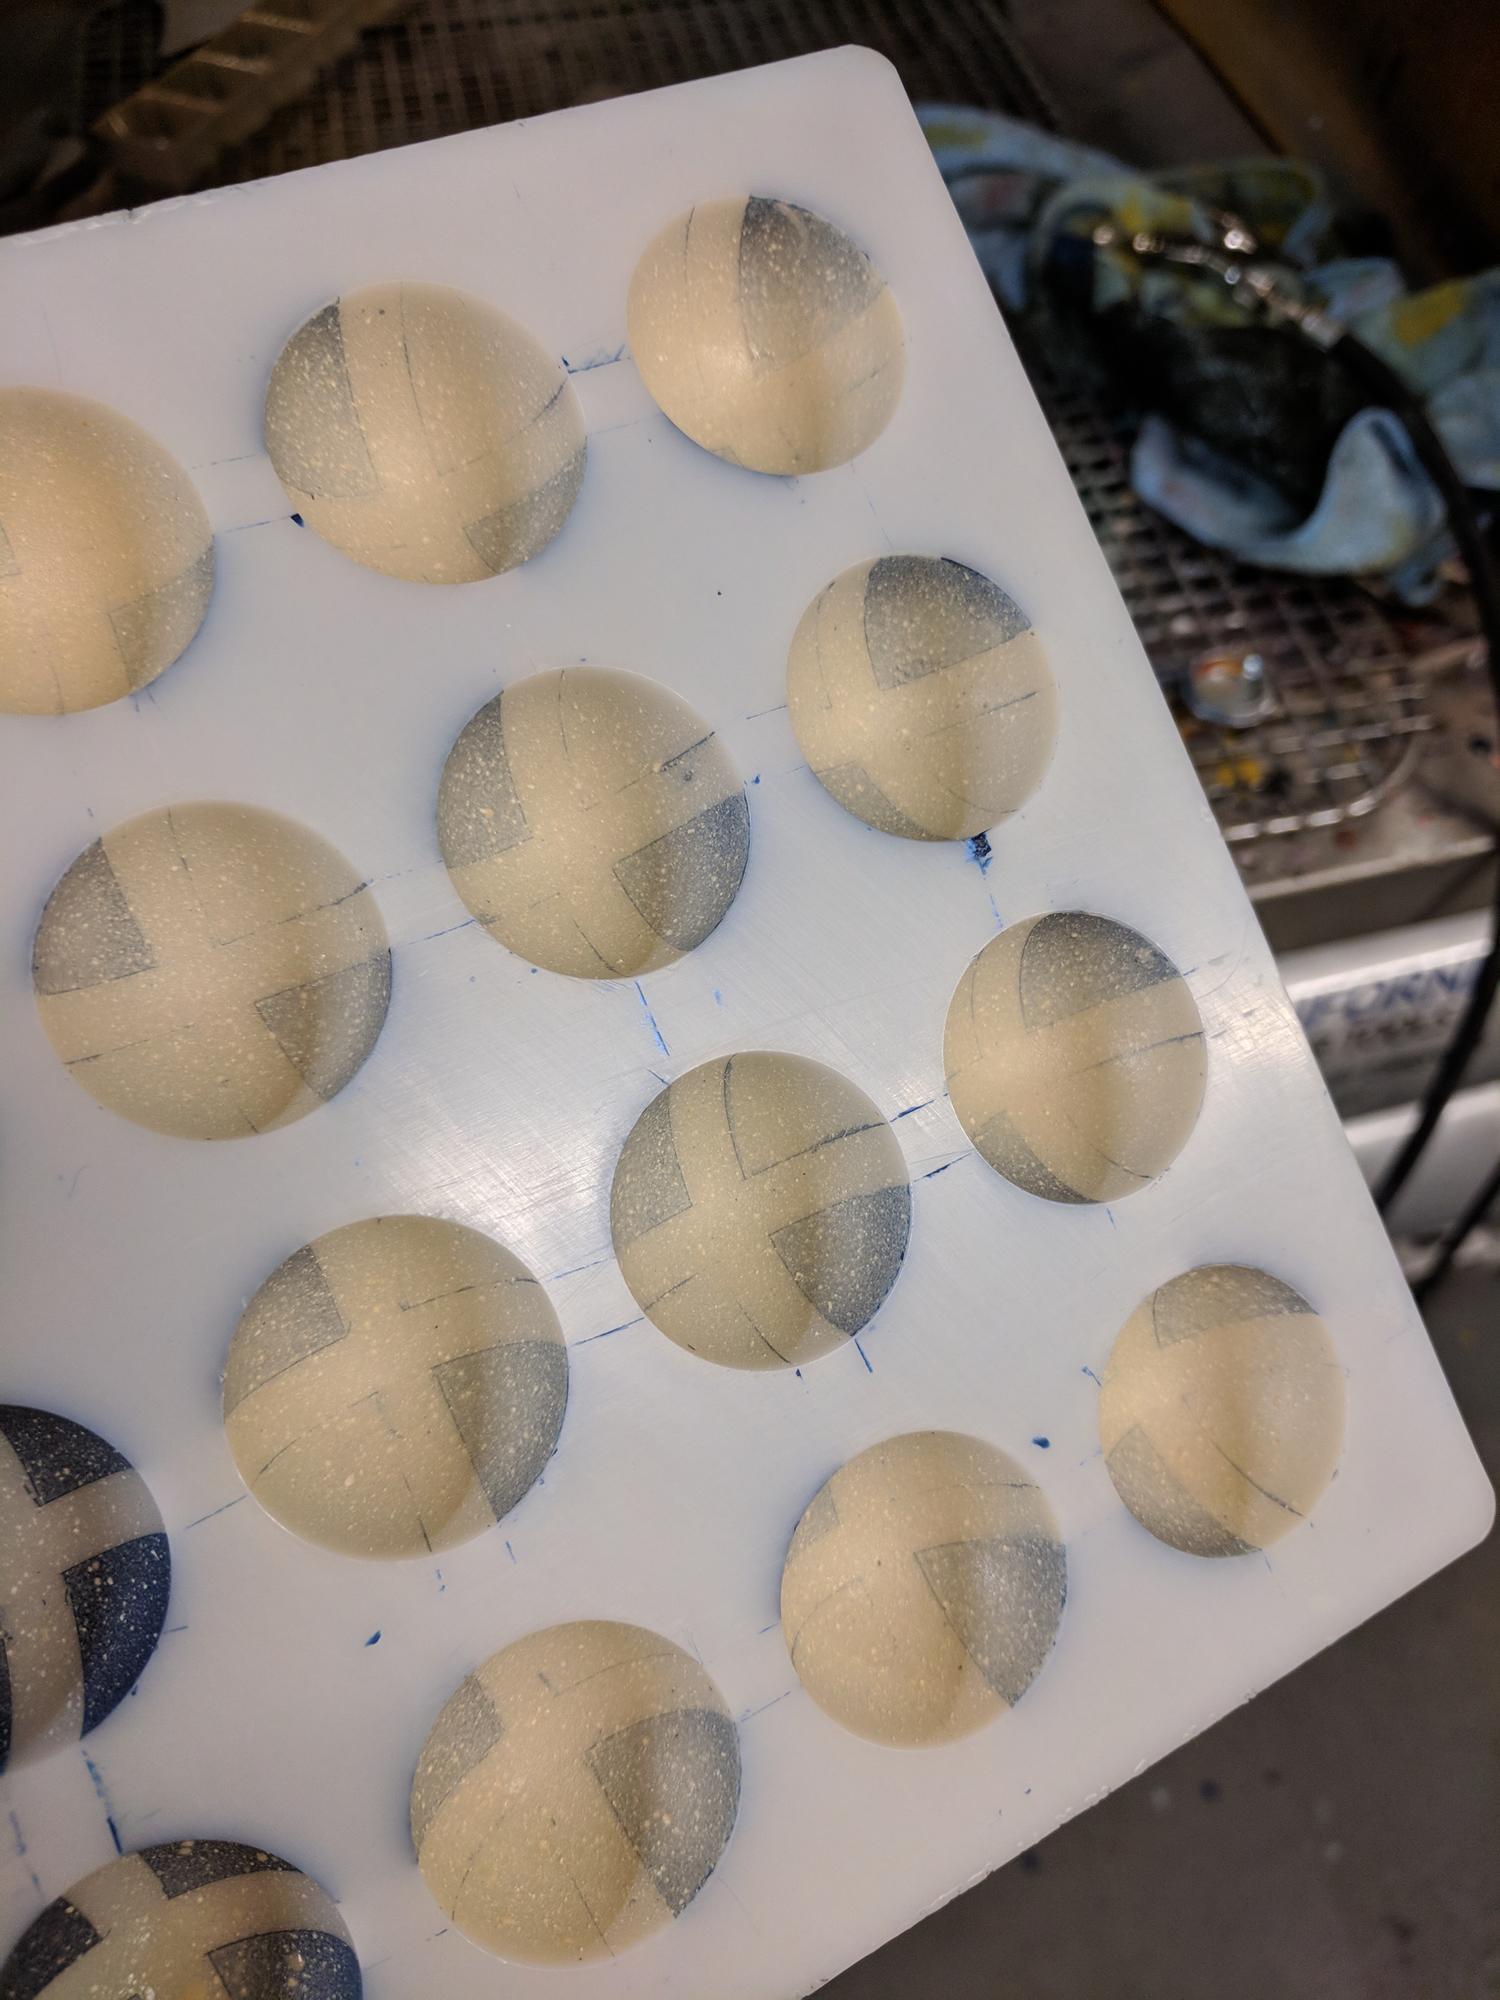
This is what you end up with. This process too about 35 minutes to set the tape evenly and remove air bubbles. Cost if I had my lowest paid laborer: $8.
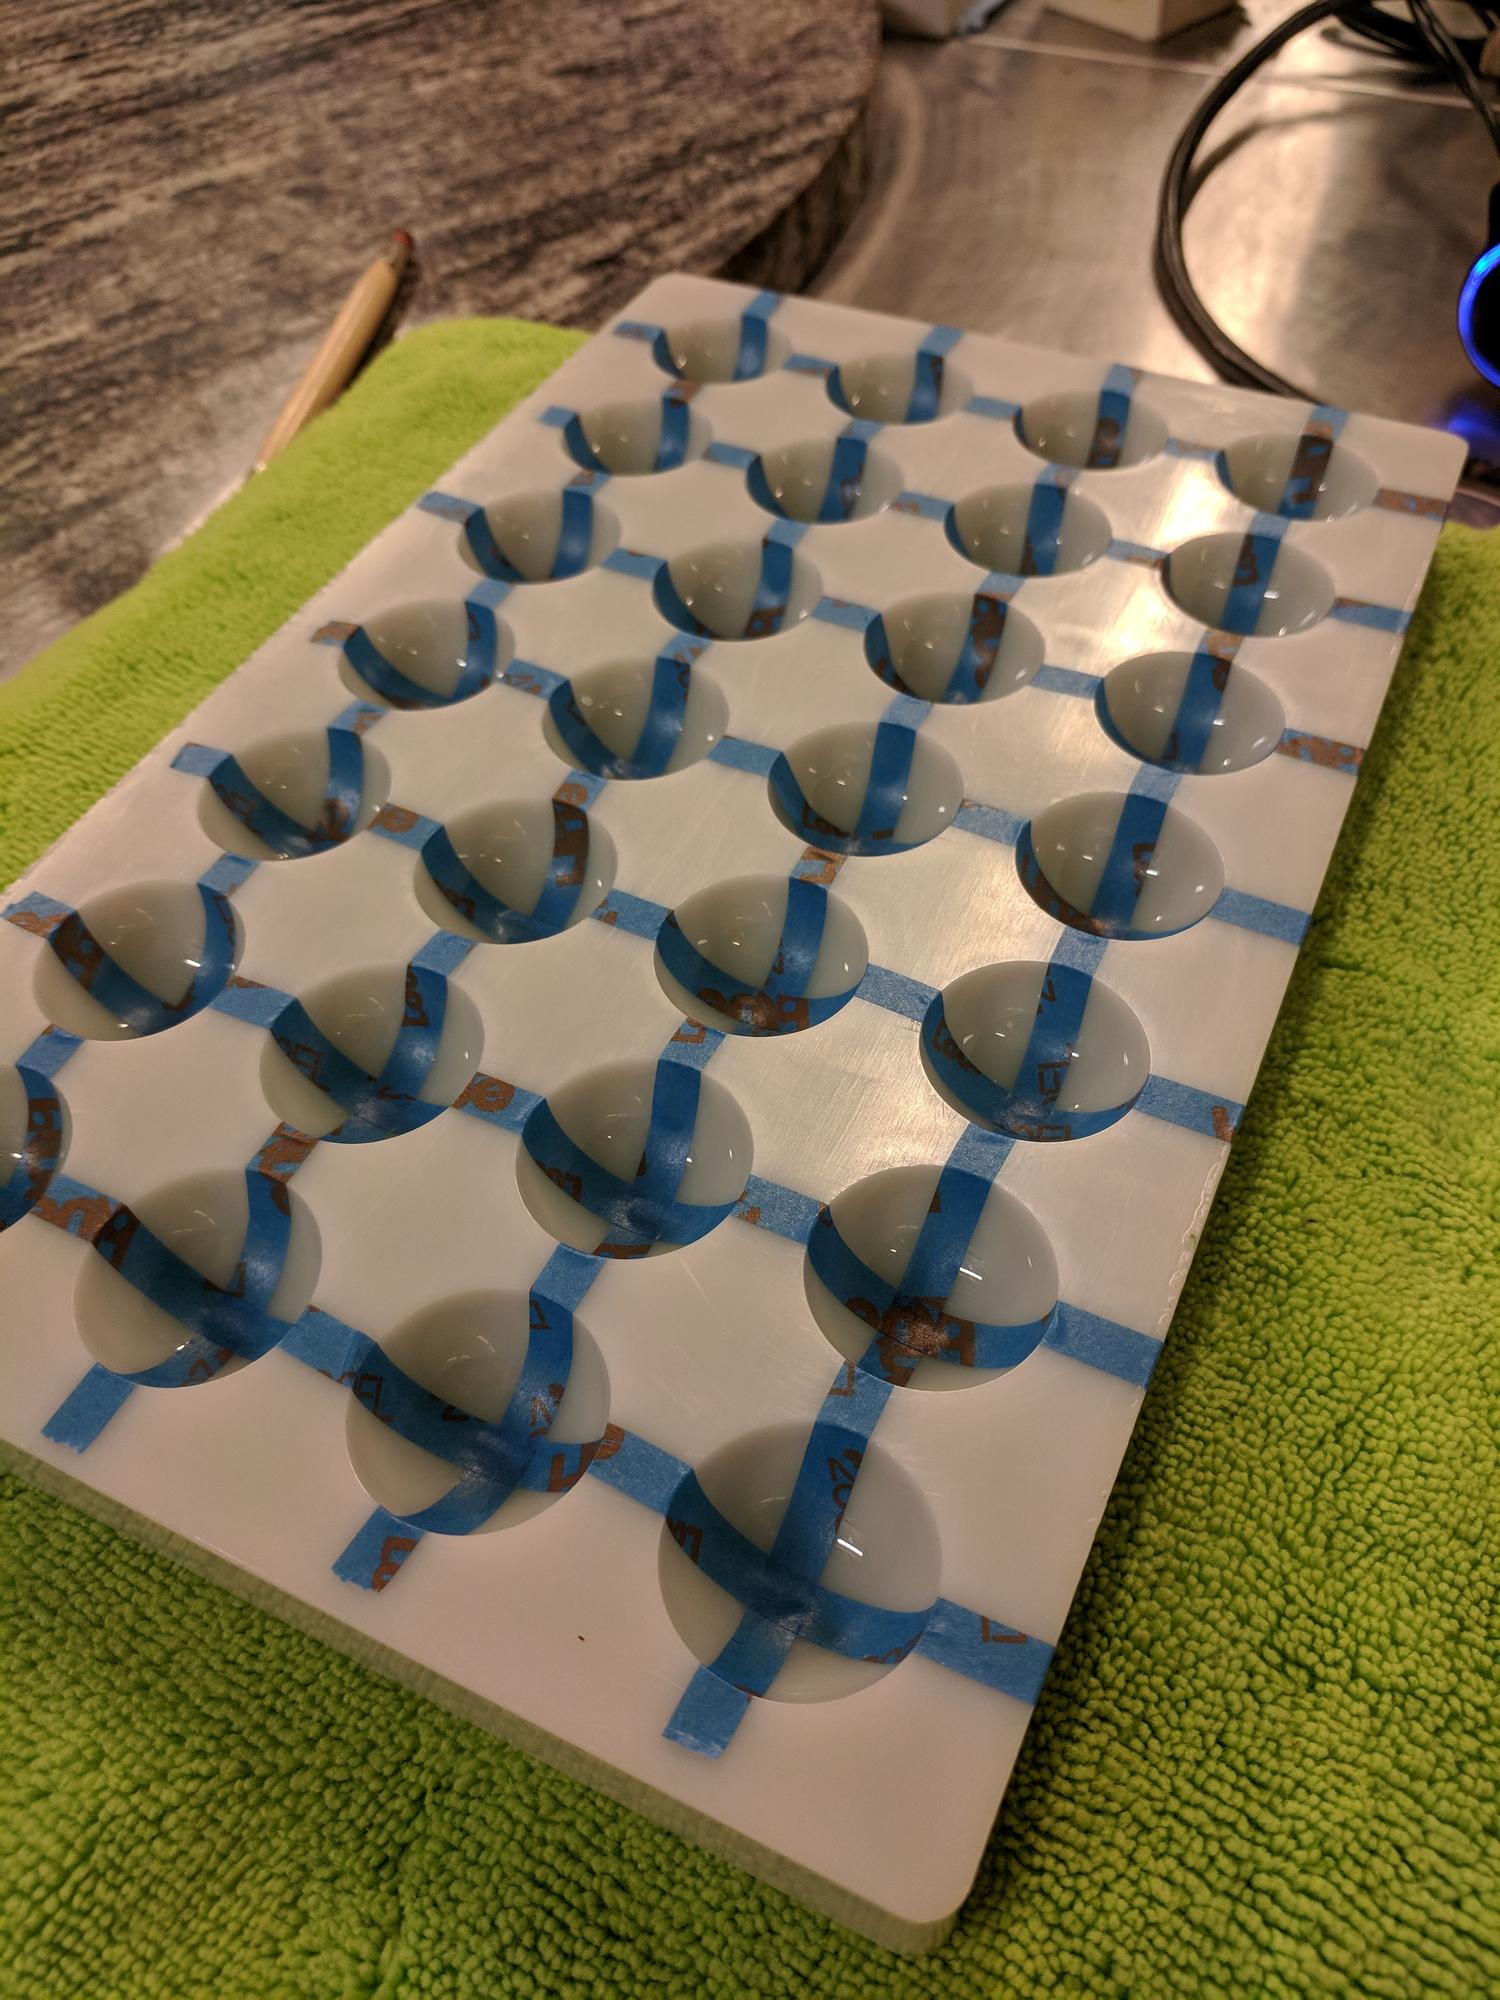
Then you look more closely and find all the mistakes that you didn't see the first time. I used my rubber nubbin' to get rid of those air bubbles. You'll note that I used painters tape bought on Amazon at 1/4". Melissa used Martha Stewart Craft tape that she bought at Michaels. It felt identical to what I used except hers was a pretty pink color.
I then re-polished carefully to address the potential finger prints. Spray with tempered cocoa butter. This was a Blue Saphire that I laid on fairly heavy.
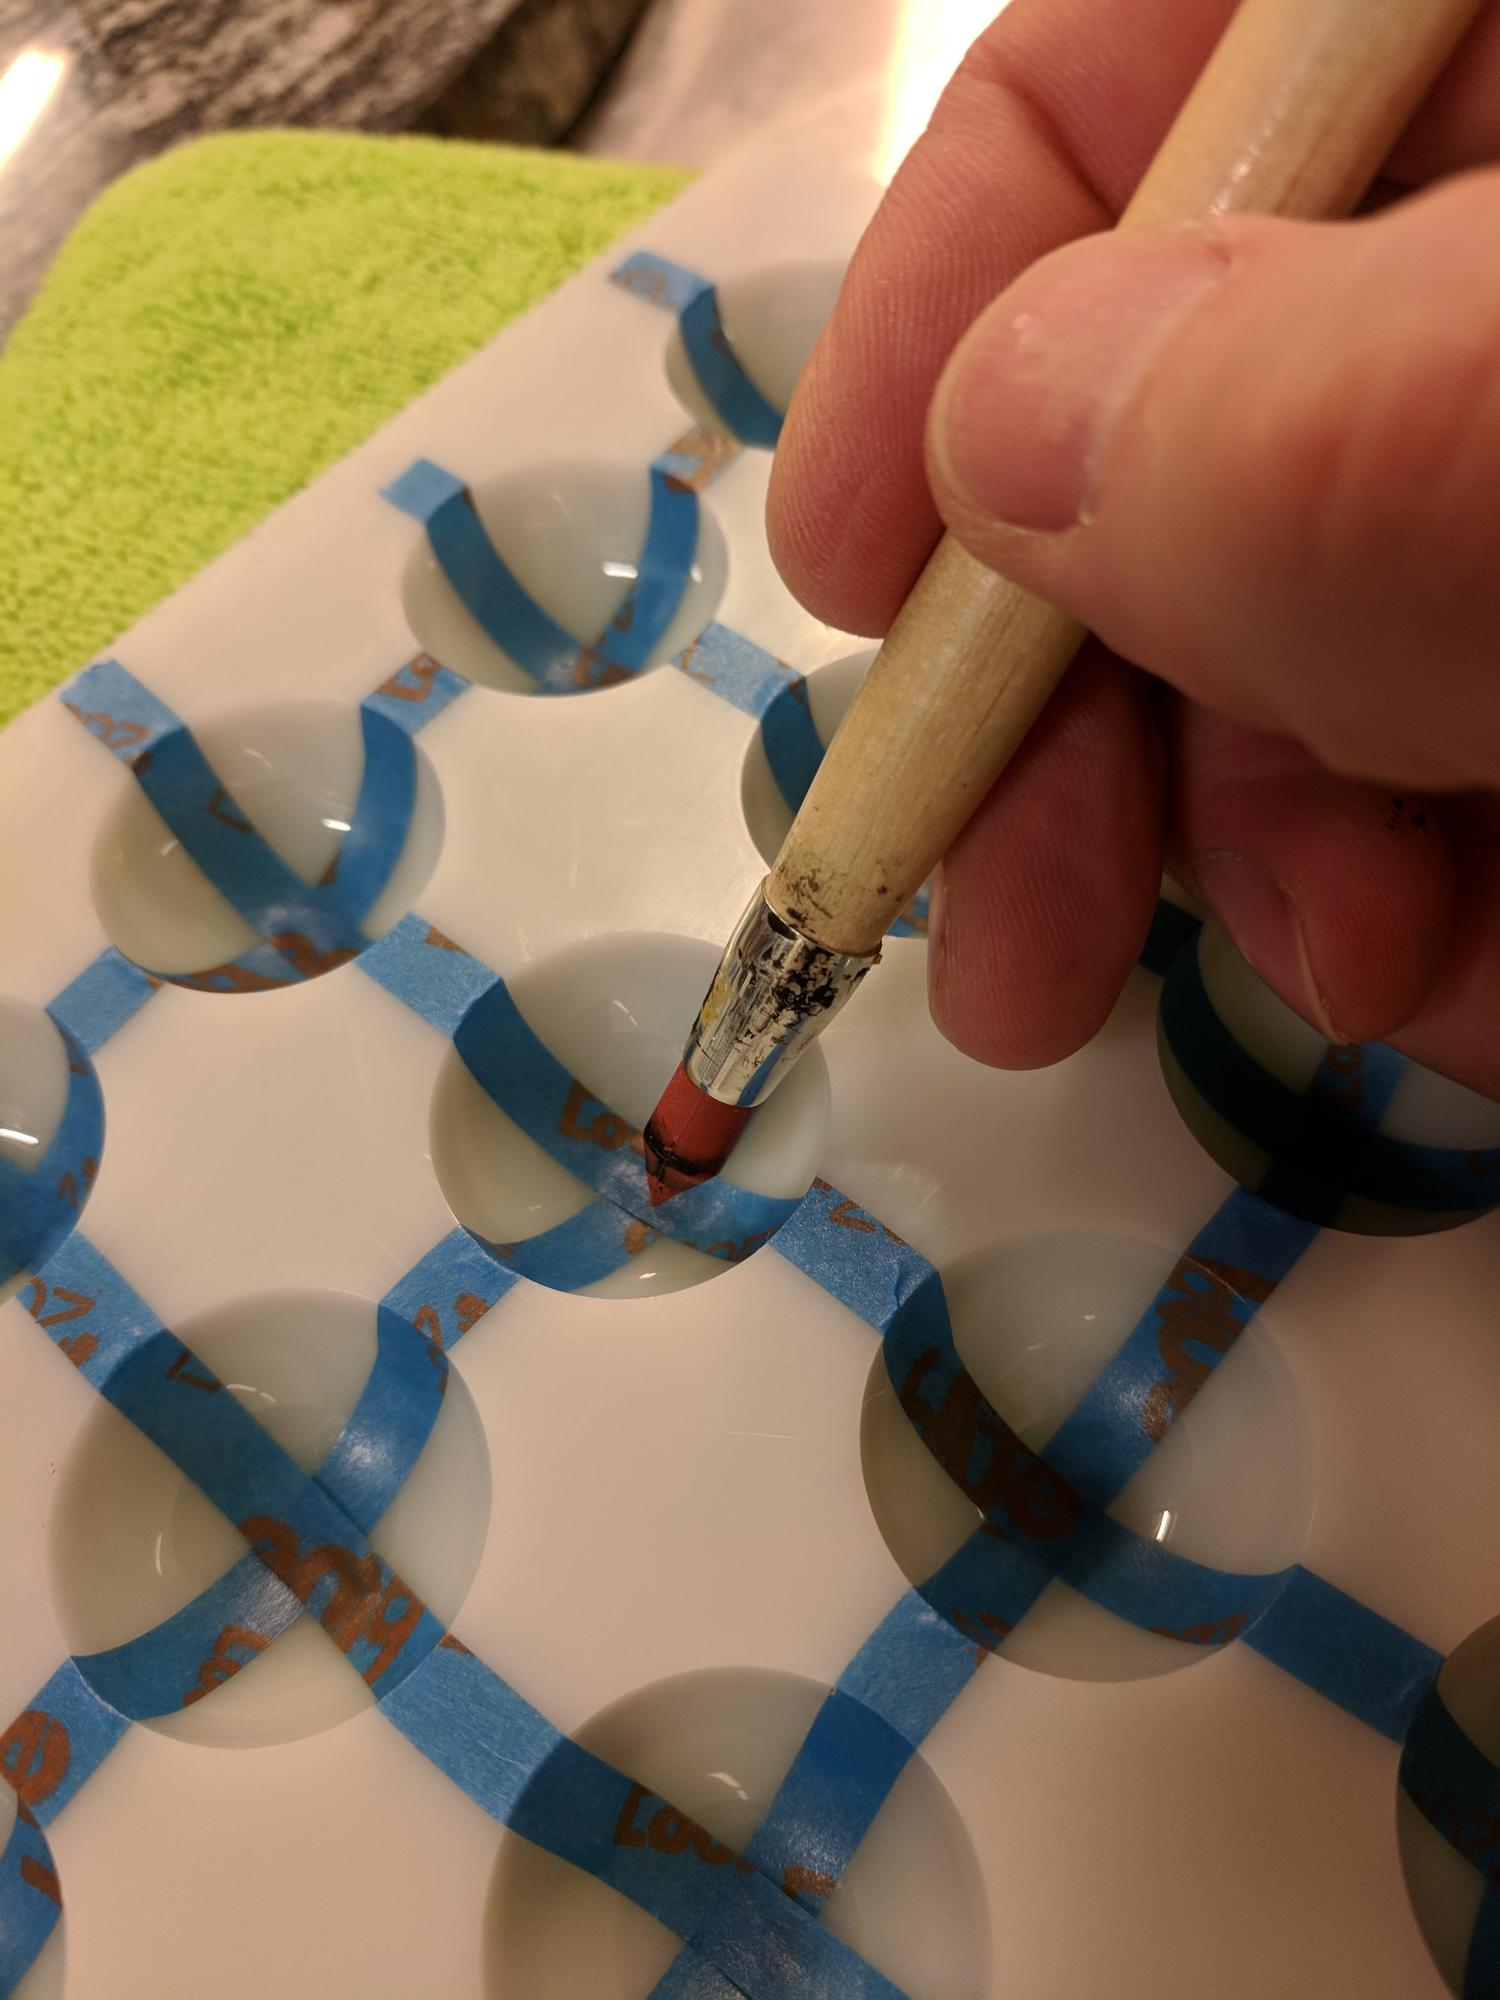
Now the grueling work. With a q-tip rub away oppositional triangles. The goal is to push excess into the tape creating a subtle line that will be trapped by the tape. The first cavity or two are easy as the cocoa butter is still soft, but very quickly it sets and you're cursing your choice to do this project. Start looking closely now at my lines because I've seen many people do this technique poorly and it screams at you when its bad. If you're going to do this micro thin line it has to be perfect to look good.
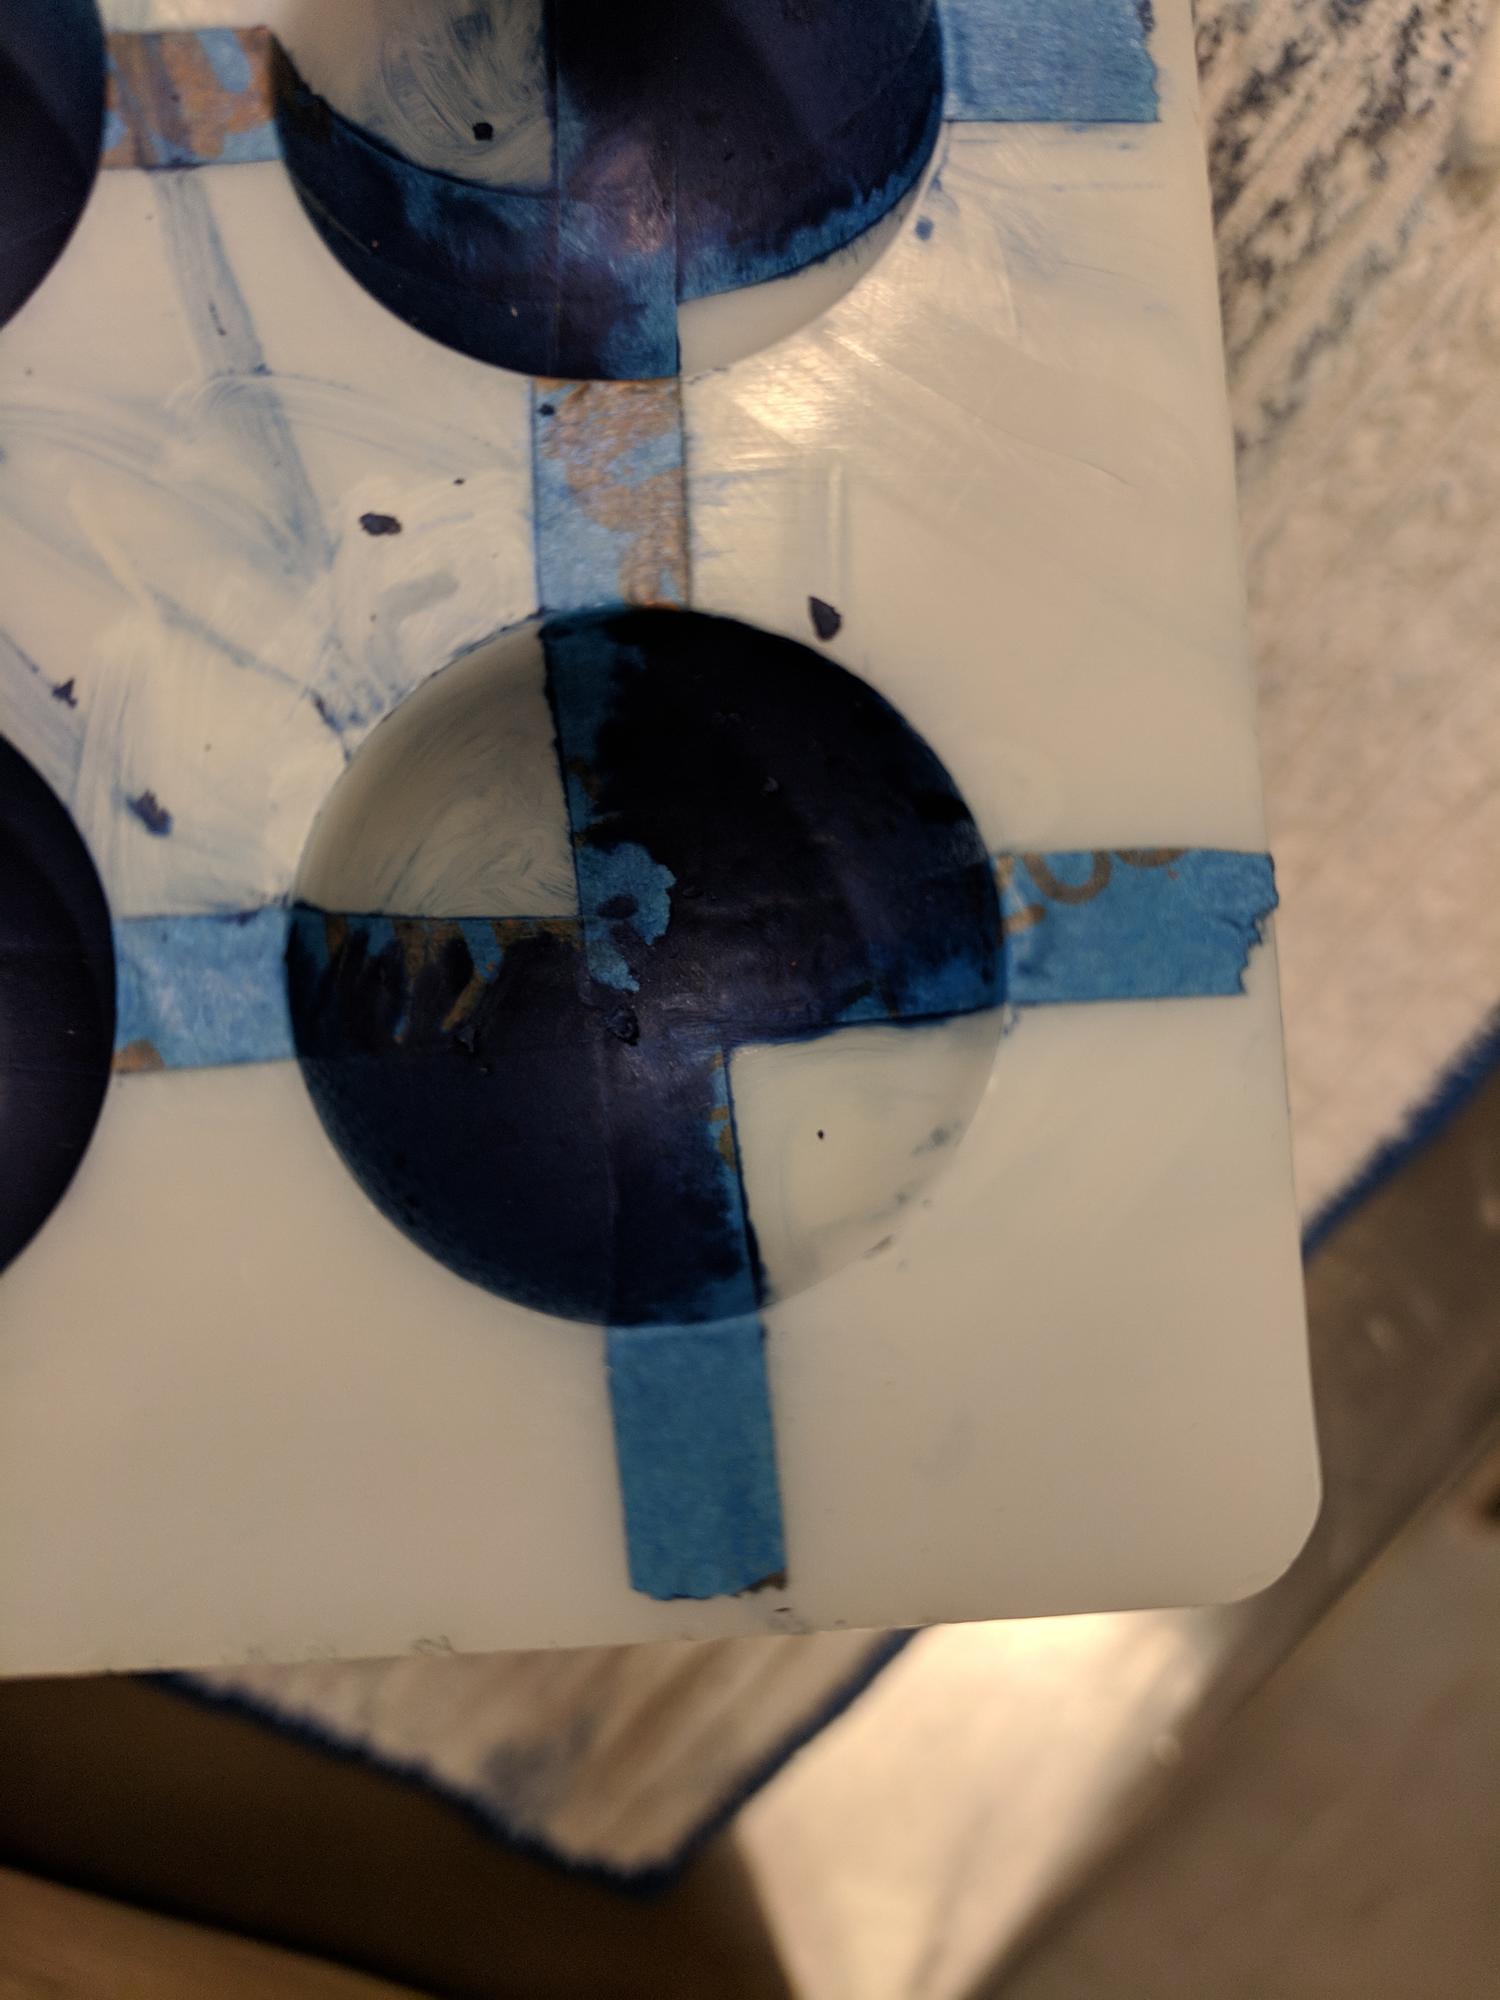
I averaged 3 q-tips per 2 cavities. And did I mention how hard it was to get the point!?
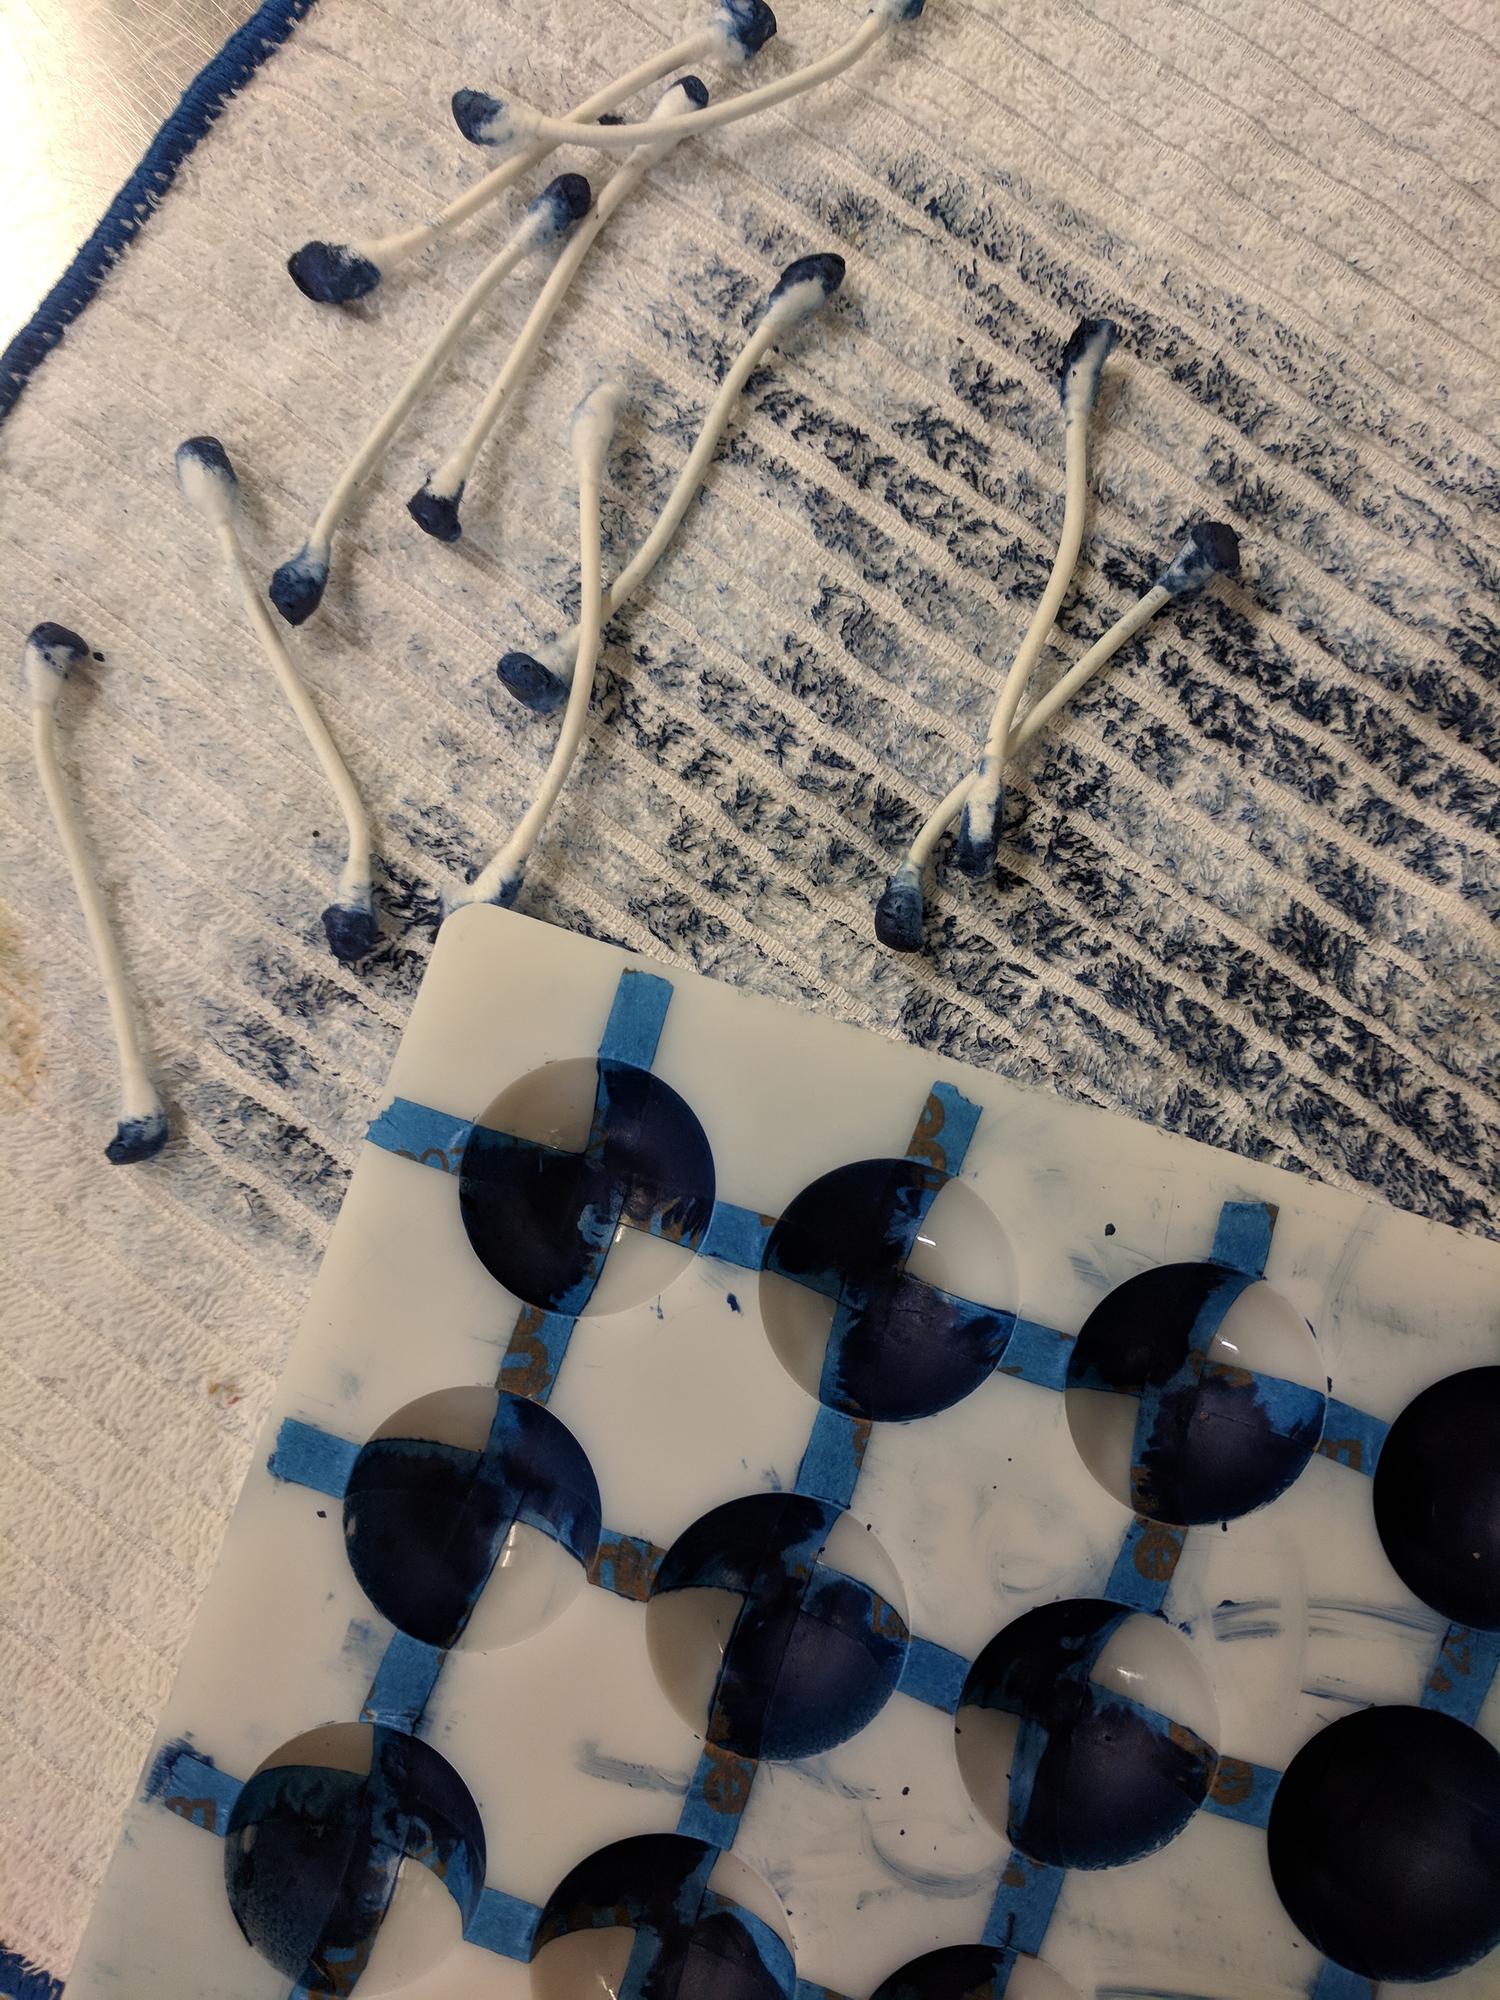
Then allowing your finger to caress the tape as its being removed from the surface to add just a touch of body heat, pull the tape away. If you don't do the step the way I'm describing you'll get flaking and tears.
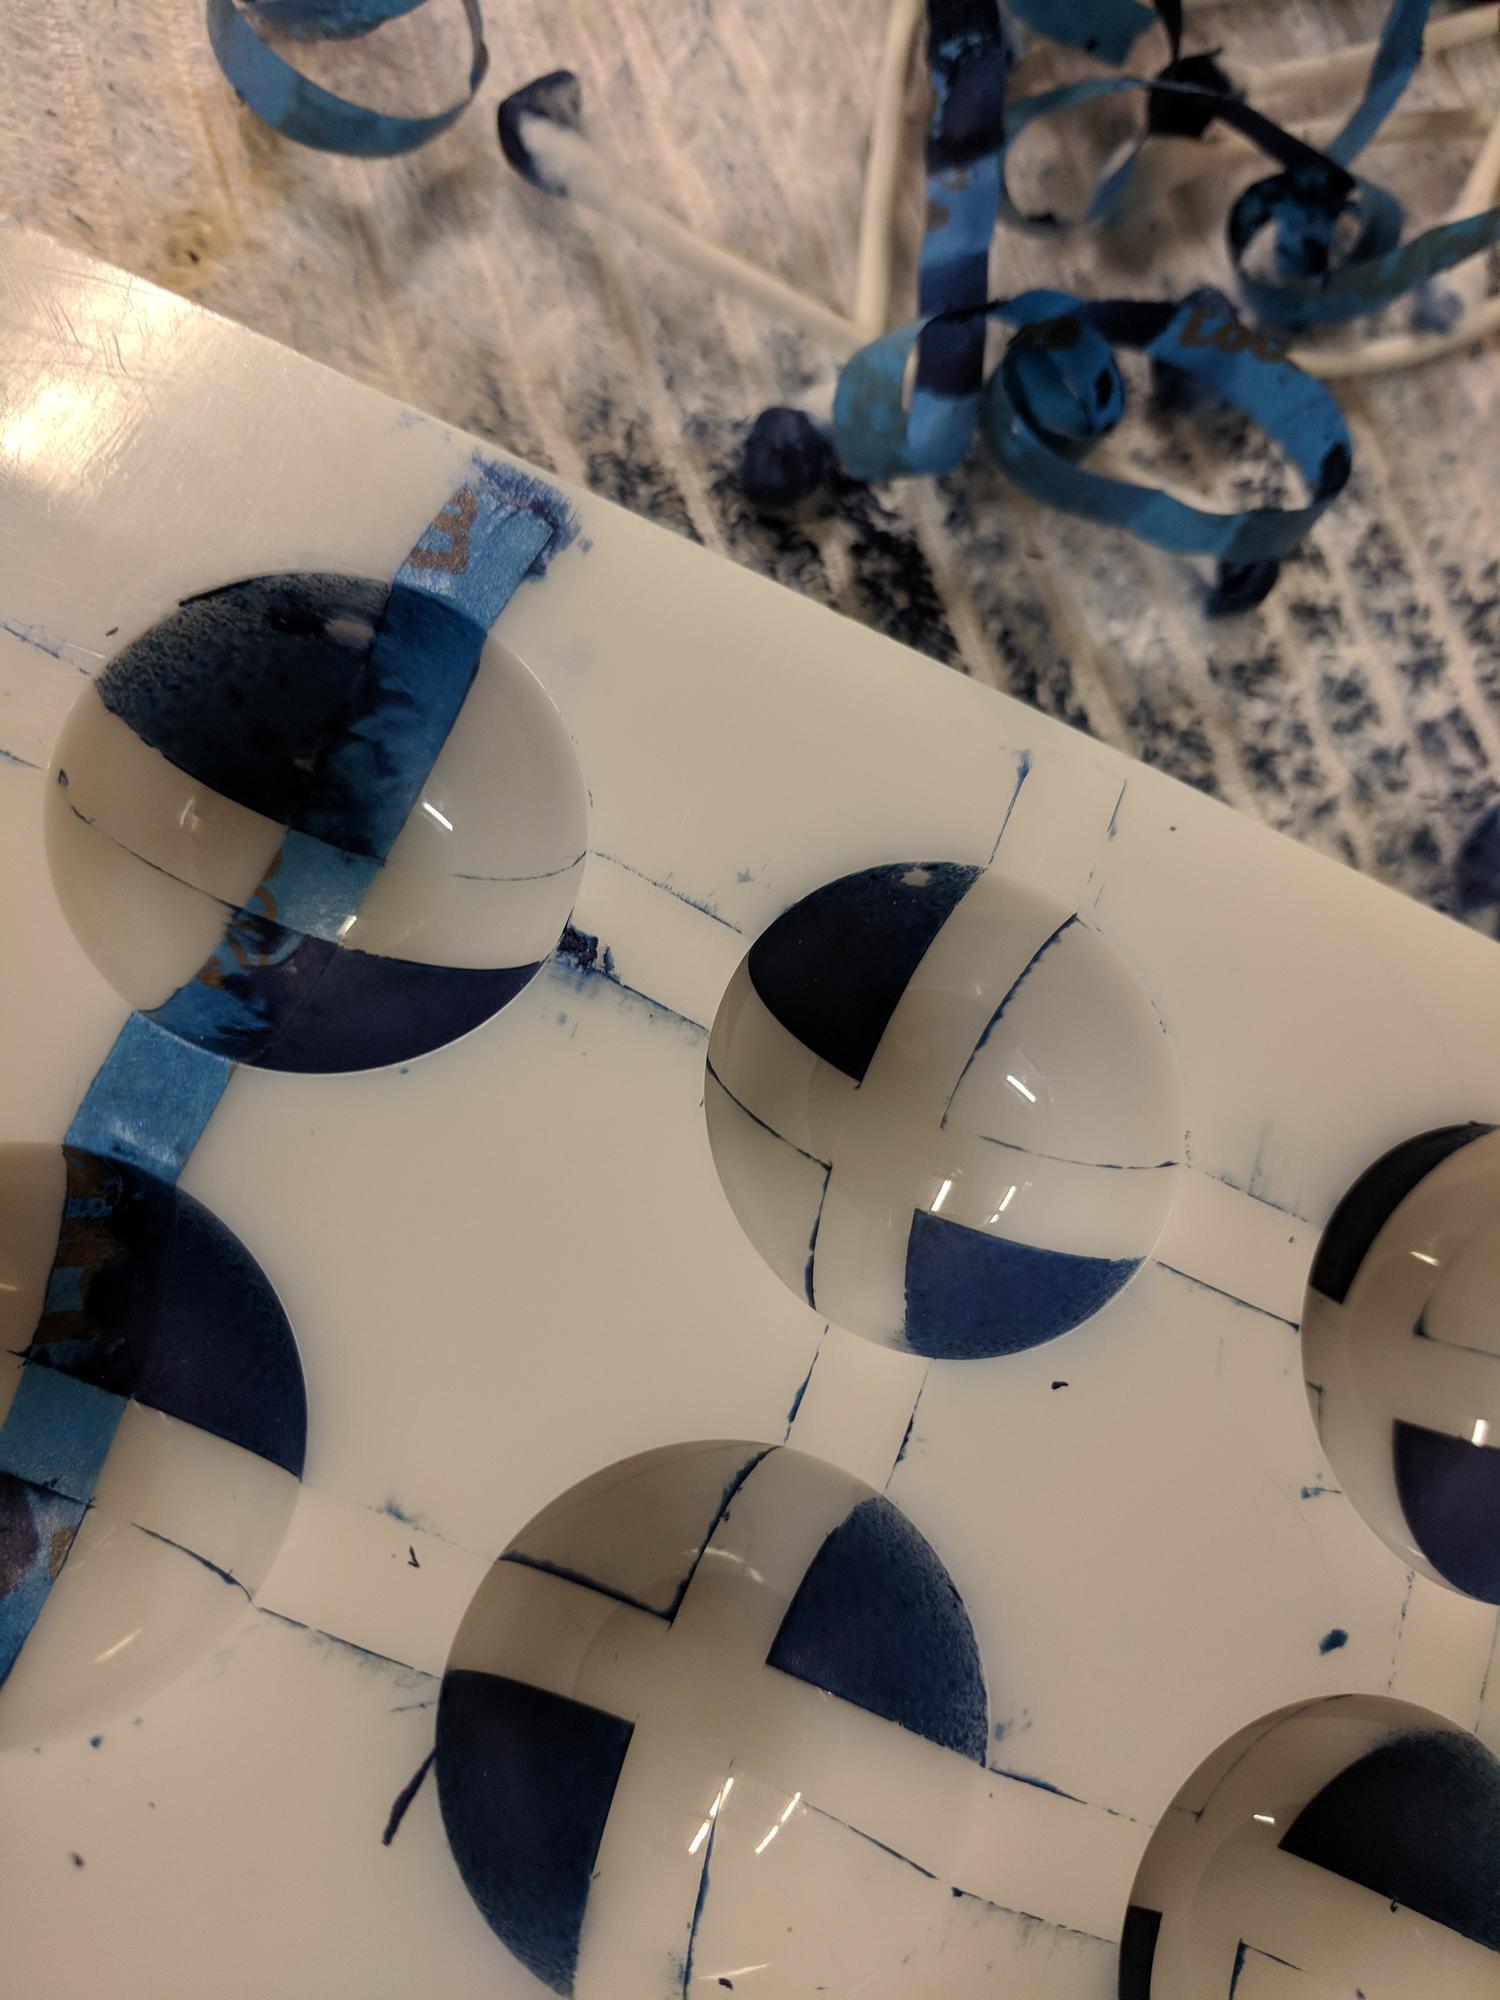
You laziness very quickly begins to show...
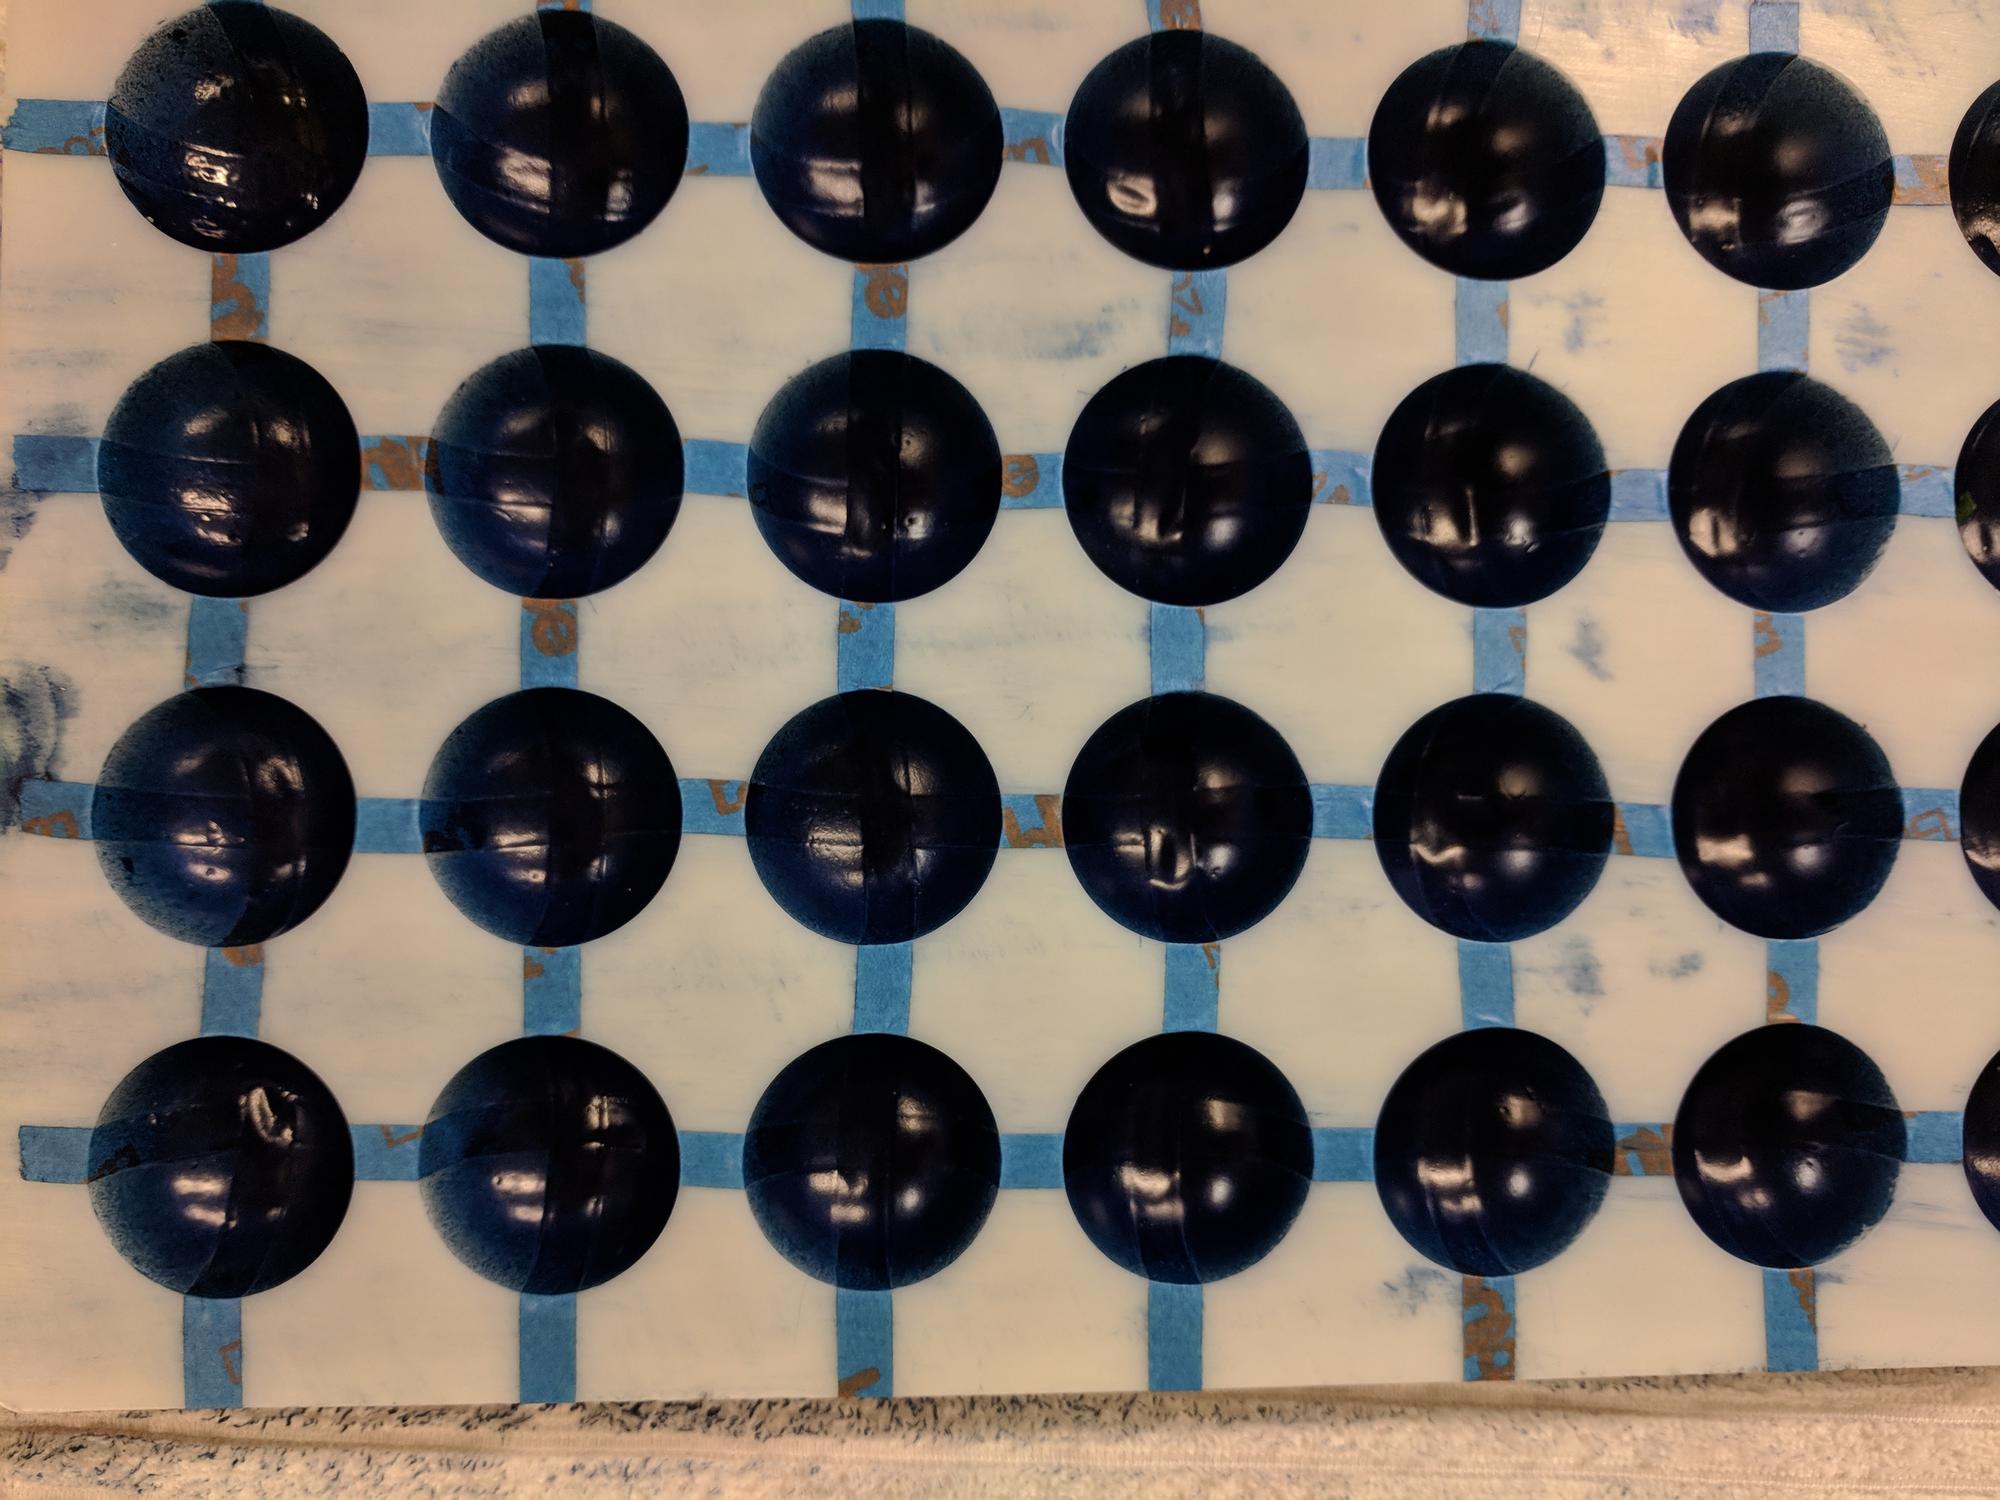
I went back then and carefully polished with an alcohol dipped q-tip each cavity that I had just cleaned. Because at this point you might as well finish the job right. I sprayed with a thinned tinted white chocolate. Running time: 90 minutes. Cost for lowest paid employee on my staff to do the work: $22.50.
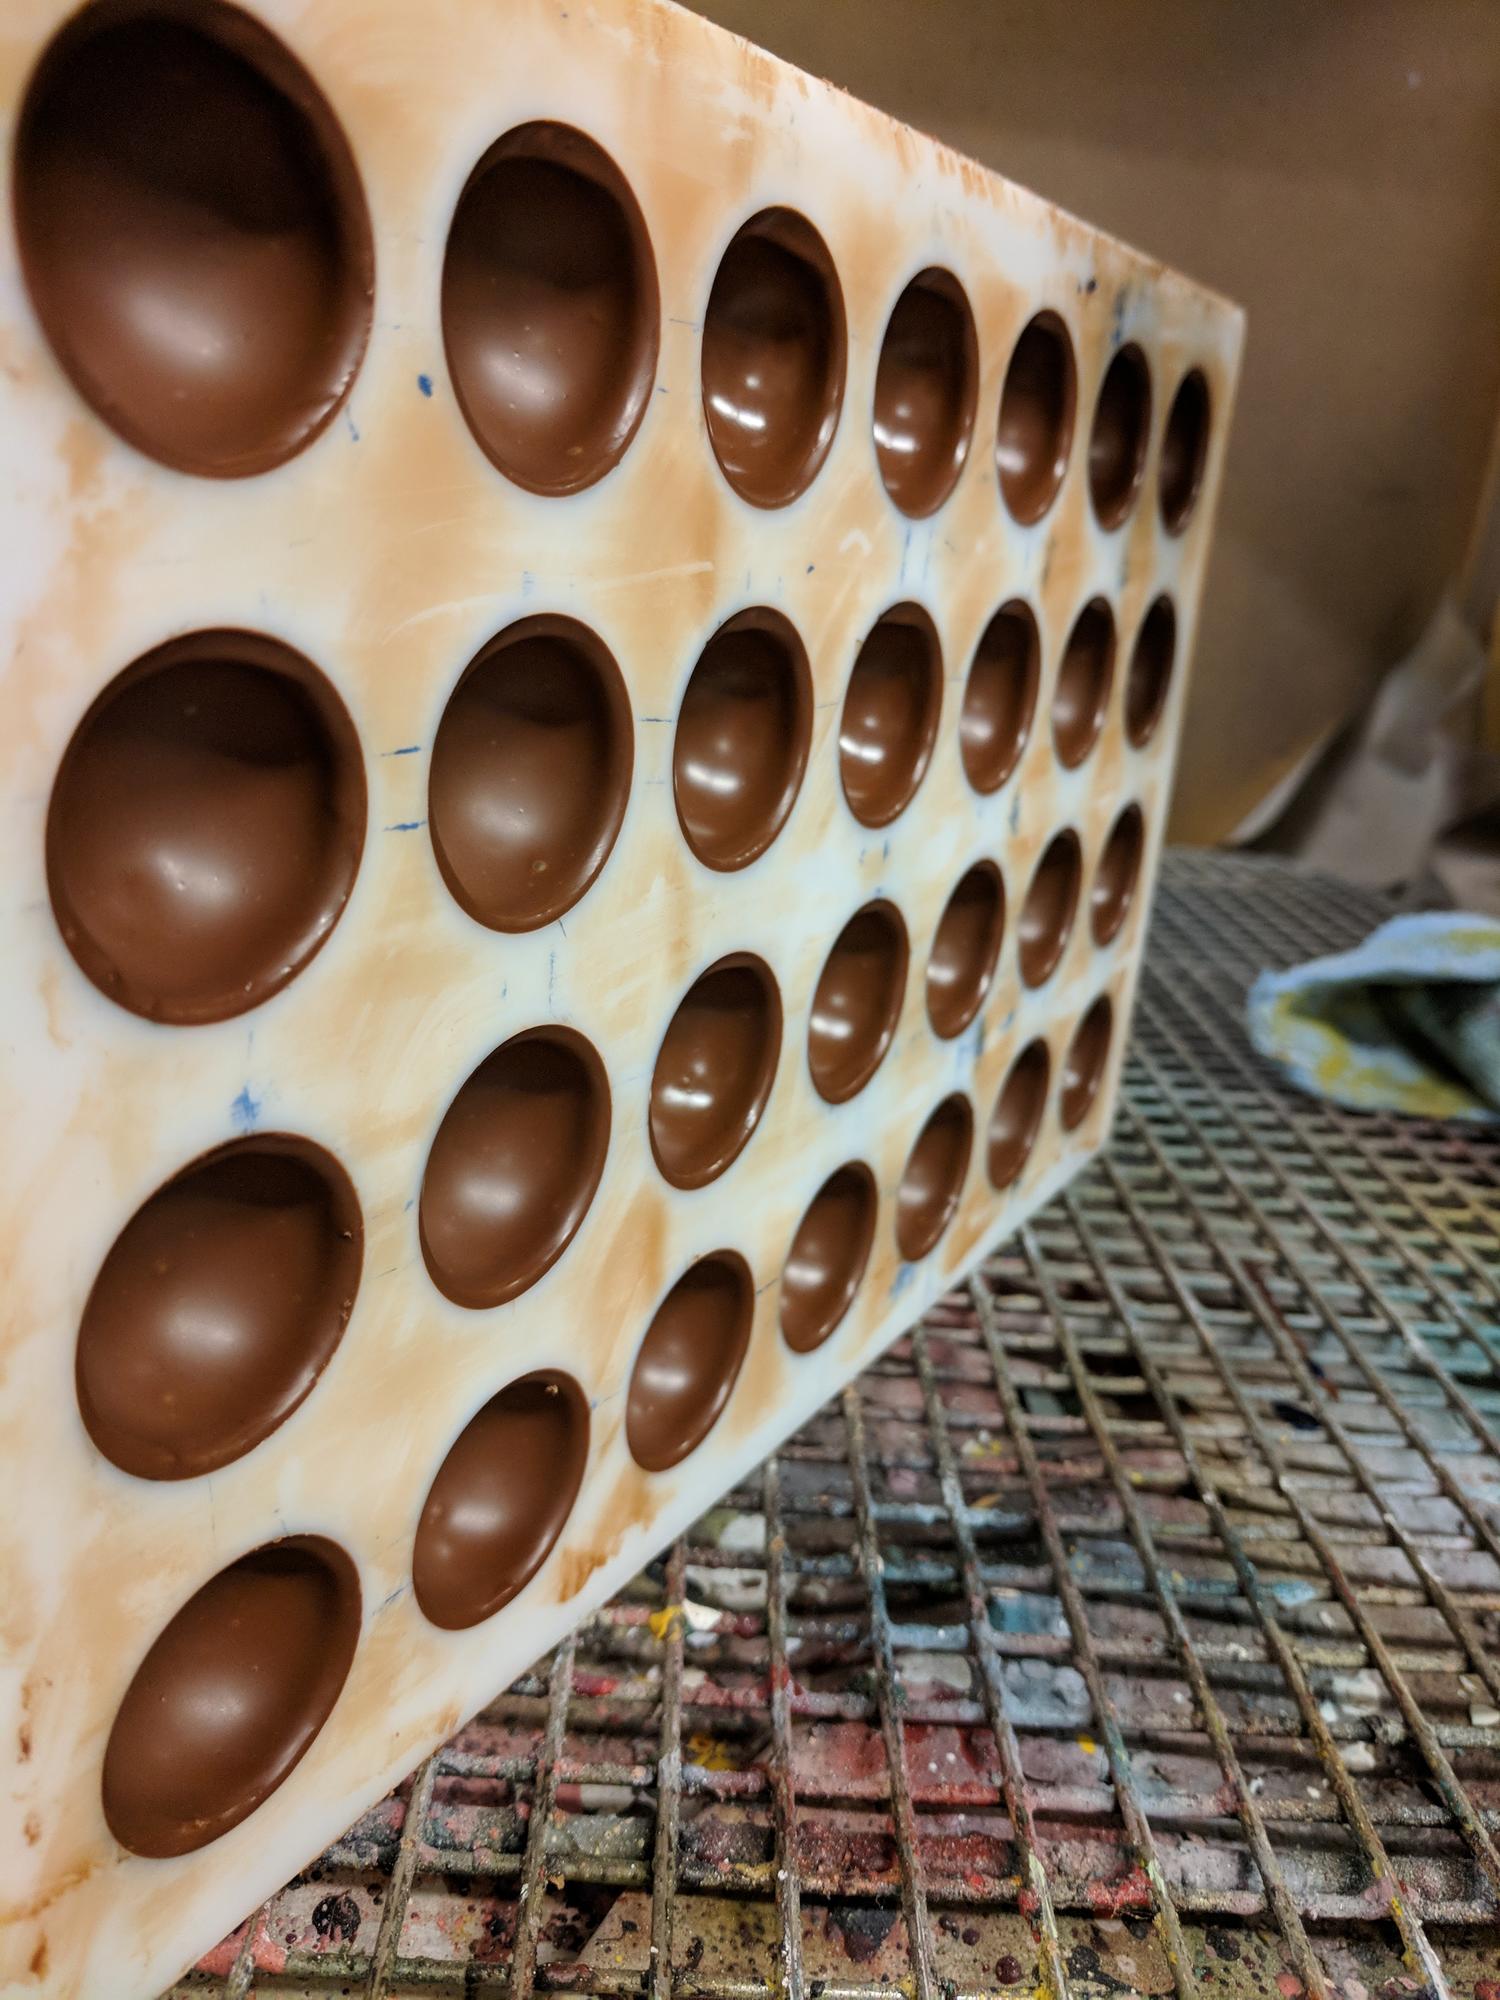
Shelled as per usual. (I'm using a slightly new technique that I learned from Melissa - to learn it for yourself take one of her classes or join us at the eG Chocolate and Confection Workshop next May in St Louis.)
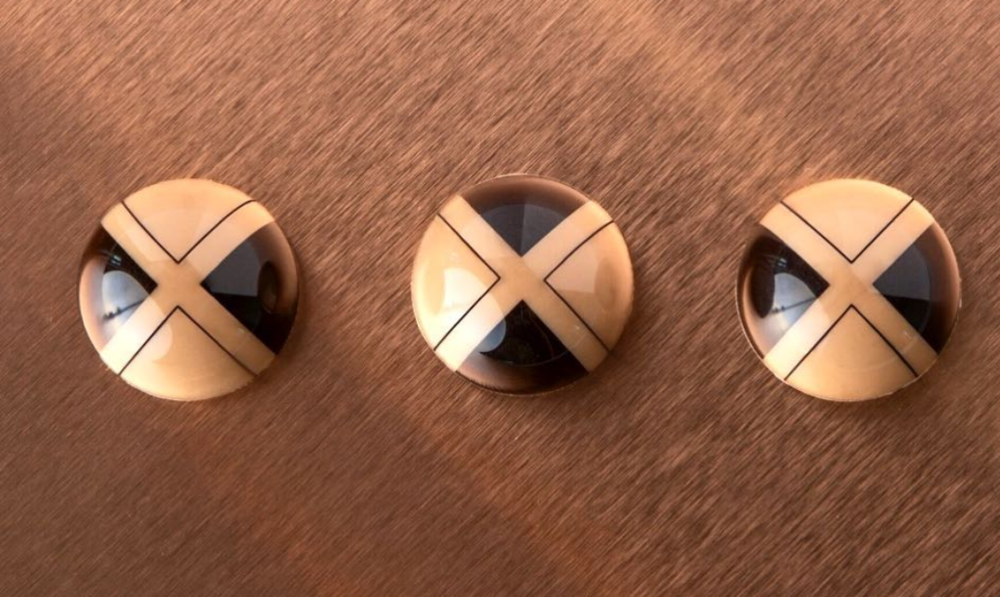
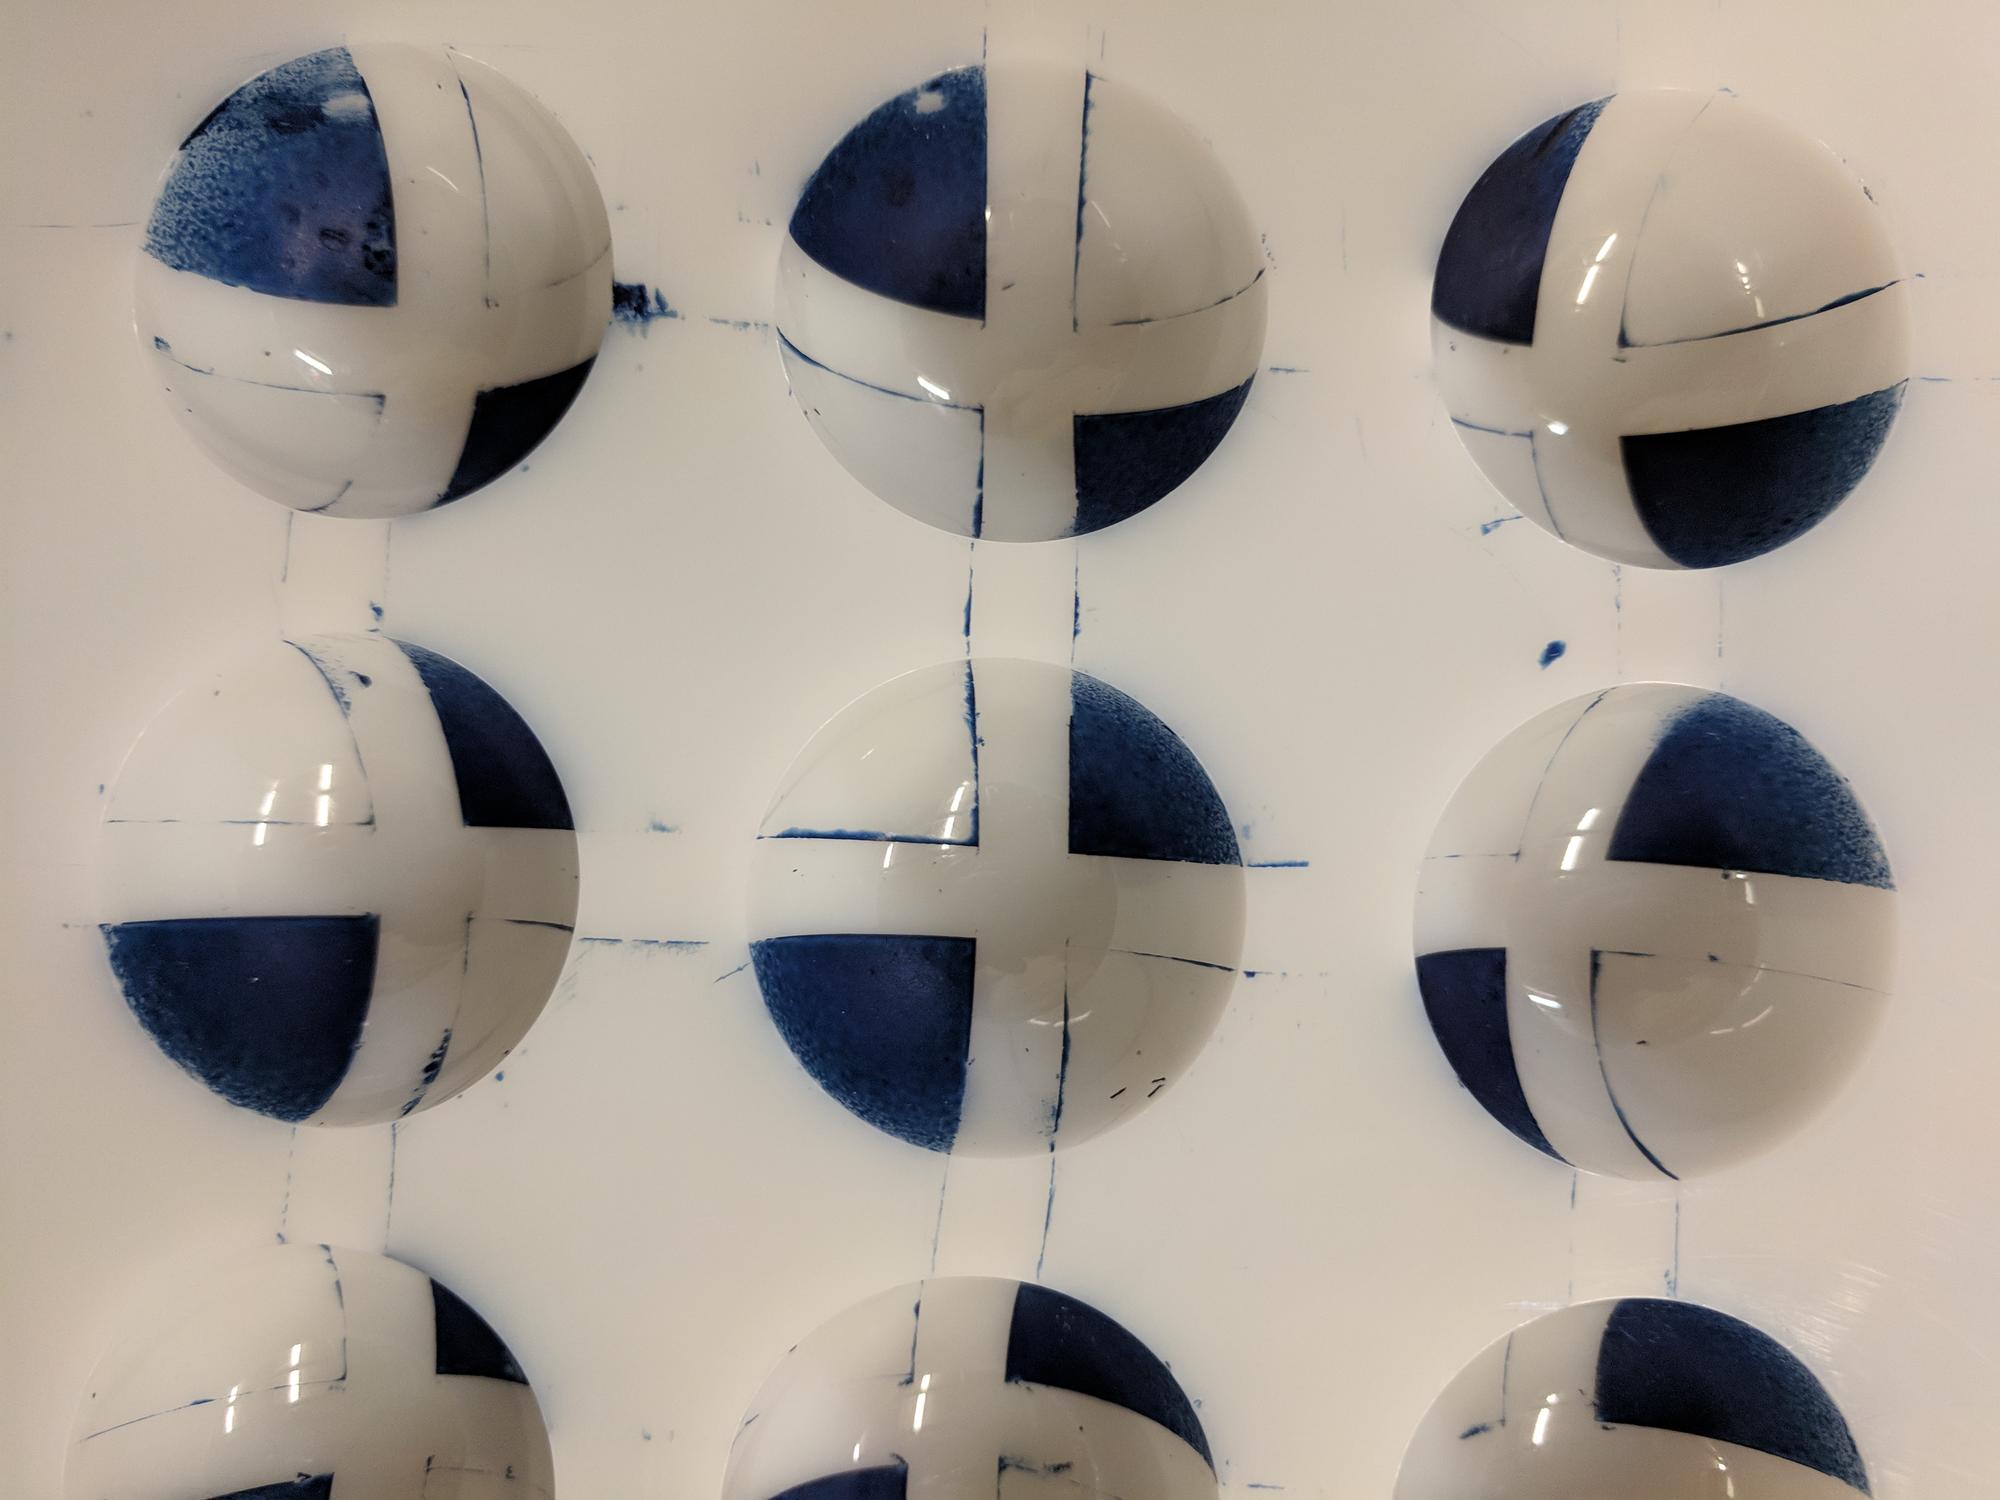
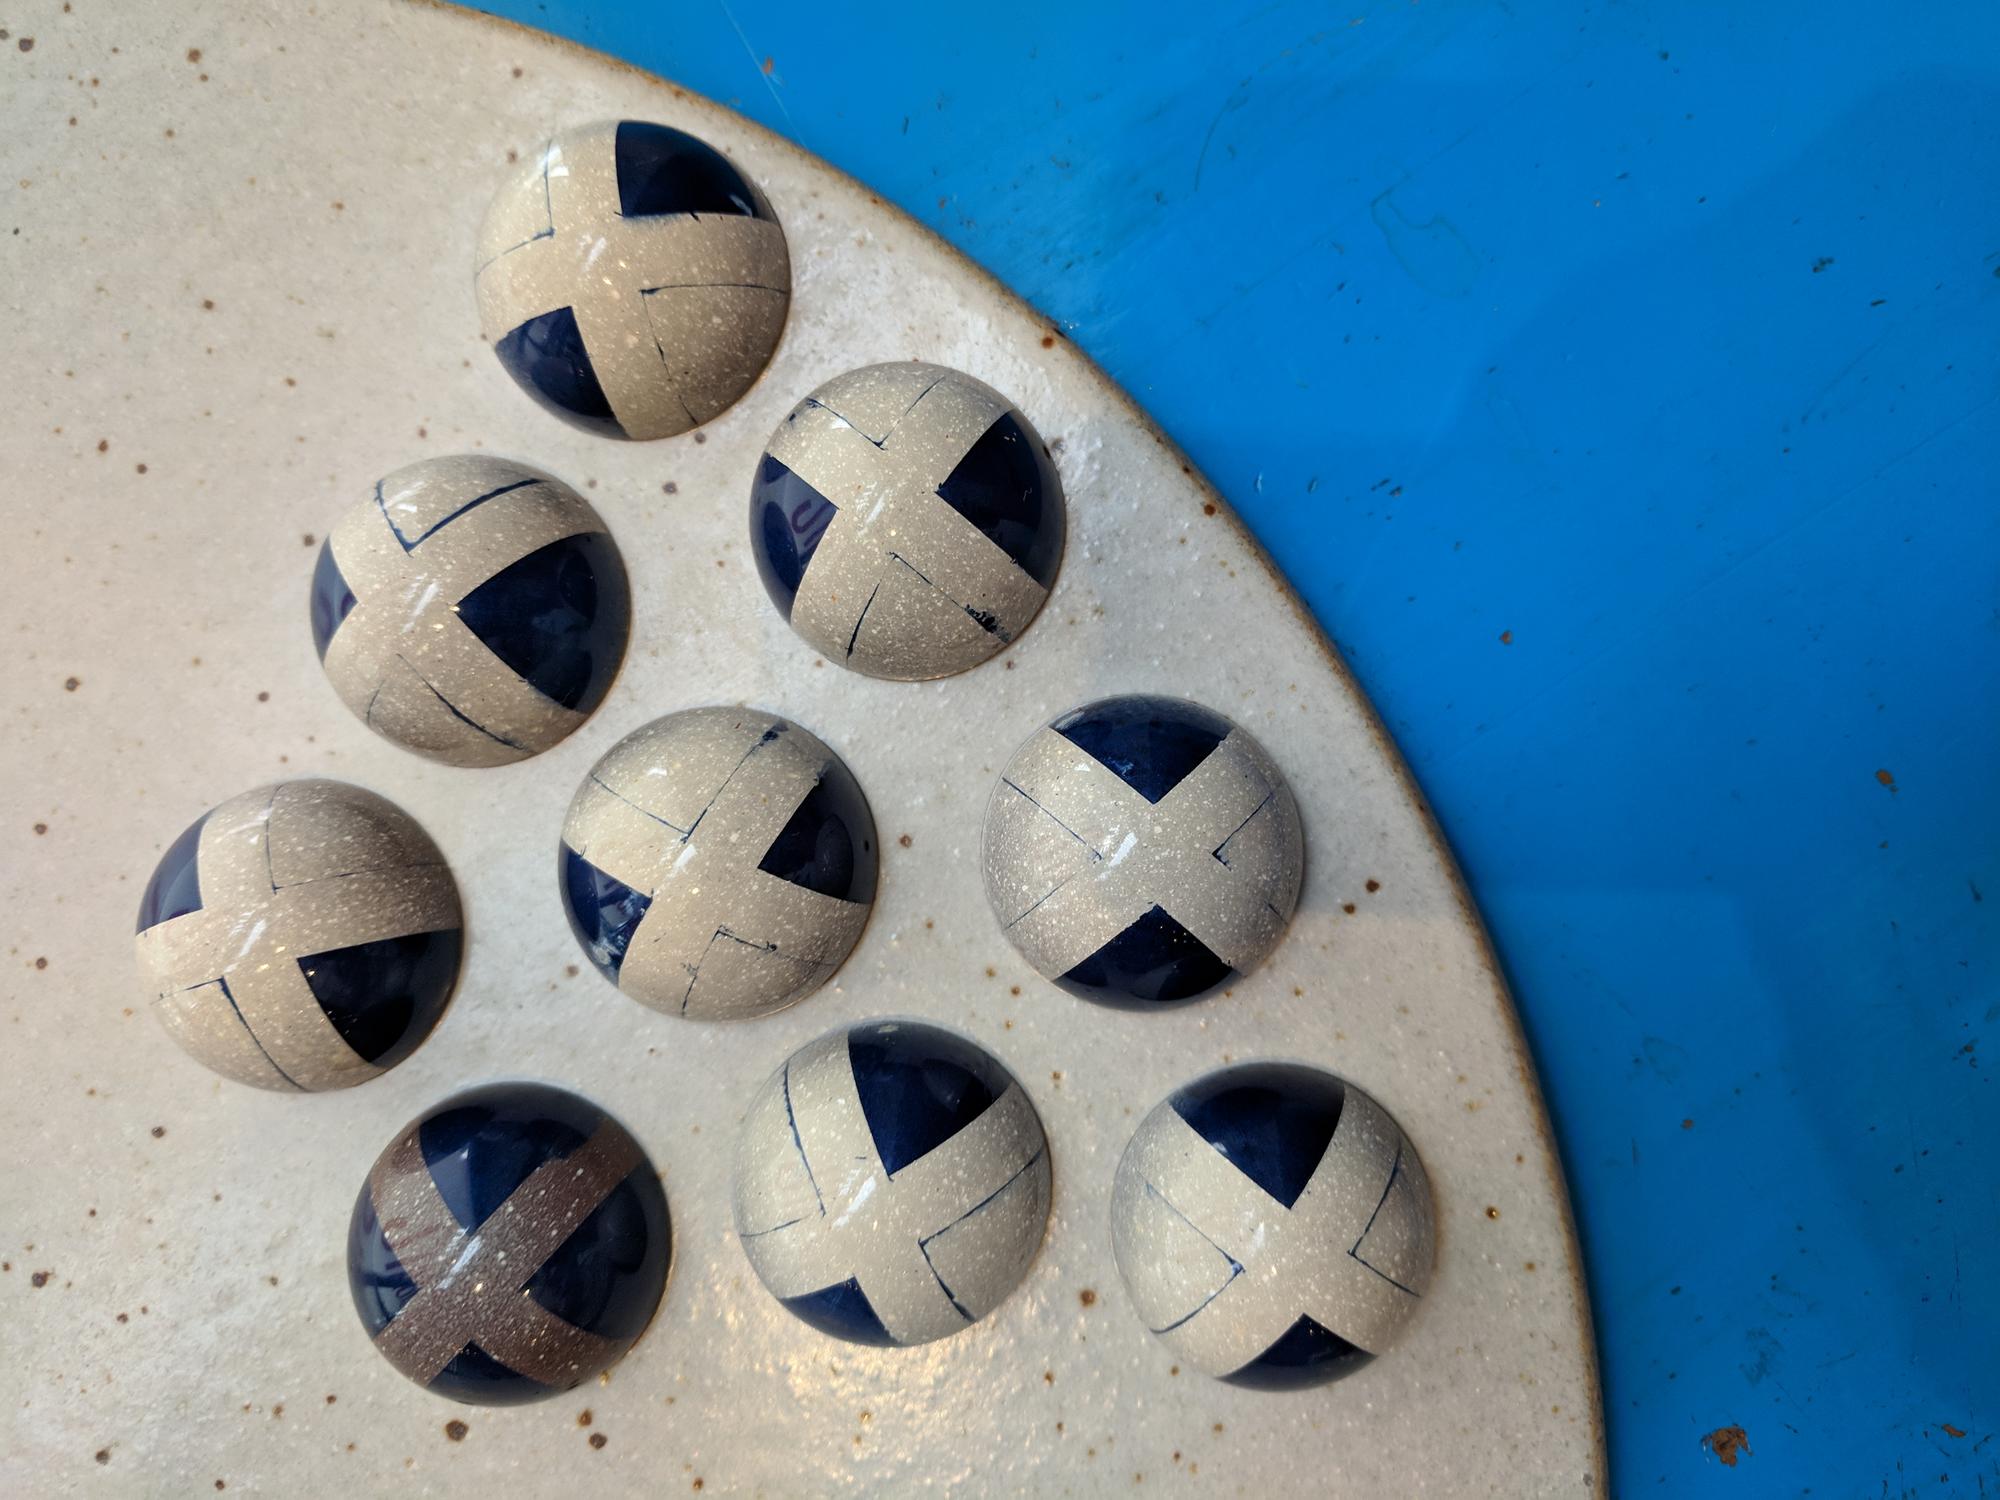
And here's the result. I left one uncleaned so you can see the short version of this. I also colored it slightly different. These are pretty good but you can see all of the flaws - some more noticeable than others. But of course if you were the one doing the work you would see every single flaw. We'll call my employee rate to finish (active time only) $27.50 divided by 28 cavities...labor alone for a mediocre job: $1 per cavity plus ingredients, overhead and attrition of staff who say they'll never do that again...you can see where this is going. For passion not profit.
So there you go. That's how Melissa got this...except much better: