-
Posts
427 -
Joined
-
Last visited
Contact Methods
-
Website URL
http://
Profile Information
-
Location
Michigan
Recent Profile Visitors
2,834 profile views
-
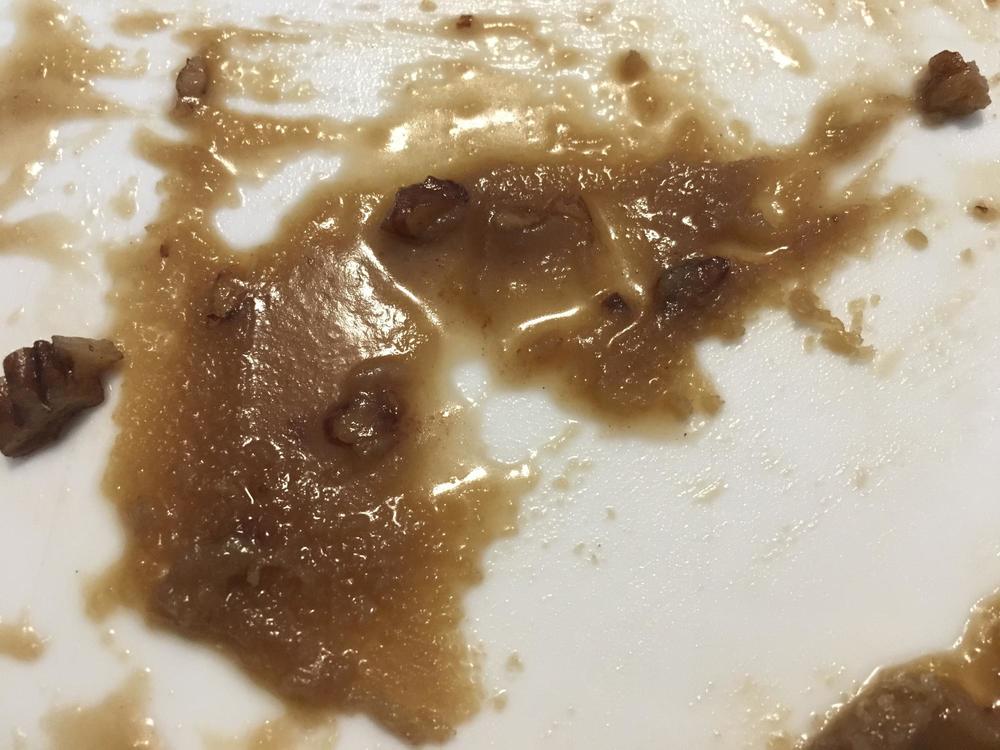
It comes out of the oven nice and gooey, but crystallizes later. I haven’t timed it, but I think it’s after a day or so.
-
I’ve been getting poor results with an old Betty Crocker recipie for Pecan Sticky Rolls. The glaze starts out smooth, but ends up crystallizing and I don’t know if it is the recipe, my technique, or something else. It specifies 1 cup brown sugar and 1/2 cup margarine (I substitute butter), melted to boiling, then add 1/4 cup dark corn syrup. That is poured in a pan with Pecans and the rolls are placed face down and the whole thing baked at 350 after a second rise.
-
The recipe we used successfully is: 1,000g white sugar 400g water 200g glucose 10 drops tartaric acid Cook between 162-166C Bring to a boil, take off heat, skim and brush down the sides. Add glucose, insert thermometer, and put back on the heat. Cook to 160C, add acid and cook to 165C. You also have to pull the sugar to the right sheen before you do your final pulling. It takes a bit of practice to know when you have folded it enough.
-
We used the heat lamps over simple boards with a silpat to keep our sugar at temperature. You will have a problem if you let it cool too far. In fact that's the model lamp we used and the one I bought for home use.
-
I learned pulled sugar from Chef Stephane Glacier and ribbons cool quite quickly. It's been a while, but I remember having only a minute or so before it cooled too much to work. How long are you getting?
-
I took a four day Sugar Showpiece class with Chef Stephane Glacier last year and I can say it looks a lot like what we were taught in the blowing portion. Chef worked bare handed, but the rest of us wrapped bandaids around strategic fingers and wore latex gloves and still managed to get a few burns. Blowing sugar requires a good deal of practice. I failed at first due to too warm sugar. It inflated nicely but then deflated like a bubblegum bubble because it was too thin and warm. If you let it cool too much though, it freezes before you finish your figure.
-
It's a simple dough for soft pretzels so it shouldn't be complicated. It sounds like you use the same process that he describes. How deep a covering of flour do you have, and does the surface exhibit much cracking within fifteen minutes? I'm wondering how much such a quick acting starter is really doing for the dough.
-
I used "Active Dry Yeast". Probably the biggest issue is that I did not mix the flour into the milk and yeast. The directions state: "When the 90 grams of milk is at the right temperature, put it in the bowl of your stand mixer and add the yeast. Stir together and sprinkle the all-purpose flour over the top. Let sit undisturbed for 10-15 minutes. After 15 minutes cracks should have formed on the surface of the flour; this signifies that the yeast is fermenting." I thought that I may have misread the instructions and should have mixed the flour in, but I just don't read that. Why would it say to sprinkle it over the top if it meant to "add" or "mix in"? Why would it reference the "surface of the flour" if the flour were supposed to be mixed in with the milk and yeast? Wouldn't it instead just reference the "surface" alone?
-
I recently purchased Jacquy Pfeiffer's book "The Art of French Pastry" because it was so precise and detailed. The first recipe I tried is his pretzel and he gives very specific directions for a "quick proof" starter. He calls it his 60 degree C method where the sum of room temperature, flour temperature (165g), and milk (90g), and yeast (10g) should total 60 degrees C. So with a room temp of 70F and flour temp of the same I'm left with 18 degrees C for the milk. That's a mere 64F which is pretty cold. The directions are to mix the yeast in the milk, then pour the flour over the top and wait for 15 minutes. At that time the flour should be showing cracks where the gas is escaping. I've tried this four times now, the latest with a jar of yeast I bought today, and it's not worked once. I'm used to using water with some sugar and the water is between 110-115F, so his method seems crazy. Yet he is supposed to be a master pastry chef who teaches, so I went ahead a tried it. I'm really disappointed that the very first task I tried from his book is such an utter failure. Can anyone shed some light on this for me? Am I doing something wrong, or are the directions a complete failure?/
-
I have it too, though I haven't baked from it yet either. I was pleased when I saw that Ivy was quite adamant about weighing the flour. An initial scan of the book reveled a eide range of crackers.
-
You can preorder it at Amazon.uk now or you could wait for it to become available from the US site where it would be eligable for free shipping.
-
I ordered a copy. I'll keep working from my French copy until it comes, but it will be so much nicer to be able to flip open a page and read it.
-

Report: eG Chocolate and Confectionery Conference 2011
David J. replied to a topic in Pastry & Baking
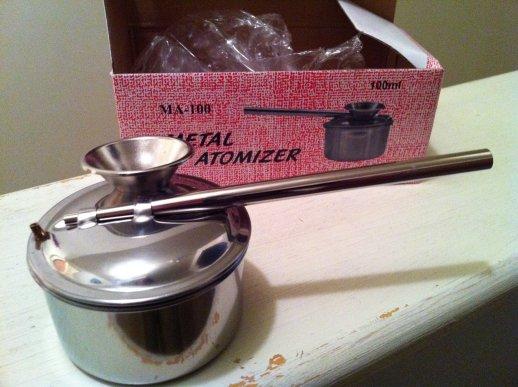
I was in Chicago at the French Pastry School for a three day Macaron class through Thursday so I missed the Friday trip across the border. Instead I drove though the day and headed to meet the group at Mia Casa for dinner. I arrived a bit before they opened at 5pm, so I had the place to myself when I wandered in. The owner and staff were extremely friendly and chatted with me as I sat at the bar and waited for everyone to arrive. I talked with the cheff about "Modernist Cuisine" and watched the owner swap bottles out of his "wine by the ounce" machine. He was extremely gratious and offered me the last ounce of a 2007 Tignanello. I'm not a wine expert by any means, but it was quite delicious! I want to thank Kerry for once again puting a lot of time and energy into this gathering. The dinner was fantastic and everyone's chocolates were the perfect finish to the meal. I hadn't gotten the memo that the chocolate venue had changed to the restaurant from the hotel, so I brought my class macarons for a lunch desert the next day. Others have done a great job reporting on the days events, so I'll just hit a couple things that were new to me. In the category of obvious once you see it, Derrick suggested you use two swipes to clear the capping chocolate from your mold. The first time you start at the middle of the mold, then from the end for the second. That prevents the chocolate from bunching up and running down the side. You then have only to clear one short end of the mold. Nice. Bob gave us a tip to use Soy Lethicin to better emulisfy all the fats when making caramel to prevent the "oil slick" from forming on top of your slab. Finally, Kerry found this nifty little breath powered air brush: Looking at it you would guess that it's a pretty poor atomizer, and you would be right. In fact it's a great "splatter" painter for colored cocoa butter. I can tell this is going to be a whole lot easier and less messy than using a tooth brush or my badger. Not only did she share her find with us, but she was nice enough to purchase several for resale so I could take one home!- 72 replies
-
- Confections
- Report
-
(and 1 more)
Tagged with:
-
I'll be at dinner.


