andiesenji
-
Posts
11,034 -
Joined
-
Last visited
Content Type
Profiles
Forums
Store
Help Articles
Everything posted by andiesenji
-
French waiter shot dead for being 'too slow with sandwich'
andiesenji replied to a topic in Restaurant Life
Did he think that was going to speed up his service? -
I listed the Bannetons and the couche material on ebay. I checked several sources for prices, which retail averaged between 125. and 140. so I listed the bundle for $80.
-
GORGEOUS. I am drooling here. Love cheese bread done this way.
-
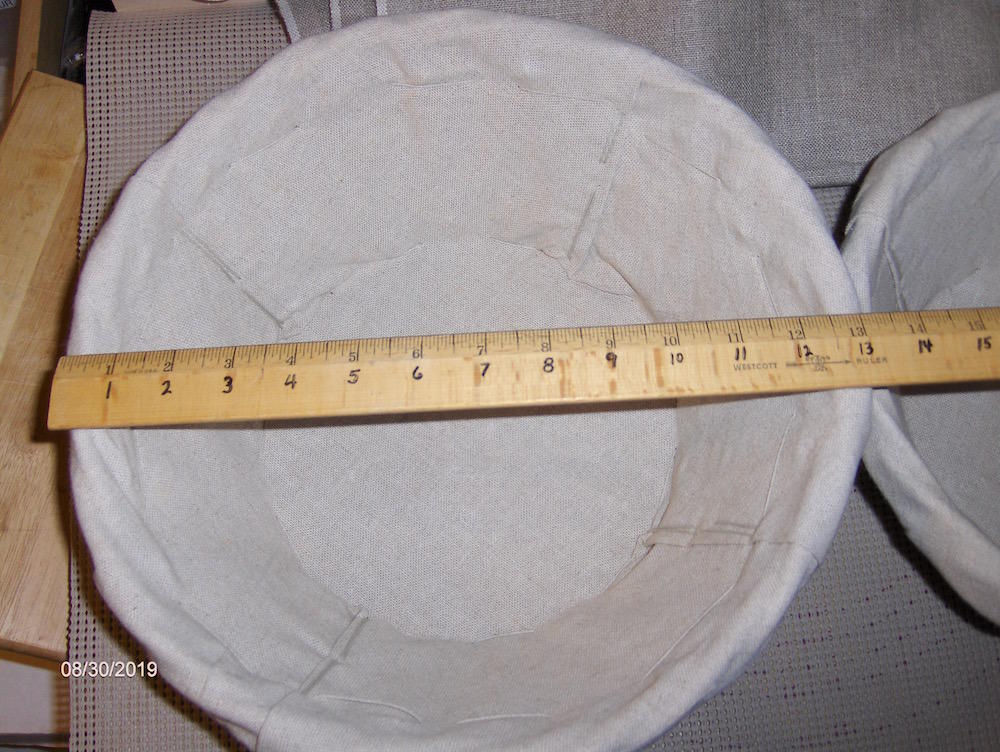
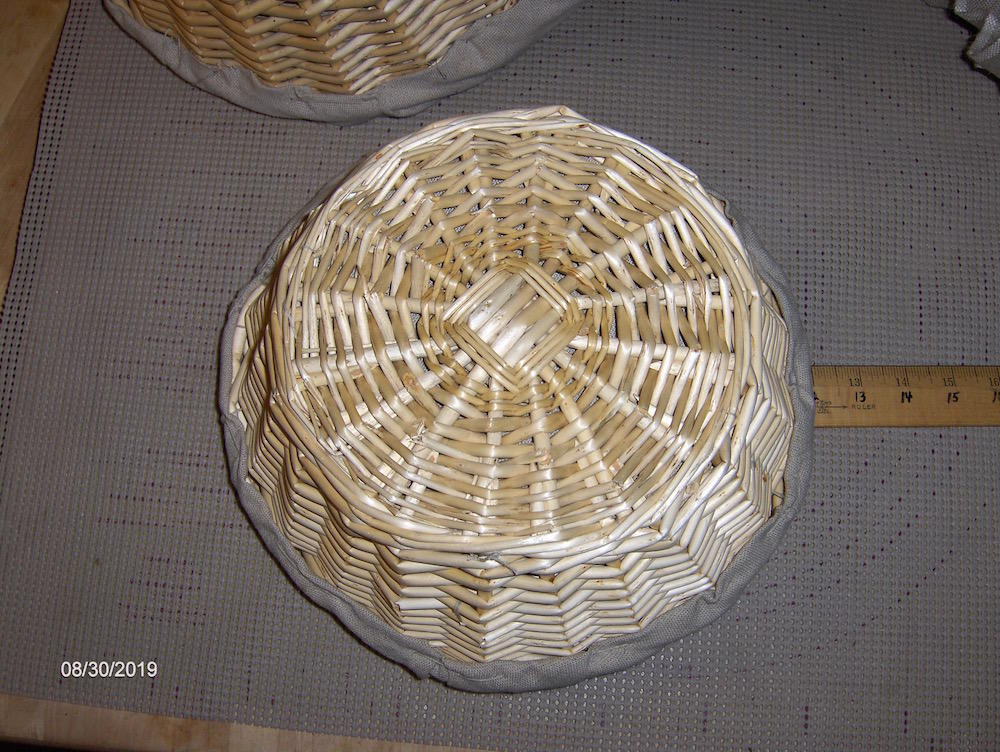
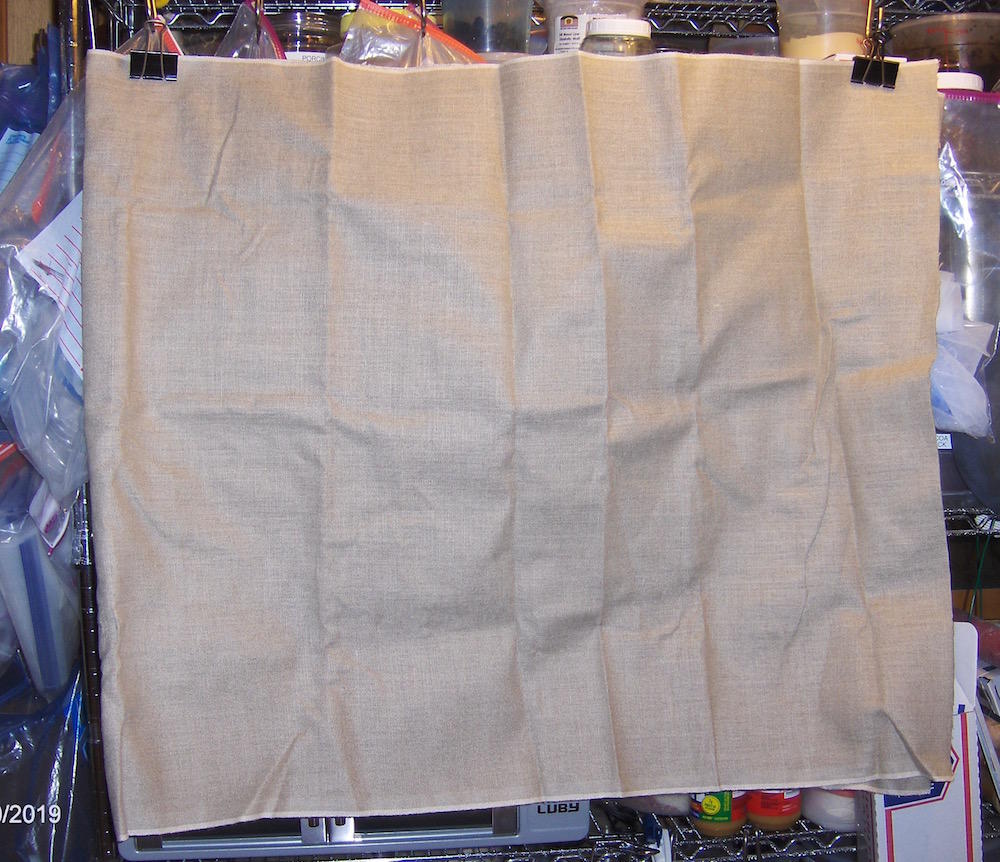
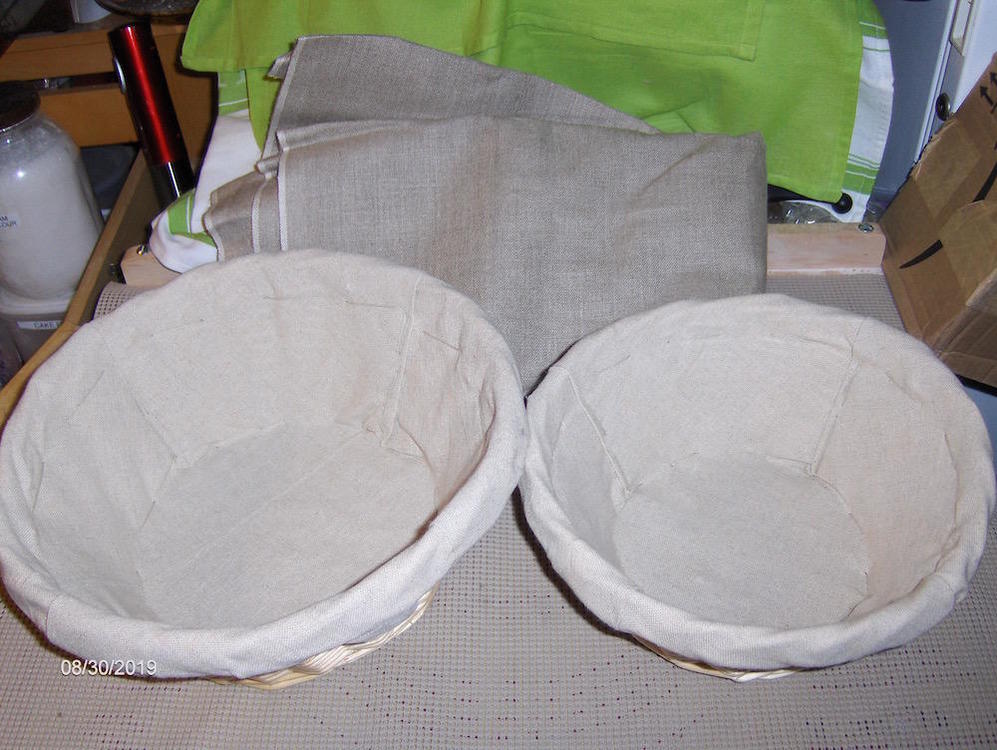
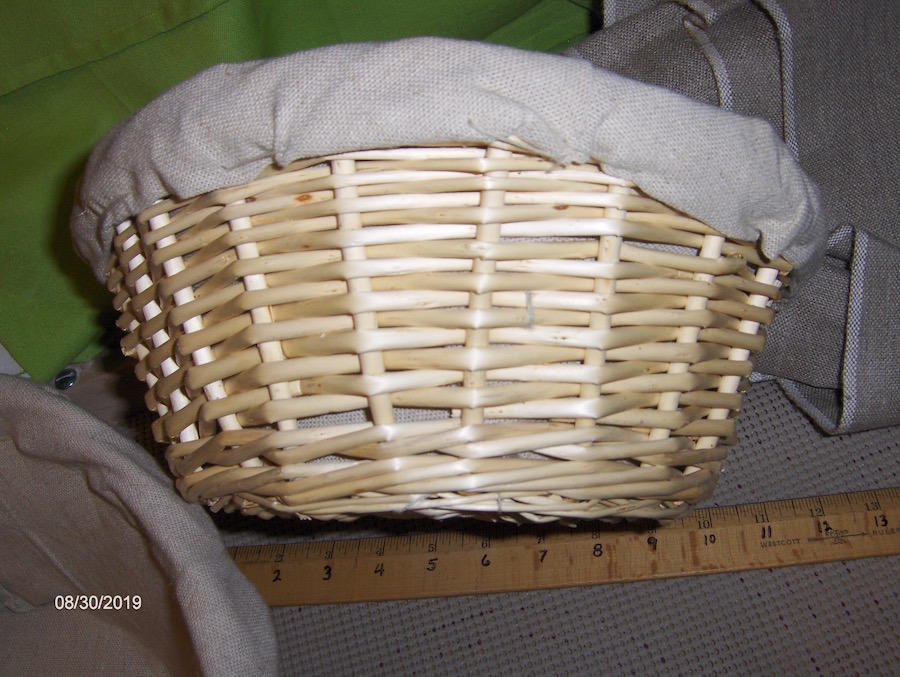
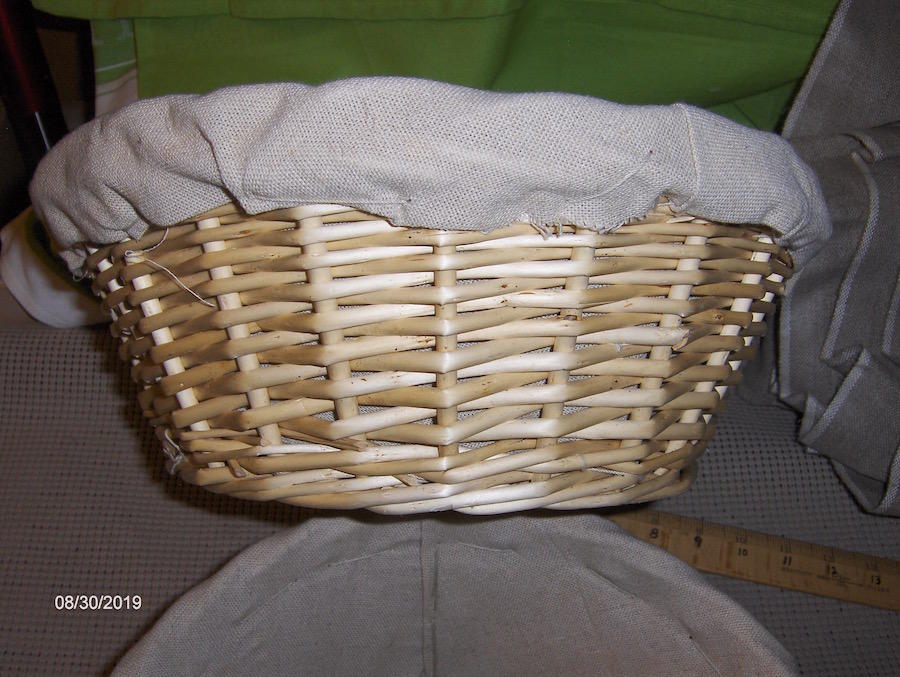
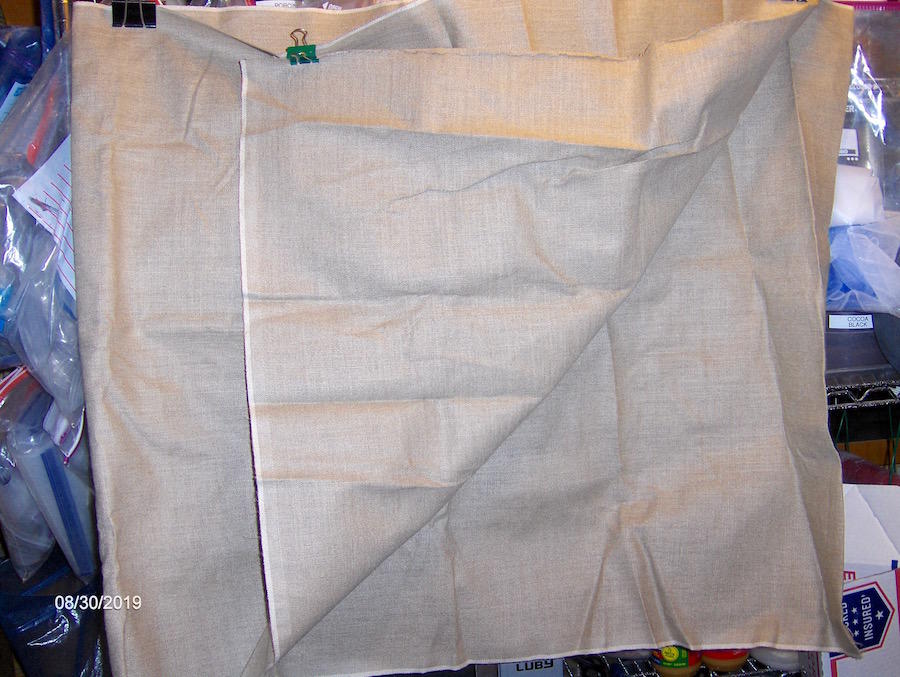
I have some baking things I want to sell. NEW! 2 linen-lined Bannetons and extra heavy raw linen couche yardage. I have 2 yards 31" wide. I had forgotten I had these - it has been more than 10 years since I purchased them and apparently "put them away in a safe place" which turned out to be so "safe" I lost them. I have had this HUGE box - my portable fridge/freezer for my van came in it and I have written on the outside "CAMBRO & ETC" as it is where I store the biggest Cambro containers 22 quart and smaller, when not in use. I haven't needed any for years, obviously. I had some other boxes stacked on top. I cracked one of the large lids for a 12-quart Cambro so moved the other boxes off, opened the box, retrieved the lid and then noticed there was an opaque white plastic bag under the stack of the big containers, stored upside down. I pulled the bag out and "discovered" these two, never used bannetons - I had 4 smaller ones that I used a lot - and this large piece of linen couche cloth. I know I bought either 3 or 4 yards of the linen and cut off some because I used to have the floured material in my freezer. The large banneton is for 4 pounds of dough, 11 1/2" loaf. The smaller one is for 3 pounds of dough, 10 1/2" loaf Anyway, I have no use for these. I don't bake that much any more so want to sell them and will put them on ebay later but thought I would offer them here first as I will sell them for less to eG folk. P.M. Me if interested. The weight of the three items in a box 18 x 15 x 9 is less than 4 pounds. You can go to the USPS site and calculate shipping to your zip code via Priority mail. I have to use Priority because I am unable to take packages to the post office.


-
A lot of people cringed when they learned I paid $4658. for the HObart installed, but previously I had had to replace regular dishwashers (Kenmore) every 5 years or so and during the previous 20 years I had spent that much on the machines, having them fixed and having my floor fixed when one leaked! The Hobart turned out to be a bargain. My friend has used it a lot in his bakery/café and says it still works like a charm 10 years on.
-
I have a Lello gelato machine, that is twenty years old. It replaced a Simac that was 30 years old - it needed recharging but it used the old type refrigerant that had been banned. Anyway, last year I experimented with not using heavy cream. Instead I purchased whole milk powder 5 pounds, 2- 2 1/2 pound tubs because I use it to make my cocoa mixture. But I also found that mixing 10 tablespoons of this WHOLE milk powder into a pint of regular milk, and a scoop of one of the plant protein powders (including the "Hemp Yeah" powder), will produce an extremely creamy result that is as rich as the ice cream made with heavy cream. And I can use half the sugar because while the powder is not sweetened, when combined with whole milk, it tastes quite sweet. I have flavored the base with vanilla, with my cocoa mixture which is a combination of black cocoa and regular Dutch process cocoa, with frozen and defrosted bananas, with frozen berry medley, blueberries and one batch with a cup of orange marmalade (homemade). Since I have mostly been doing this at night, because my swamp cooler is not working and I can do nothing during the 100° days, I use a blender to mix enough whole milk and the whole milk powder to fill a Half-gallon milk bottle so I have it ready for use.
-
When I got rid of my Hobart commercial dishwasher, the friend that wanted it replaced it with a Bosch - at that time the top of the line model. I have been extremely happy with the Bosch, it is so QUIET I can't tell it is on, the controls are in the top edge of the door so don't show while it is operating. The quick wash if 15 minutes and it works great for cleaning but leaves a bit of detergent behind. So I do a SECOND quick cycle so half an hour and I do allow it to cool down a bit - it has its own electric instant water heater so only needs a cold water line. It cleans everything to my standards, which are a bit stiff. I was spoiled by the HOBART, which I had fro 21 years and the 90 SECOND wash cycle with the individual removable trays, worked great for all the years I catered and did a lot of baking.
-
Effective, inexpensive kitchen gadgets you couldn't live without
andiesenji replied to a topic in Kitchen Consumer
Use it to fry corn tortillas to shape them for crisp tacos. -
This is sort of a baker's "secret" because baker's have accidents too, just as home bakers do. And bakers are FRUGAL, truly! I started worked in my mother's bakery when I was fifteen. At first it was just a couple of hours after school, mostly doing cleanup, scrubbing sheet pans, cake pans, sweeping, scraping and scrubbing the bench, and all the other cleaning tasks where I was needed. Then she wanted me to learn to read the formulas, load the mixers to take some of the load off the bakers so my hours were extended to later in the evening. Bakeries operate at night - back then, in the mid-'50s there was no AC and it was cooler at night in the summers (Wisconsin). There were occasional mistakes. A mixer bowl of dough was stuck into the walk-in and forgotten until too late to fix it and bake it off for that day. Or on one occasion when we had a huge order for our regular bread for the town picnic, two racks were shoved into a corner and totally forgotten. Way overproofed, slack, flaccid dough, dumped onto the bench. Not enough for the big bread mixer so it went into one of the 80 quart Hobarts, along with some water, flour and a quarter pound of yeast (we used fresh block yeast). It was like magic, when the two bakers lifted the bowl and dumped the dough into the small dough trough and rolled it into the proofing cabinet, it was ALIVE! From that point on, it was treated just like freshly mixed dough and it was scaled, sheeted and panned and baked off perfectly. And that is how I knew how to resurrect "ruined" dough. And you can do the same with dough that hasn't risen because maybe you forgot to add the yeast. I hate to see any food thrown away if it can be fixed.
-
You can "recover" any "tired" frozen dough. Allow it to thaw completely. Cut it into chunks. If you have a bread machine, put it into the machine with 1/2 cup flour and 2 or 3 tablespoons of water and 1/2 teaspoon years. Or throw everything into the bowl of a mixer with the dough hood and let it go until it again looks like "live" dough. I have used this method with dough that has been frozen for a year or more, vacuum sealed. Also works with overproofed dough when you have fallen asleep and not heard the timer.
-
Effective, inexpensive kitchen gadgets you couldn't live without
andiesenji replied to a topic in Kitchen Consumer
Regarding ricers. During the past 5 or 6 years I have used it most often on KIWI FRUIT! I can easily peel them, if i want slices, by blanching them in boiling water, just like a peach or nectarine or tomato. But most often, I want to puree them. I wash them cut them into chunks, toss the chunks SKIN AND ALL into the ricer. squish the pulp through, LEAVING THE SKINS BEHIND. What used to take me twenty minutes at best, takes 5 minutes with the ricer! I got the idea years ago when I was ricing red potatoes with the skins on. I rinsed the skins out of the ricer and started to hang it up and I saw several kiwi on the counter, which I was going to puree for layered parfaits for some Italian visitors. (Kiwi puree/sweetened sour cream, strawberry puree. Colors of the Italian flag. ) One attempt that worked perfectly was all it took. -
Effective, inexpensive kitchen gadgets you couldn't live without
andiesenji replied to a topic in Kitchen Consumer
I use my potato ricer for parsnips, celeriac, kohlrabi, sweet potatoes, some fruits, when I don't want to get out the food mill for a very small batch. Also avocados, cooked chicken livers, pressing steamed greens to extract as much liquid as possible. And even soft cheeses (spray the inside with oil so it doesn't stick) for a super-smooth result for cheese logs and balls. -
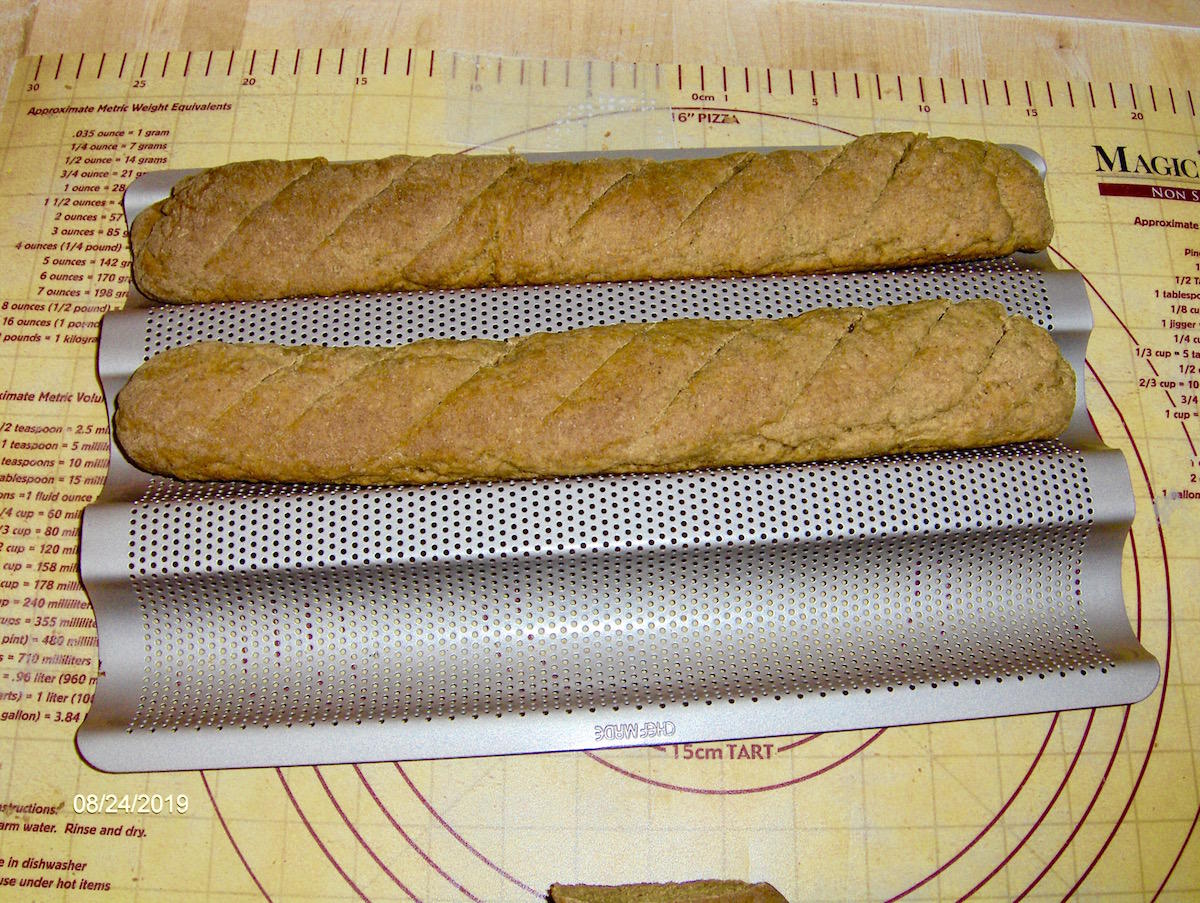
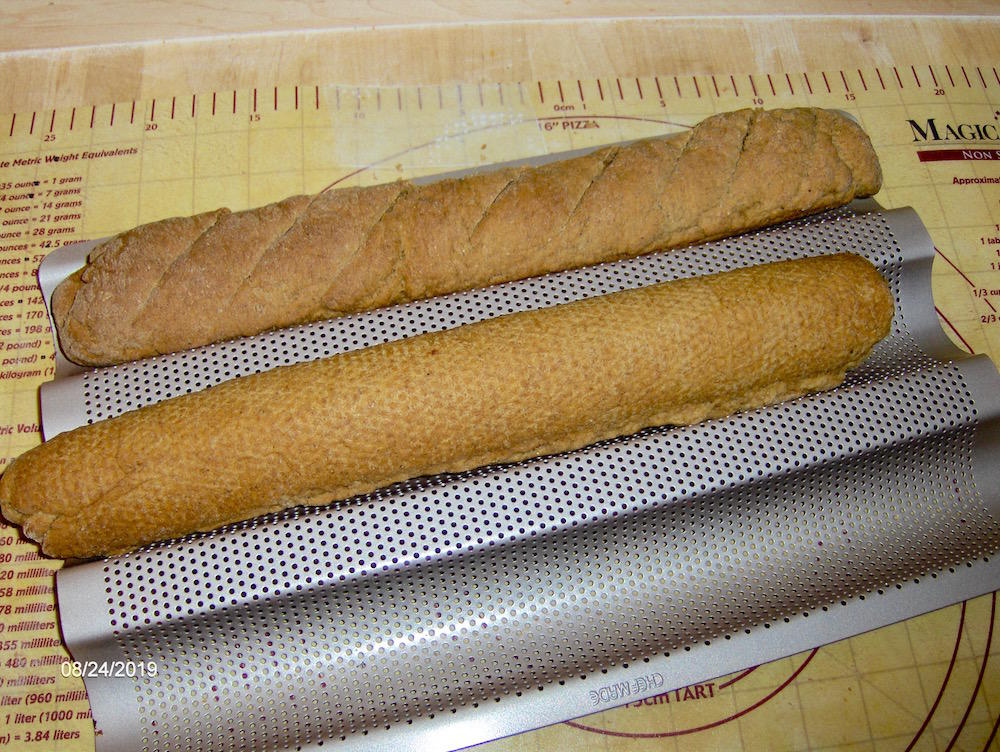
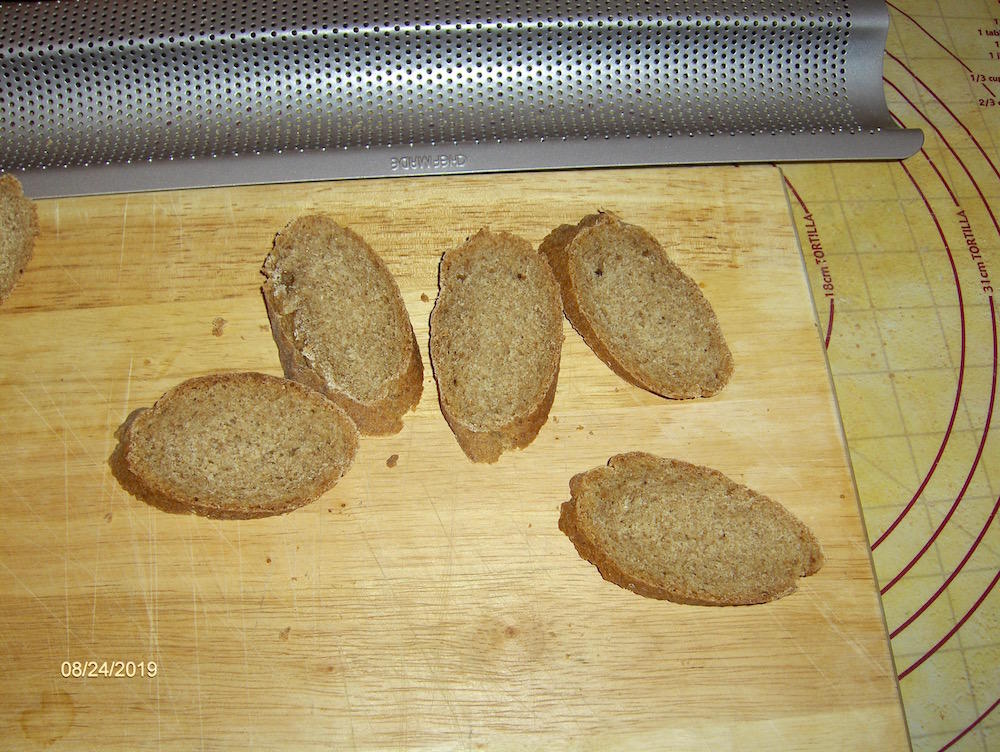
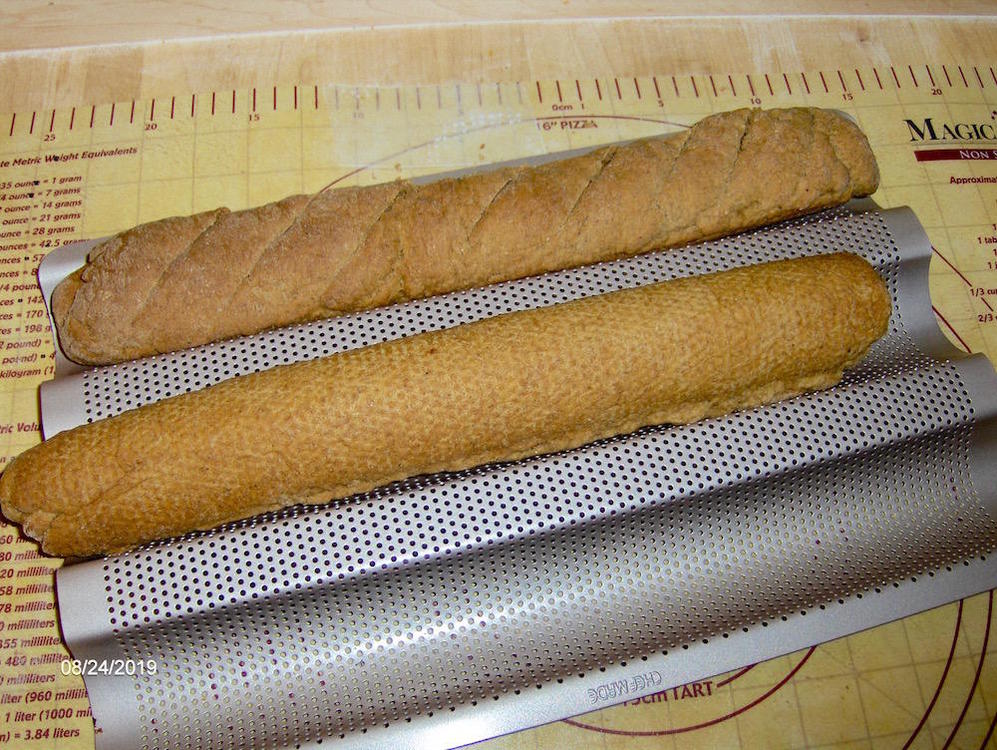
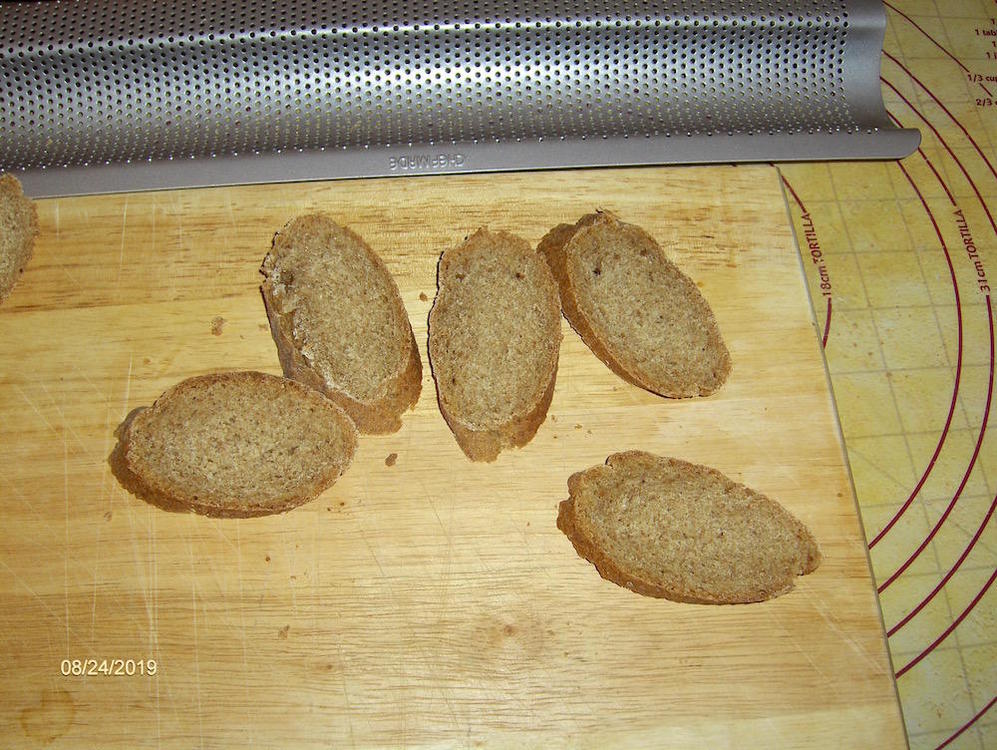
I got a new Chefmade Non-Stick "baguette" pan free from Amazon to test and review. It has only 2-inch channels so the size is what we used to call "batons" and was a favorite size for rye and whole wheat "snack" breads, which were sliced thin and made into Melba toasts. It is an excellent pan. I made this rather sticky, dense rye bread - intended to add caraway, both ground and whole seeds but forgot. Doesn't matter the rye on its own is very tasty. a combination of HALF Bay State Wingold Dark Rye flour, Bay State Medium Rye Meal, a small amount of Fawcett's Crystal (Red) Rye Malt freshly ground and the other HALF durum wheat extra fine (I usually make pasta with this). I added a couple of tablespoons of vital wheat gluten to punch up the yeast action to make use the product wasn't too dense. The first process was to mix the flours with the appropriate amount of water in the bread machine - I am still testing (this is the densest dough) - through the first long mix and knead on the dough cycle, then turn the machine off for 1 hour autolyse, then feel the dough, reset the machine and while mixing and kneading add the other ingredients (except for the salt) - and additional water - until the dough felt right and the machine was not straining with the knead. After the first rise, as soon as the machine began the second knead, I added the salt. At the end of the dough cycle I transferred the dough to a lightly floured board, divided it into thirds rolled, folded and shaped into logs that were about 2/3 the size of the channels and left to rise for 35 minutes. At the end of that time I turned the oven on set to 400° and when it signaled the pan went in on the middle shelf. Baked 25 minutes. Fine crumb, soft crust. In the next batch I will add ground caraway to the flour mixture and add whole caraway seeds after the first rise, when I add the salt. Also, when I shape the dough, I am going to roll the shaped dough into some large salt crystals on the board so they will be in the crust only. These slices are just the right size for snacking with a coating of paté or a soft cheese spread.

-
Your Daily Sweets: What Are You Making and Baking? (2017 – )
andiesenji replied to a topic in Pastry & Baking
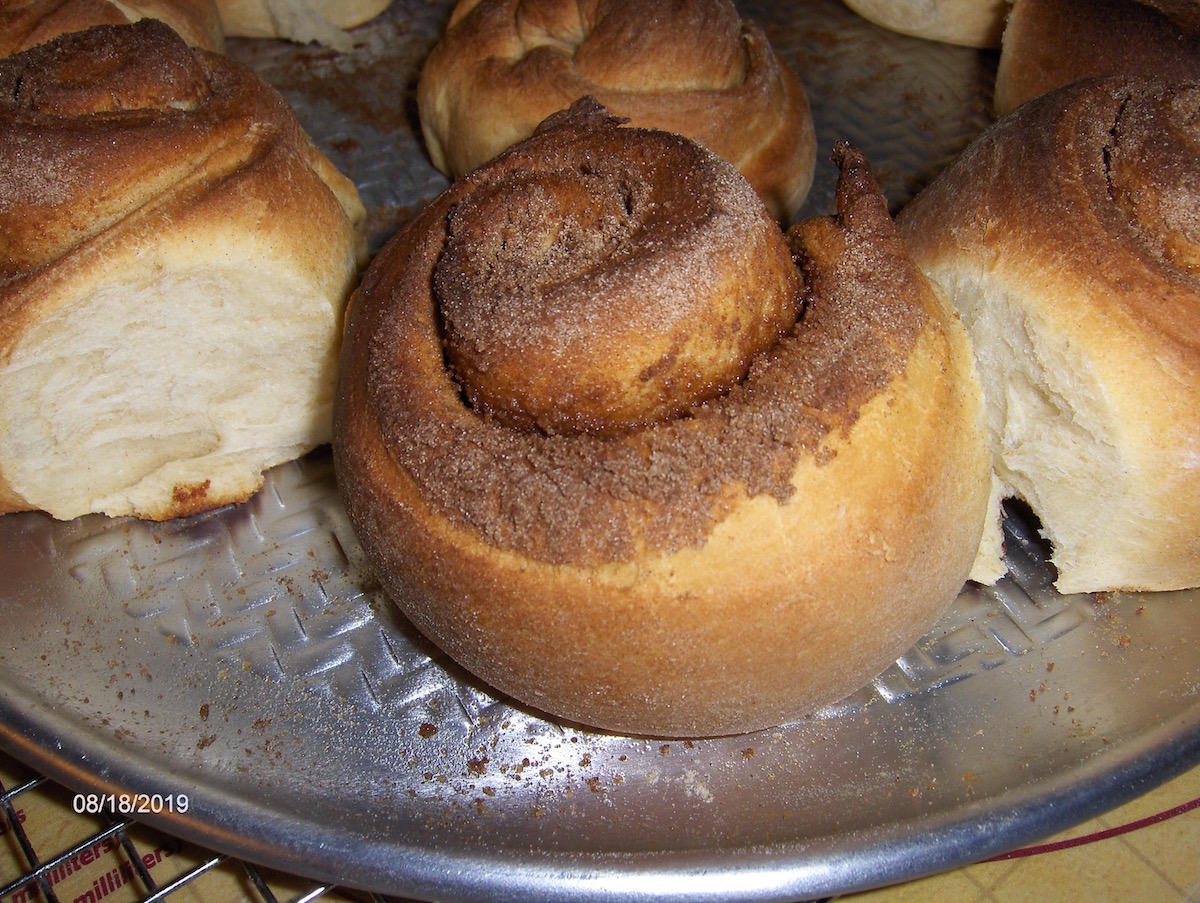
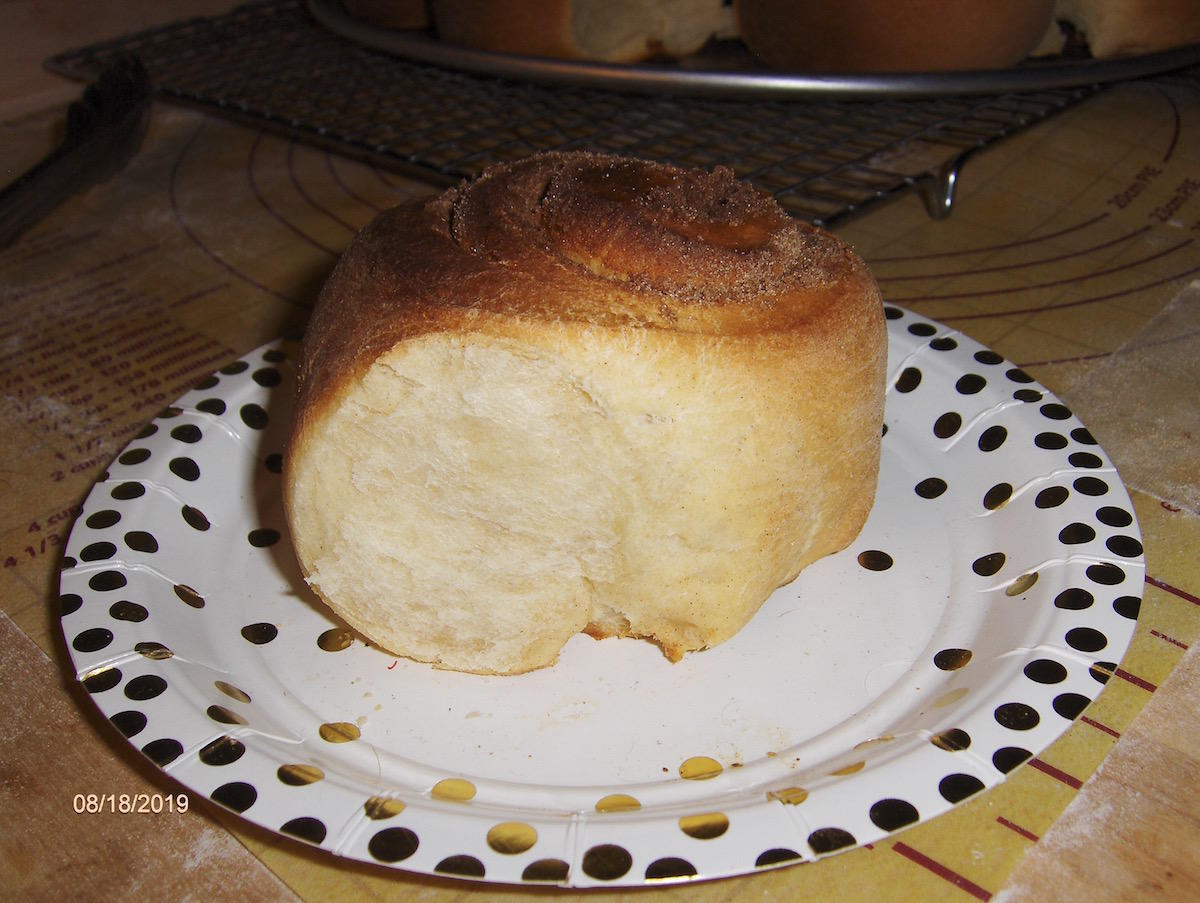
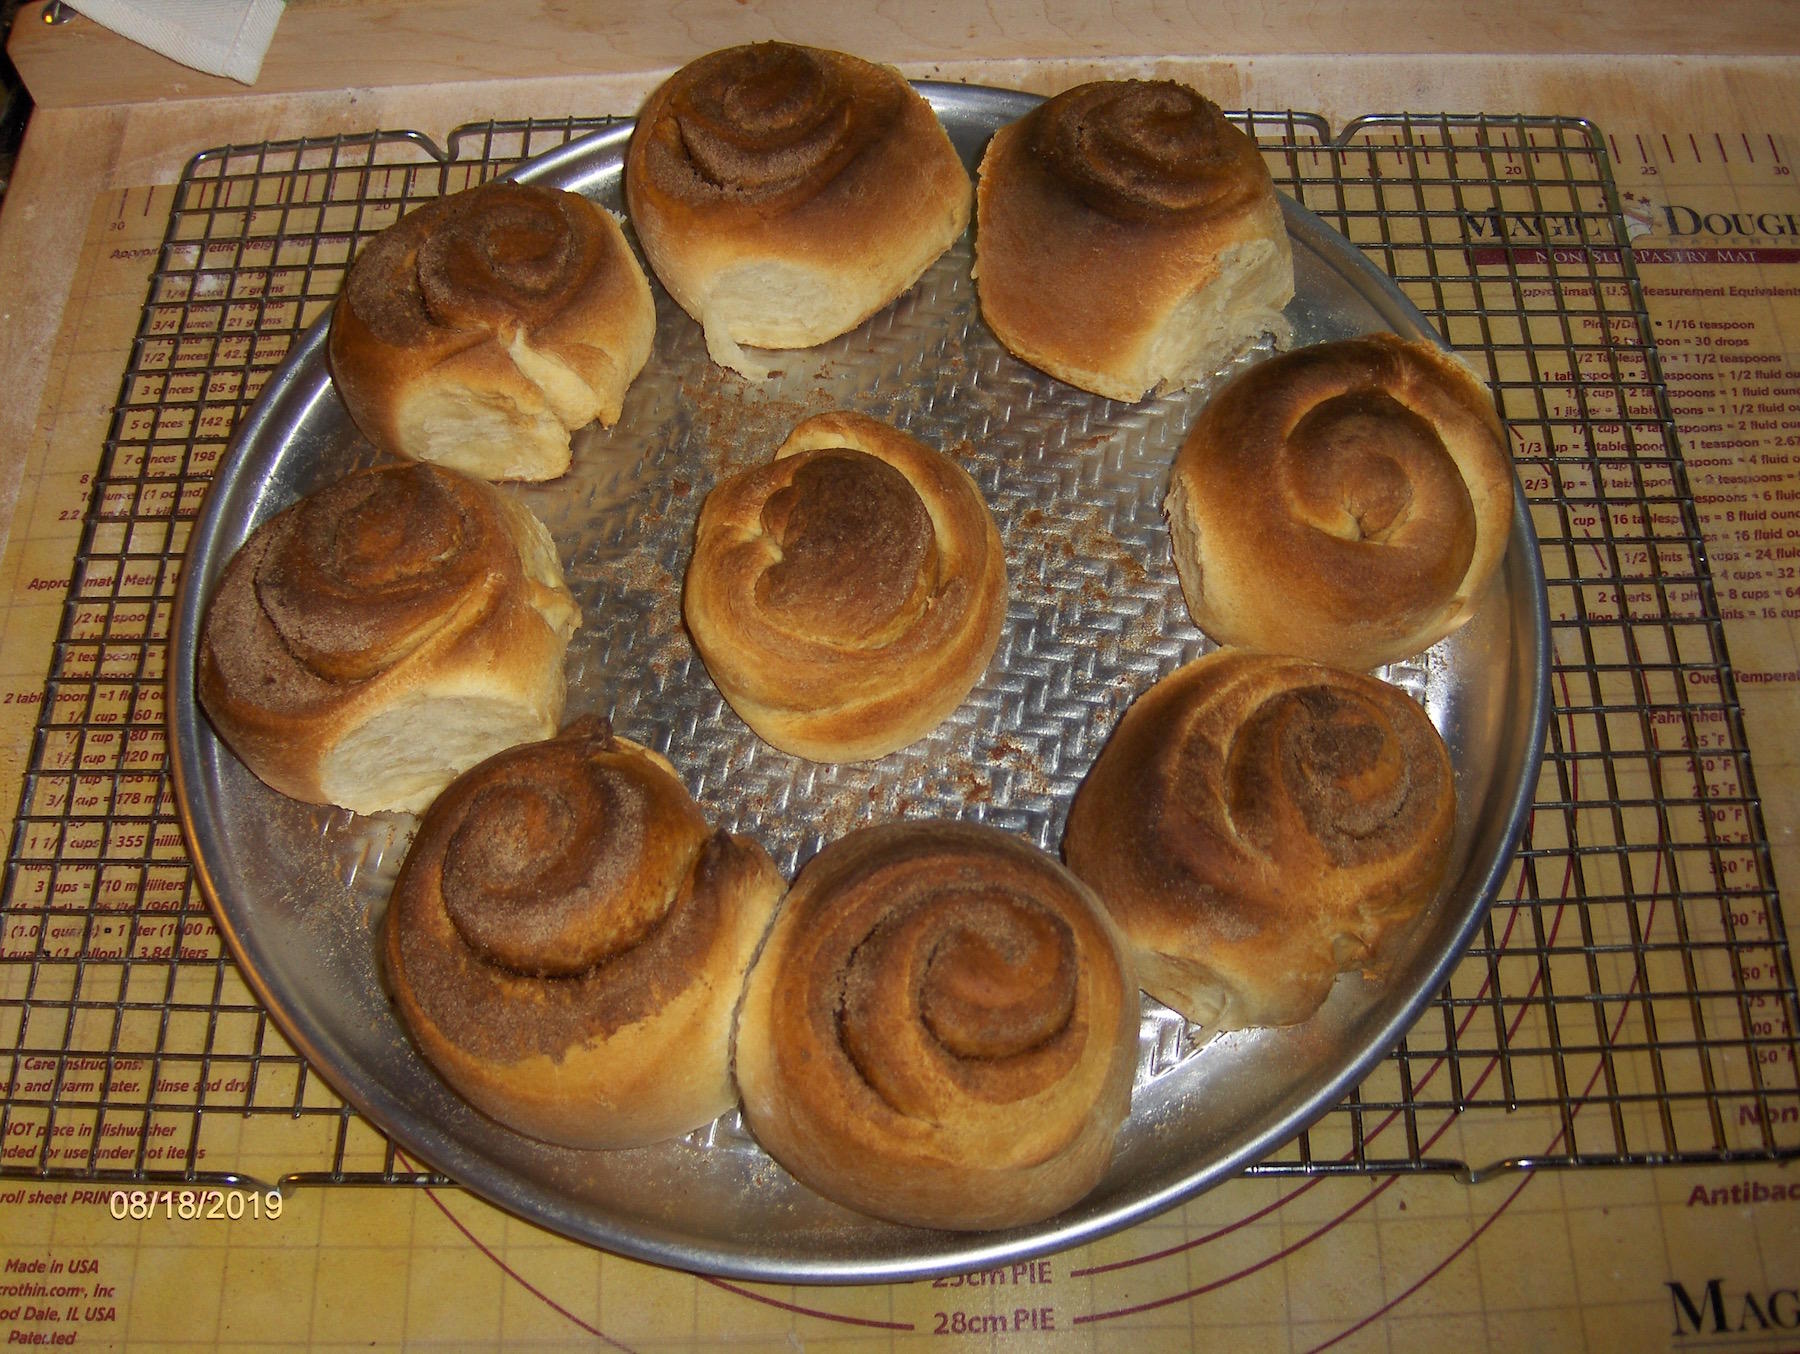
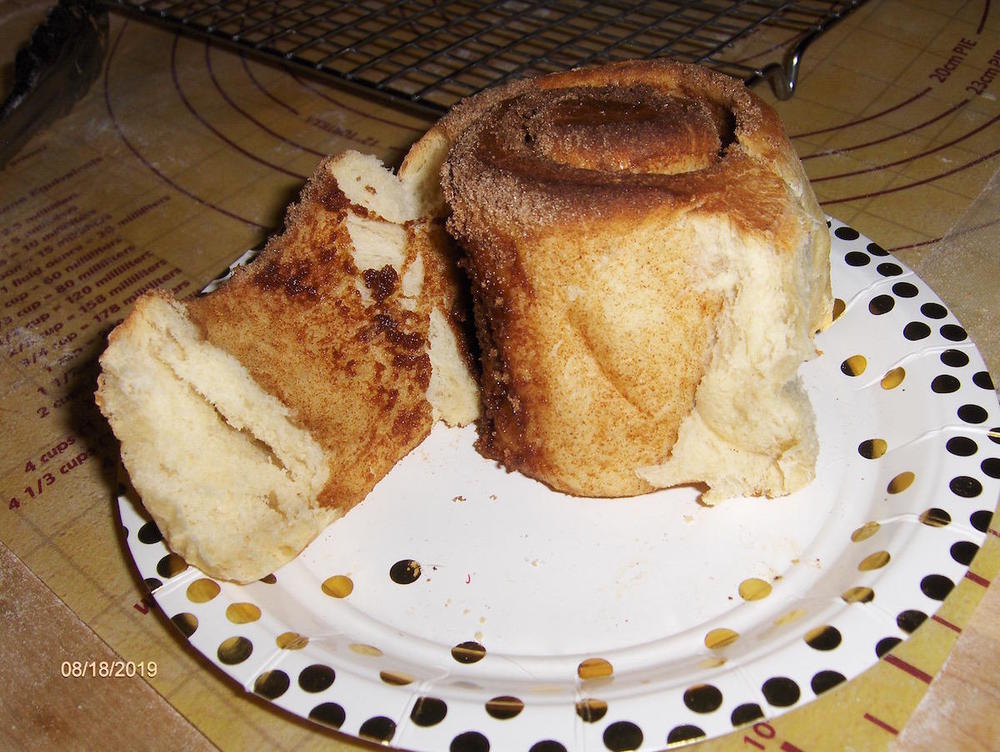
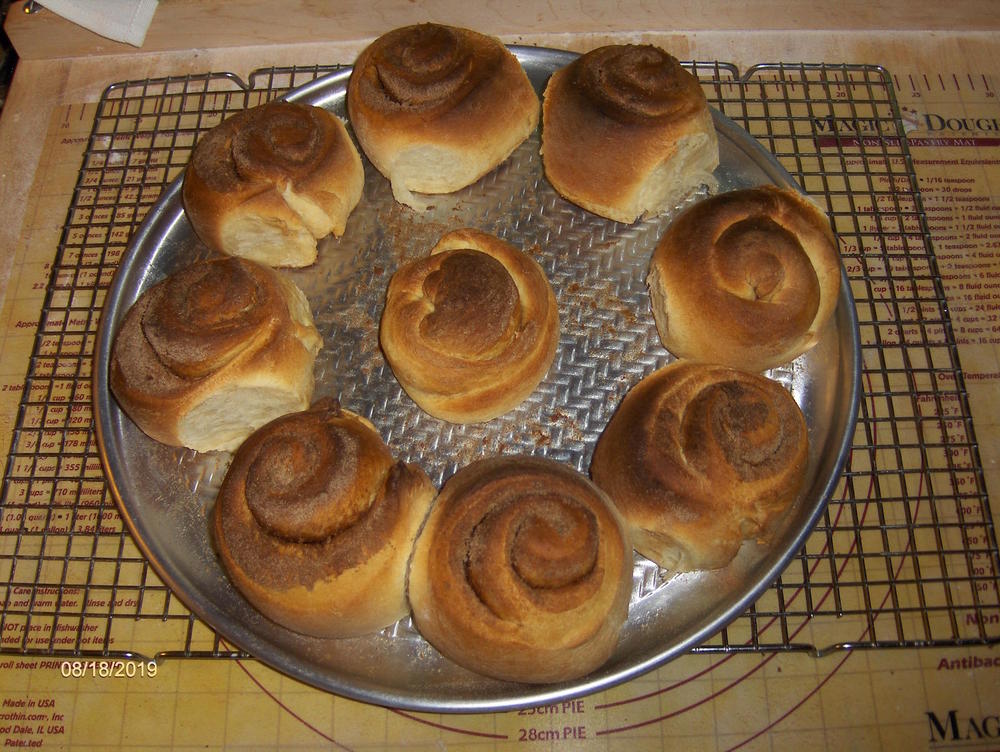
CINNAMON ROLLS - Extra-large. Overnight dough in Bread machine (a new for testing) on Dough cycle. The 100° daytime temps make doing this during the day, impossible. Prepped, shaped and set to rise at 4:55 a.m. Oven preheated to 400°F. Into the oven at 5:22 a.m. Finished at 5:50 a.m. Ready for tasting at 6:00 a.m. exactly.

-
It looks lovely to me. I like the big holes. I slice it maybe 1/2 inch thick and with a narrower loaf on a bias to get longer slices to toast lightly, rub with a garlic clove and use for bruschetta. The topping settles nicely into the larger holes so every few bites one gets an extra punch of the topping.
-
I don't expect ciabatta to rise much. My loaves have a rather firm "skin" that holds the large bubbles inside and it firms up even more as the oven heat hits it. I don't think about it, because it is pretty much automatic. I pinch large bubbles that work their way to the surface as I am shaping the loaves for the oven. I want them trapped inside and not blowing out through the crust. I form my loaves so they are WIDER and flatter than a "batard" with blunt ends. In fact, I "shape" them crosswise on one of my utility trays on which I have a sheet of parchment. I use a rolling pin to widen them and press the ends against either side so they are a rectangular shape. I let them rise a bit and then into the oven with some ice cube in the cast iron pan on the bottom of the oven. I use a peel to slide the parchment onto the oven rack. I rarely use the baking stone or a pan, The dough for ciabatta is sturdy enough that it holds its shape on the parchment. The loaves are 14 inches long and about 7-8 inches wide and probably 2 inches high with maybe another half inch in the middle.
-
I finally found my notebook where I recorded my results with the various cultures. Sourdough international stated about the South African culture: "This is the only culture we are aware of that leavens whole wheat flour better than white flour and is ideal for home bakers who grind their own. The flavor is truly unique, and the texture, sourness and flavor are unsurpassed. - It ferments spelt and kamut very well. - The nutty flavor persists. It is grown and packaged in whole wheat flour. This culture was collected by Gray Handcock in Kenilworth, a suburb of CapeTown." I used 1/3 spelt, 1/3 kamut and 1/3 bread flour to start the culture, and I used my "isolation technique" by using my steam cleaner on every exposed surface, including the ceiling, of the small room that was once a "utility" room with a laundry sink until I had that sink removed so I could use it for my dehydrators. Those were covered with large plastic bags. I only opened the starter in there and removed what I needed for each batch of bread and using that method, was able to maintain the culture for 8 months - at which time it became very sluggish and would no longer have enough "oomph" to rise the ground "ancient grains" which I had been using half and half spelt and kamut. It worked fine with bread flour or all purpose with no more than 1/3 King Arthur white whole wheat. In the meantime, I had activated, using the same isolation technique, the Bahrain Culture, which was extra sour and was very enthusiastic with straight bread flour or with bread flour with up to 1/3 NUT or SEED FLOURS. A friend had suggested trying sunflower seed flour. I was able to keep this culture isolated for about 6 months, only because I got careless and opened the container without takign precautions. The next one I activated, after a few months of no sourdoughs at all (kept the purchased cultures in the freezer) was the one from New Zealand that was recommended for RYE SOURDOUGH and it did a spectacular job. And that one I kept going for two years, the last year I worked and the first year of my retirement. I also froze some, and was able to revive it in 2012 and maintained it until 2015 when I had open heart surgery and was away from home for 2 1/2 months. If anyone is very partial to Rye sourdough, this is a fantastic culture and it resists conversion to "local" wild yeasts better than the others. I still had a couple of cultures in the freezer and activated the Australian (Tasmanian Devil) a couple of years ago. I did not go through all the isolation techniques because at this point I didn't care if the wild locals took over. My notes are rather sketchy on this one but I did note that it was VERY ACTIVE and produced distinctive sourdough flavor with HUGE BUBBLES in the crumb and made great CIABATTA bread in large, wide loaves. The remaining cultures I had in the freezer were Poland and Finland and earlier this year I sent them to a younger friend who has been experimenting with sourdough.
-
When I first began doing my "experiments" with various regional sourdoughs, I couldn't find flours from the "ancient grains" so had to grind my own. In fact, that is what prompted me to get an electric mill- which was just so-so and a year or so later I replaced it with a Nutrimill which worked exactly the way I wanter. I found (as have many bakers before me, though few seem to mention it) that TOASTING the raw grains prior to grinding them - allowing them to cool first - improves the flavor a great deal. It's odd that many of the bakers with whom I have corresponded (before the internet) always seem to fail to mention that they routinely "bake" their flours before storing them. My best results with most of the "foreign" cultures was with a blend of emmer, kamut and a small percentage of rye. A couple of the cultures I got from Sourdo.com had a strong affinity for RYE flour and developed a very vigorous starter that lifted either rye or whole wheat or other grains to heights I had not seen before.
-
The problem is keeping the cultures ISOLATED. I had a method to keep them isolated for a few months but the local NATIVE cultures have had centuries to acclimatize to a locale and they are strong. That is why trying to maintain a "foreign" culture in places like the Bay area, where that culture simply overwhelms any outside cultures within a few weeks. It is easier here in the desert because the wild yeasts are not as vigorous. in one thread I related my experience with an exceptionally STRONG sourdough response when a local brewery was still operating. It was an experience I do not care to repeat.
-
I originally saw this on Twitter on August 4 and again a few days later and found this link. If you have a twitter account, you can do a search for Seamus Blackley and follow dozens of tweets about his "adventures in yeast, dough and breads" - not something you would usually see from a PHYSICIST! He shows where he is milling with emmer. and then the various breads. It's a very interesting thread. and I saved the link to The Guardian article: and the BBC article And I tweeted about the National Geographic production when Ed Wood helped reconstruct an ancient Egyptian bakery back in 1993. (they were excavated in 1991) That set Ed on a search for other strains of wild yeasts which became the Sourdo.Com selections of various cultures from around the world. I have posted in much earlier threads about my adventures with some of these strains, back when I was doing a lot more baking. P.S. There is also on Twitter - an Ancient Yeast Club!
-
Yes, sulfites and other processes inhibits the proliferation of the organisms that develop into a colony that becomes a mother. LIGHT is also a problem after bottling. Often wine will turn to vinegar after time even when not opened but especially if opened and exposed to oxygen - which is oxidation but there has to be a certain number of organisms in a natural state for a viable colony to develop. There are several wine making books that also discuss the procedures used to AVOID conversion to vinegar and also how to make "artisan" vinegars. If there is a Brewer/Wine making supplier in your area, you might get some valuable help. There have been people who became successful, almost by accident. Read about the Madhouse Vinegar guys, how they got together and what they are doing. This is a recent happening and fascinating. I spent years fiddling around when my only information source were some old, out of date books but at that time I lived in the San Fernando valley and I found a great Wine-Making supplier on Ventura Blvd in Woodland Hills who was very helpful, sold me my first big carboys and introduced me to a couple of hobby winemakers who were more than happy to give me their unsuccessful results with which I could experiment, rather than pour it down the drain. After I moved up here to the high desert in 1988, I was lucky in that the neighbor behind me was Italian and HER father lived in Tehachapi and made red wine from his own grapes and from the wild blackberries that grow up there. I went up with her a few times and he always would give me a jug of wine, even though he knew I didn't drink, he told me to use it for cooking. And I did. I added some to the vinegar I had been nursing along for a few years and it really loved his wine. It improved exponentially. That was the batch I lost in the earthquake. By then he had passed away and I had no access to homemade wine of that purity and quality.
-
Unfortunately, unless you are in an area where there are orchards or vineyards, where "friendly" organisms are in the air - and this means well away from any pollution from vehicles because fumes from burning fossil fuels destroy the beneficial organisms, you will not have any success. You have to be in a rural or semi-rural area. I experimented with various wines decades ago that "turned to vinegar" but a viable "mother" never developed and the vinegar effect that was a chemical reaction, deteriorated over time. You need whole, unwashed fruit that has not been treated with wax or washed so commercial fruits are not acceptable. You can try health food stores that carry Certified organic, unwashed fruits. Or if you live in an area where there are table grapes or wine grapes growers, you can buy from roadside stands. I have a friend who grows several varieties of grapes and I buy from him and juice my own grapes. For starting a mother, you need to juice the grapes and include both the juice and the skins in the jar. It has to be kept away from light because light will inhibit the fermentation. Be patient and avoid disturbing the jar for at least 6 weeks. Get a Ph test kit to monitor the progress. It may take several tries to get a viable mother to develop. And, not all the bacteria on fruits are beneficial! Some of the bacteria that cause fermentation, the "wild bugs" can invade a culture and make people ill. A hundred years ago there were no huge feed lots where thousands of cattle were fattened for slaughter, in the same area as table grapes are grown, as in the San Joaquin valley. Dust collected in the area contaminated with E.Coli. I personally wash table grapes from that area thoroughly and would never consider using them to develop a mother. The same with fruits that are grown near the huge egg production places where dust is floating around that contains salmonella. You have to educate yourself about the source areas where fruits are grown. This is why people who are serious about developing their own vinegar BUY commercial mothers so they don't inadvertently make themselves or their guests ill.
-
It is less "sharp" than most vinegars. It has a very slight flavor that is somewhat "vegetal" and very pleasant. It makes great mild pickles and I used it to make shredded ginger pickle. However mostly I used it in marinades, especially for chicken and pork. I also forgot to include that I made a lovely vinegar with maple syrup that I used almost exclusively in fruit salads.
-
I have several books on vinegar history, production, various homemade as well as commercial types. I have made vinegars from many fruit juices, starting with either the cider vinegar mothers or one converted to white wines. Apricot, pineapple, peach, pear, persimmon, coconut, passionfruit (from when I lived in the San Fernando valley and had an extremely prolific passionfruit vine), blueberry, raspberry, quince, gooseberry, kiwi, tomato, strawberry, white fig, currant red and black. I also made vinegar from cane syrup - a friend brought me a half gallon from Jamaica and being a diabetic, I decided to convert it to vinegar - which is done in Jamaica and I had tried the Jamaican product some years earlier.
-
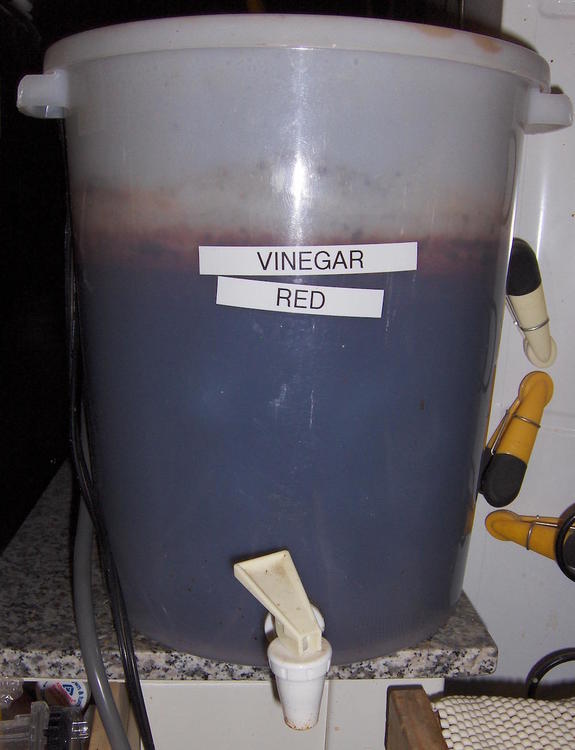
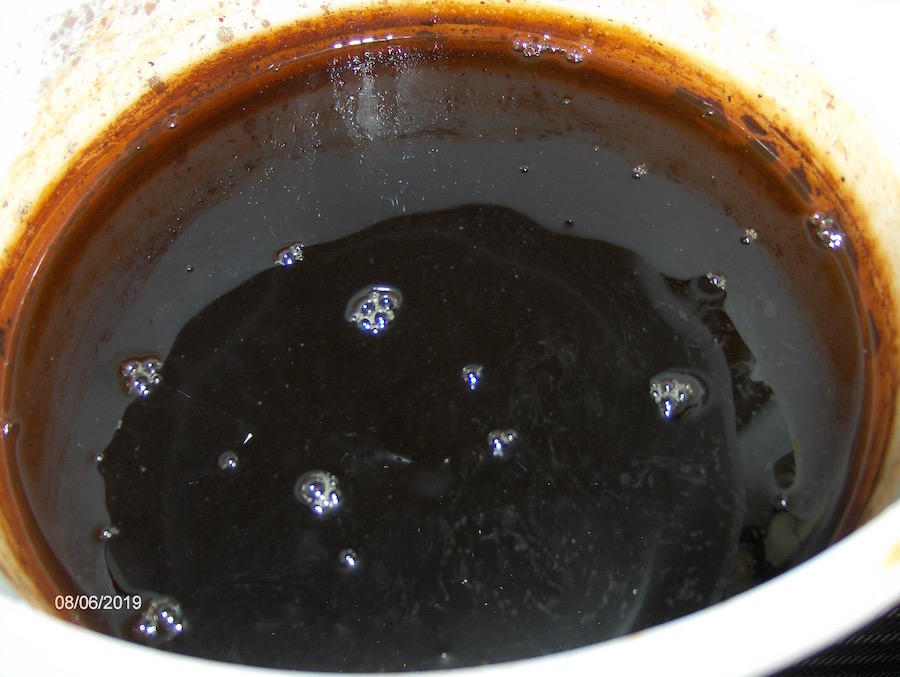
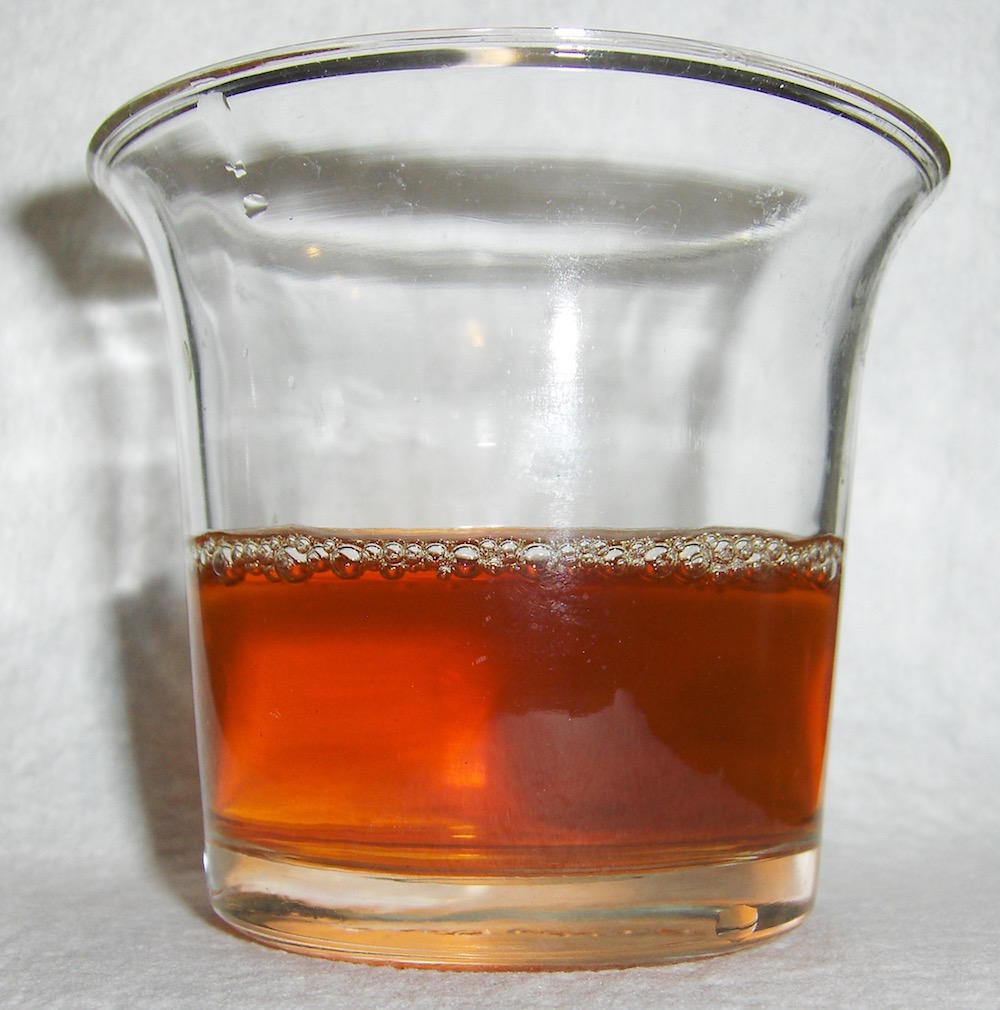
You can buy a bottle of Bragg's Apple Cider vinegar with the "Mother" - there are a couple of other brands that carry it and start your vinegar with at least a full pint bottle of the Bragg to which you add at least two bottles of red wine or white wine, keep it in a place away from direct light, covered with a permeable cloth that has been sterilized with boiling water (dry it in a very low oven, not in the dryer). After three weeks (it takes about 20 days for the mother to "take hold" of the wine) you can add another bottle. I have my vinegars in larger containers with spigots at the bottom so I can draw off vinegar without disturbing the mother. You can add either wine or fruit juice (boiled and cooled) once the mother is established. It takes about 6 months and 5 bottles of red wine for it to convert completely from the cider base to the red wine base for regular wine. If you use a SWEETER dessert wine, it converts more rapidly and with less wine. The mother likes sugar. It takes longer with dry WHITE wine but can be sped up with sweeter wines. I did a batch with 2 bottles of Liebfraumilch and one bottle of Riesling that converted in 3 months. Couldn't taste even a hint of the cider. Amazon and others online SELL wine mothers. These photos are of my main red wine, which is easiest to access in my big pantry. This mother was started in 1994 - after the January earthquake when my old GLASS carboy broke when something fell on it. I got this at a restaurant supply place, BPA free and acid-proof. The mother is a solid, disc-shaped mass that floats just below the surface. I "feed" it at least every 6 weeks, usually with boiled and cooled grape juice (I juice my own grapes). From time to time friends who are wine enthusiasts bring me bottles of opened and not finished wines from one of their parties. (I don't drink alcohol because of a severe allergy.) I drew off some and tested the Ph which is right at 3.7, which I consider ideal for this type. This vinegar can be poured over crushed ice, seltzer added and drunk as a cooler.