rbenash
-
Posts
35 -
Joined
-
Last visited
Content Type
Profiles
Forums
Store
Help Articles
Everything posted by rbenash
-
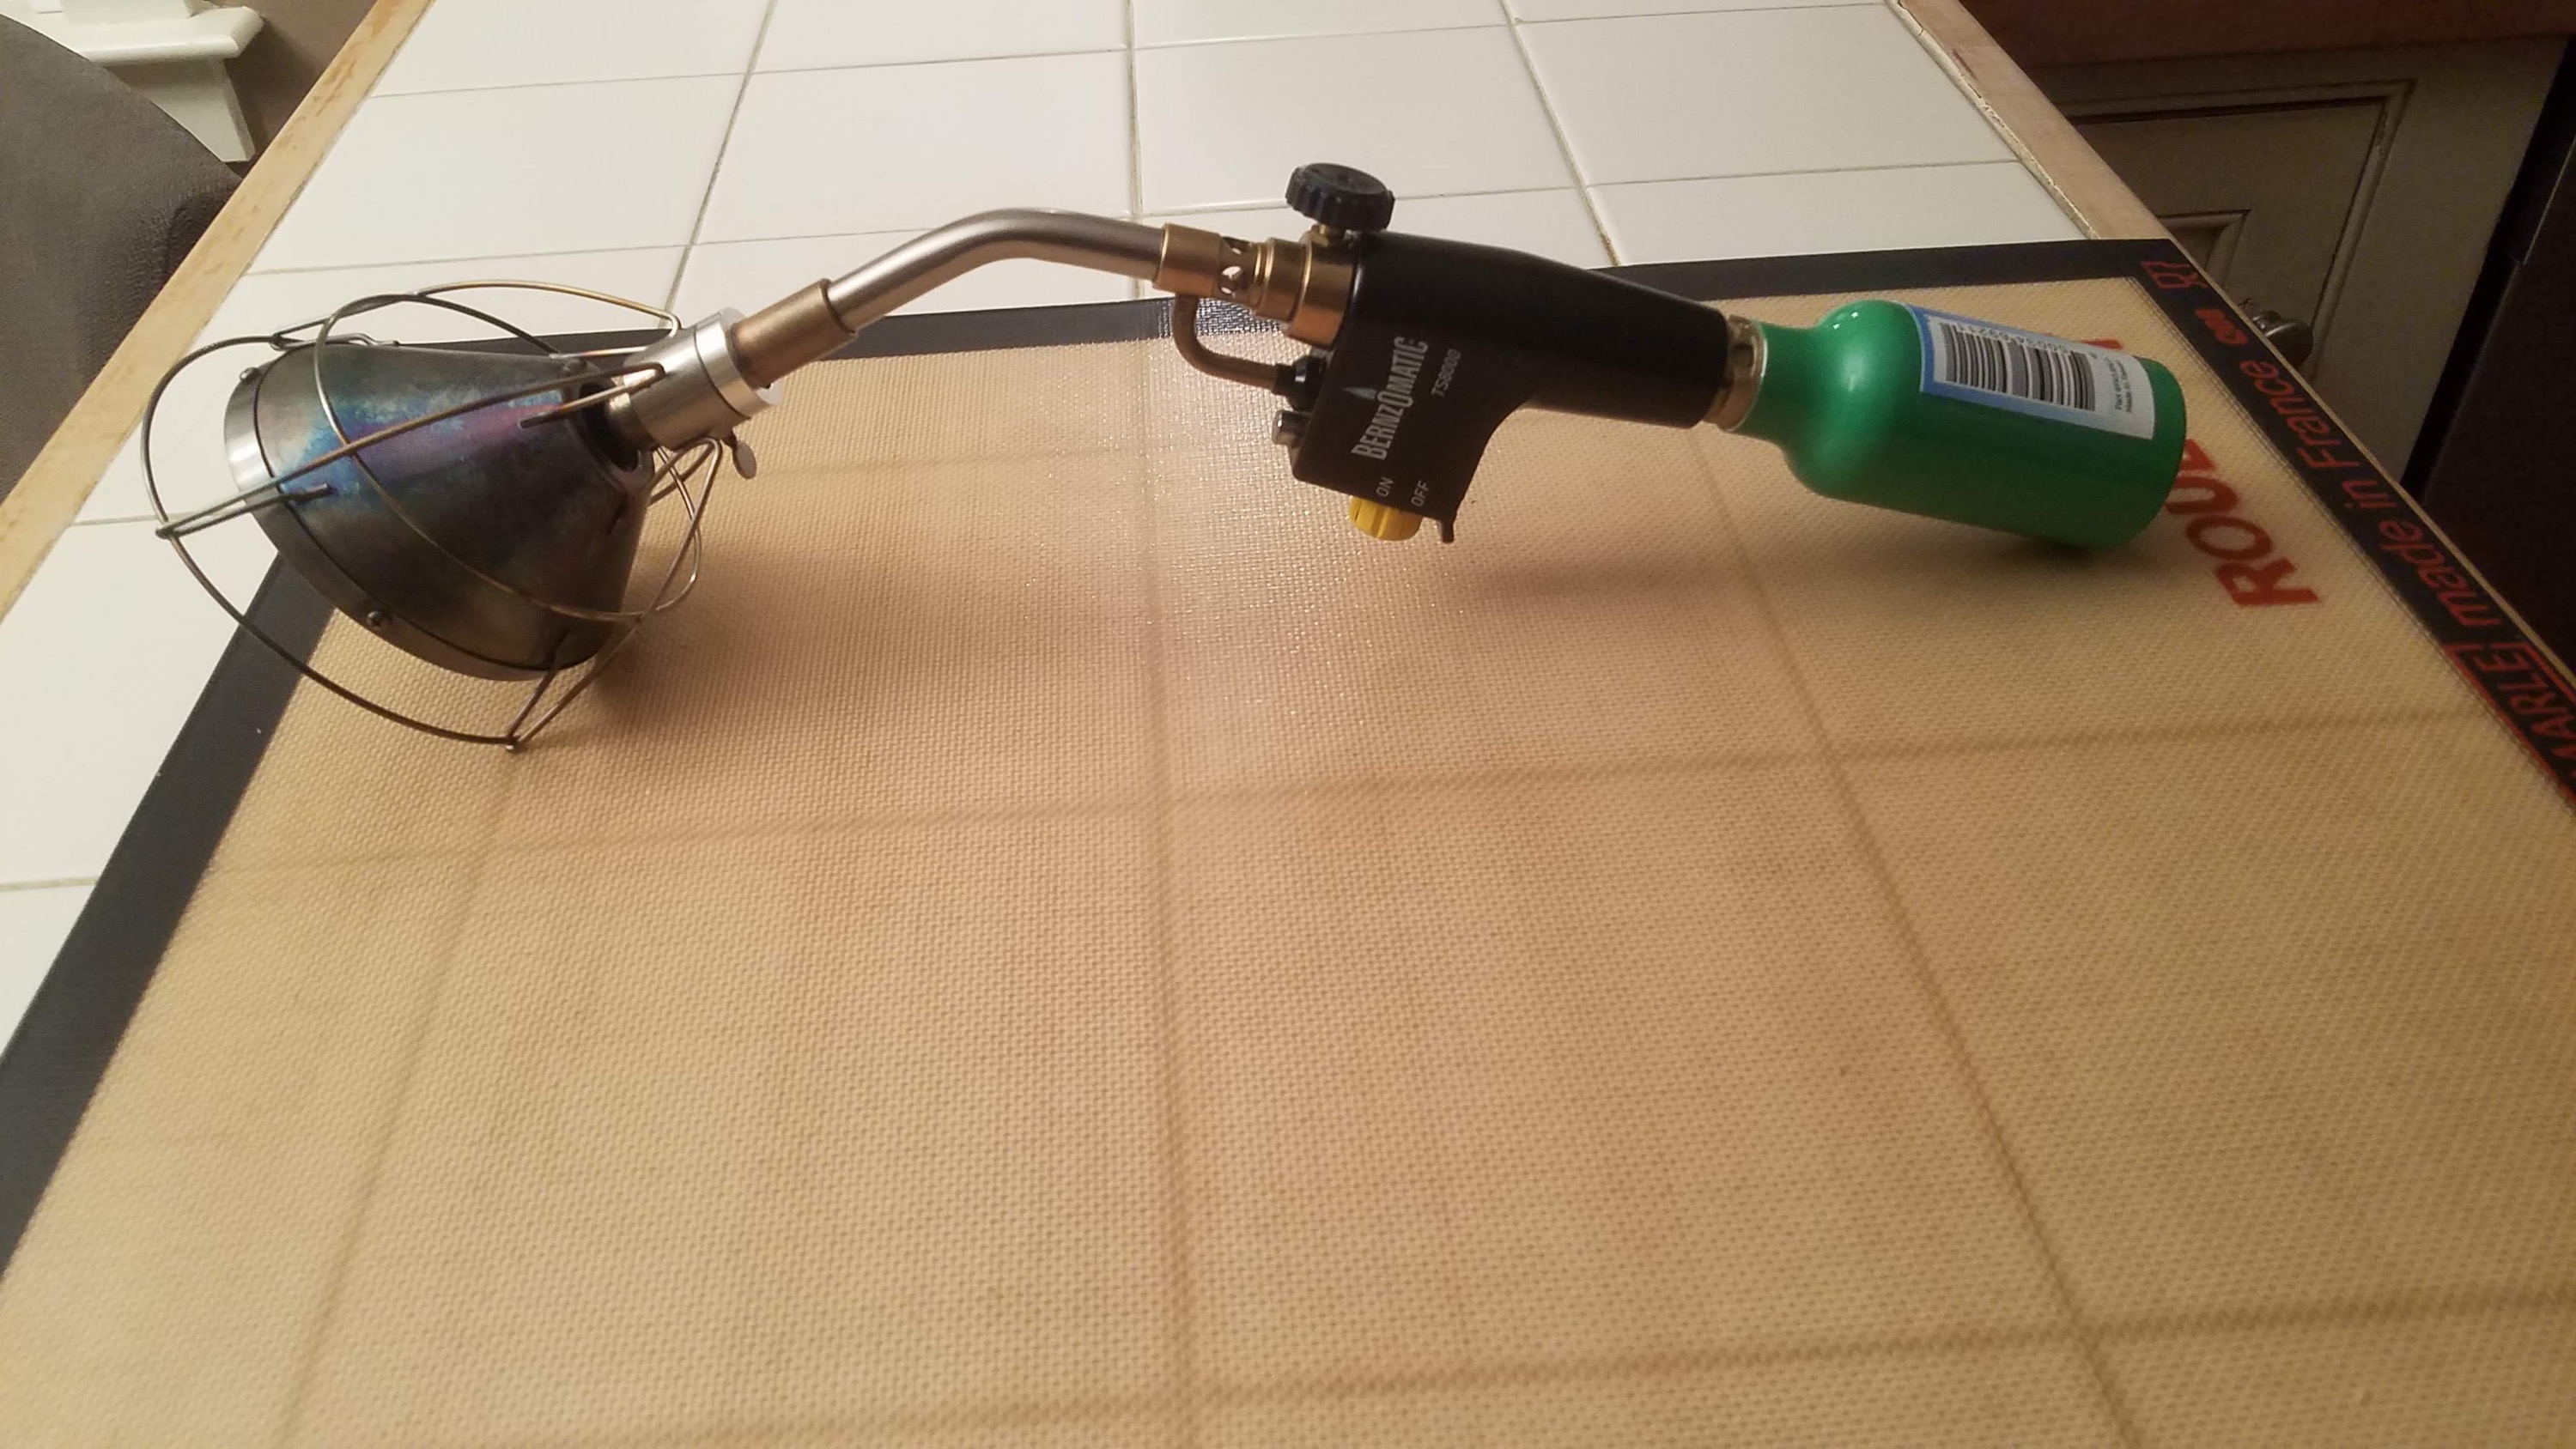
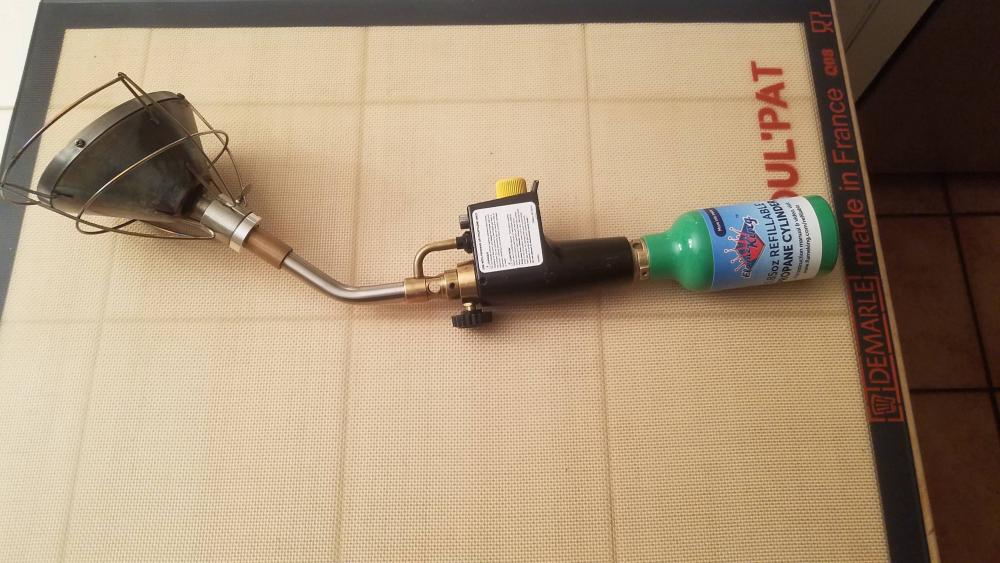
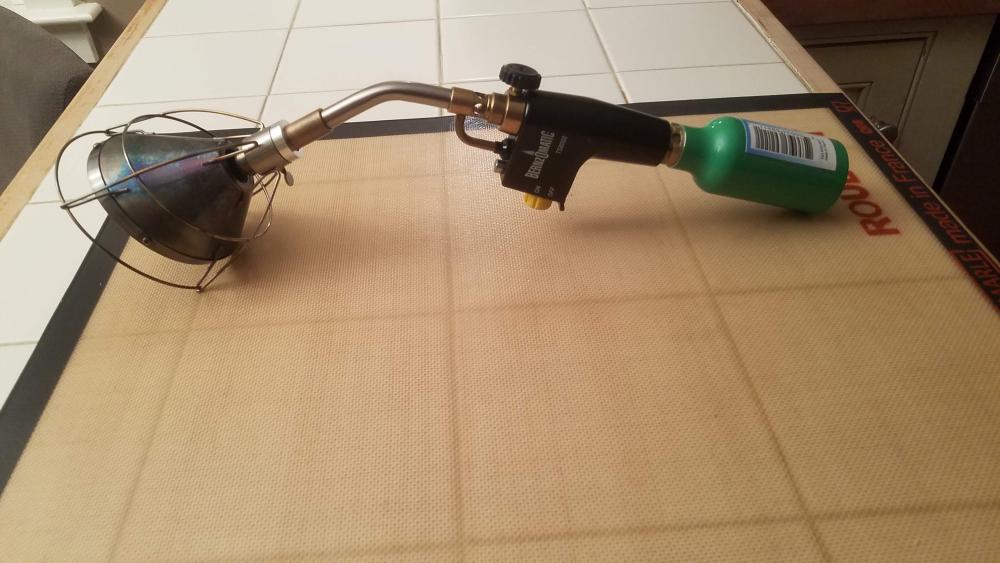
Pretty much everything you have done. But my recent change to add that little 1/4 lb tank shown above made it so much easier to use. I find I grab for it more often than when using the large 1lb tank. I was an early adopter of the original Searzall and always used it with a 1lb tank. That said I've been able to keep it close by and pick it up and use it for short tasks much more often. Eggs - touch up your fried eggs instead of flipping. Minimize risk in breakage. BBQ - just used it to prep rib trim that I then placed in my BBQ beans recipe before placing on the smoker. Also touched up my ribs before serving rather than cranking up the broiler or letting them sit on high temp for awhile in the grill. The 1/4 lb tank I show is good for about 8 minutes of constant use. I have two in case I need a quick change or just load up the 1 lb tank. If you aren't using the Flameking system to refill bottles - have a look. I use it for all my small tank needs rather than throwing empties in the landfill. Their system is pro - works great and very reliable. The new Searzall is a great improvement, but the original is still great, especially if you have some spare screens, but frankly never wore mine out.
-
Hmm, realized I never responded with an update to this from way back time 🙂 I've since used both whole and nonfat in this recipe without a noticeable difference. I've made this recipe quite a few times since my original post with whole milk powder, all good. I now sub in whole milk powder on most of my recipes since I always have it and just like it better. I think most recipes specify NF because that's what is most available at the local grocery stores.
-
Here's the handy way to use your torch if you are not trying to brown out a whole roast or running it all day. Keeps it handy and not a big thing. I have two of those cylinders. Swap out as needed. Else pick up the 1 lb can and use that. Makes it more like a hand tool, etc.
-
I never saw any need to go to MAPP Pro based on the temp ratings. If I was using this thing all the time, every day - maybe. But the bottom line is burn temp. MAPP burns a bit hotter than propane. I used to have a MAPP (yep the real stuff) tank and used it for sweating/soldering during plumbing work. It was great in that it got things (pipe fittings) hot quicker than propane, but I was working all day at it. 5300 degrees vs 3600. But MAPP is dead. We just have MAPP PRO now. So at 3600 (propane) degrees vs 3730 deg (MAPP Pro) It would be silly to see any advantage. If I had access to true MAPP I would definitely give it a thought 🙂
-
Vapre - yes I received mine the same way. Also a plus one on my OG. Put it up yesterday.
-
Cool, you should have received it or have it soon I guess, if not I would get on them. Good luck.
-
Interesting I was getting updates all along since I donated 11/5/21. I was contributer 582. You should have been seeing some communication if you actually purchased one. I just got another update about a week ago for example. I had been getting them periodically from when I made my contribution, but my contribution was to actually purchase one. You might want to check up here: Searzall Indiegogo

-
Just a follow-up Just got done playing with the Pro. It's awesome. TOTALLY great redesign inside and out. The screening, spreaders, heat insulation is so superior to the V1. Heat generation, spread and control as I compared the two - definitely shows off the work in the re-design. It's really heads above the V1 IMHO. Yes I did disassemble mine to have a look at things I see that the V1 are going for around $52 on Amazon: Amazon Here's the Torch and hose kit I use: Hose With Belt Clip Torch And here's the set up I use for my refillable 1lb propane tanks: Flame King FK on Amazon
-
Here's a bump since Covid stalled everything, wreaked havoc on the supply chain and production in China. I'm long time owner of the V1 since they came out as well as the B&D "steak decorator" https://modernistpantry.com/products/booker-and-dax-steak-decorator.html I've used it quite a bit for a home user for everything from finishing off whole roasts, steaks, burgers, chicken, etc etc. I love using it on the Steak Decorator too as I simple set it on the down draft vent on my vintage Jenn-Air SEG 196. Turn on the downdraft vent and the up draft vent above and get a great exhaust without setting off smoke alarms. I can spin easily as I work the torch. The decorator is also GREAT as a cake/pastry decorator and other similar use. Definitely extra handy for when I'm using the smoker or grill (I burn charcoal). Just simple to use that the chimney method for charring steaks IMHO. My only complaint is I have to remember to use it. I never had the burnout issues with V1, but it's got getting heavy use. I wanted the new V2 because of the larger size, better distribution, cut out on the cage, better angles, etc. I probably won't bother with MAPP Pro as I don't really see the value but will probably give a yellow cylinder a try. I like refilling the camp size bottles of propane. I like the squat size and typically just hanging the off my belt with the chain attachement that came with the searzall torch kit years ago. Don't have to think about tipping or walking away and forgetting to pickit up. Easier to move from on spot to the other expecially if doing multiple cooks. Most of the time I like it much better than using the broiler in the SEG just because it leaves that cavity available for other things, also take so much less time to heat up and use. I also love the sound while I'm using it 🙂 They had LONG delays and just started actually shipping a few weeks ago. I just received my pro a few days ago and love the new design and build quality. We'll see how it goes. I may just pass of the V1 to my son rather than try to sell it. There are going to be a ton of them out for resale. I have spare screens for it as well.
-
Wow nice creative solution using the Ultra Pride wet blender. The Nixtamatic had been available via Ebay purchase for the last year or so for those who are still looking for one. Don't see them now but do a search on sold listings and you will find the seller. I have used it (Nixtamatic) a number of times now using 50 lb of white dent from Honeyville Farms via Amazon also no longer listed. But you can go direct to their (Honeyville) site. I simply make up a batch of about 3-5 lbs and freeze it after grinding with the Nixtamatic. I also freeze whole nixtamalized corn for various posole recipes with good result. For the cal I have just been using Mrs. Wages Pickling Lime listed on Amazon and works great.
-
Have some frozen unbaked rolls vac sealed in the freezer from last recipe. Everyone loved them so I will definitely be making this recipe again. The recipe is great IMHO for fast bake dinner rolls, not saying they were the BEST I've had :-) Next recipe I'll use the WMP I have from Hoosier Hill Farm. This stuff smells and mixes like real milk to me anyway. It's vac sealed so should hold well. BTW the recipe I was working with was Anytime Dinner Rolls from ATK. Ray
-
For this round I found that I had some NF powder on the shelf and used that up. Next time going to use the whole milk powder and see how it works out.
-
FeChef - intrigued by the pressure cooker idea for long term. Have one, it's smallish capacity though. I know I would have had clear stock if I just followed good practice when pulling from the pot. My bad.
-
thatchairlady: Chicken rice soup for my Son who has just had a flare up with his Chrones. Several months of getting him striaghtened out. Didn't want to bring over gray/blackish stock in this case. Sure I could have just dumped in some tomatoes and made it red but it would still have been blackish. The effort was worth it in the end. The lesson is make the stock right in the first place as up thread. Now I have a dozen yolks I'll turn in to custard/brulee that will fit with his diet. No way I needed it totally clear of course, just not black/gray. I think I alluded to that up thread. The process might seem complicated but I had 6 quarts of stock really. And now its all good. Didin't take all that much in the end to clean it up for the purpose and now I also have some for another batch. I now have tools in the pocket if this should happen again. It's just an exercise in a quick correction and remediation, not anything recommended for repetition. Simple, quick troubleshooting in the end.
-
Now after the raft with the 9 whites to the 4 quarts, all good. I have another 50 some oz. I'm going to clean up same way. The finish was really nice. Especially for soup. Not 4 star restaurant quality clear but near excellent. Somewhat cloudy but yellow, no gray. Hope this helps someone. Next time same plan. Bag the solids, no rough boil etc as I did - BUT just ladle down to the solids and toss. Don't try to use the last 3 inches or so where the solids are sitting and don't disturb them. It's all been said here on the cooking 101 stuff - but go figure. I thought with the bags I would be good to use that last 3 inches or so and pick up another quart or so. VERY WRONG. Bad move :-) Not to be repeated :-) We'll have some nice Creme Brulee with the yolks though so not so terrible in the end.
-
Of course we'll toss the Brit filter :-) It didn't clog, just kept the stock a little higher than room temp is all. Tried a couple short passes with the coffee filters and stopped. Didn't change or improve anything and they clog so much faster. The Brit is what I'll go to next time for a filter than the paper cones for similar purpose. 9 whites now in the room temp/plus in the 4 quarts. I think that might improve things a tad more, then I'm done. So what I did wrong was tried to save too much liquid. Instead of pulling the bags of solids out first I should have ladeled down to them and stopped. Toss whatever is left. Don't try to save it all. It was good until I got to that point, nice and yellow and not cloudy or discolered. My bad.
-
OK so I'm literally doing this live. First filter through the Brita is freaking great. No flavor loss and clarity picked up nicely as in gray is gone. I'm going to filter twice as it's moving through pretty quickly. Will follow. I figure I'll filter 3 times. I know this is not the best/first way to do this. I will correct my method of creating stock. I think I already know the causative factor that got me into this "trouble".
-
Ahh, so I like that. I'm going to have to work on this shortly or go shelf :-( I like the add of the protein/grind. Thinking outisde the box a bit - has anyone ever tried filtering though say a Brita filter or a Kataydn - used for camping and the micron is easy to clean/dress? I'm probably going to try to sample first using a Brita and the Kataydin - as that's a quick check. Better than a coffee filter for sure. Just thinking that this might remove falvor as well. We'll see. Will get back.
-
Hello: I have a great tasting chicken stock after the relatively long time of simmer without it ever getting to a boil or bubbling too much. ALL ingredients (carrots, onions, chicken, celery, herbs) were enclosed in tied off nut/fruit bags (read nylon mesh equivelent). It's been totally strained through multiple layers of linen cloth. It's gray and in the fridge - about 6 quarts. I'm not so much interested in stock making technique for this discussion, not that it is not interesting - just want to keep focused. So the question is - what are the proven methods to start wtih a cloudy/gray stock - and clarify? Wanting to make some soup for someone today and hoping to fix this stock in the morning and not relent to some shelf stock. Mine is better, just not pretty right now :-) Stir a mess of egg whites while cold, let it sit then warm up till a raft forms and remove? Any other ideas?
-
Hello: Here's the info on how I purchased a Nixtamatic. I never received enough interest from folks interested in a group buy, so figured I would follow up on how to get one yourself if you are so inclined. Hello – finally able to purchase/import a Nixtamatic after several years of trying to find one. I contacted Nixtamatic a number of times but they would never respond. I think it’s due to a language barrier perhaps and maybe not wanting to deal with retail sails. I simply searched for anything I could find to contact Boker directly who is a large hardware retail store near Mexico City. Email them at: telemarketing@boker.net. Inquire about purchasing a Nixtamatic an sending to US. You will probably talk to a women named Rosy. She will quote you a price in Pesos including shipping. You then agree on the US Dollar Equivalency based on current exchange rates. In my case total plus shipping came to $510. To make payment it was easiest to use POPMONEY in my case thru my credit union. It worked similar to Paypal but doesn’t require a Paypal account and it was free versus trying to send a bank check to the Boker bank account in Texas. Here’s where I sent payment via POPMAIL: To A NOMBRRE DE BOKER S.A. DE C.V. (Checking) Here’s the POPMAIL url: https://www.popmoney.com/ Rosy was very friendly I did have to use translation tools along the way but that was easy. She did not speak english, so couldn’t talk live. Mention my name if you want as reference, but I don’t think you will need to. Once all the details were worked out around payment, etc. The actual delivery to me in PA was very fast. I did inquire about importing say 20 units or so as I was thinking there may be others that would want them and I would simply import and transfer at my cost. The discount offered was minimal so I didn’t bother, and in various areas where I posted I didn’t get enough interest to make the hassle worthwhile. Good luck – but if you are looking to purchase a Nixtamatic this is how you can do it!
-
Quick/lazy question as I didn't have time to do the searches for previous posts - apologies in advance. I normally would take the time. Making some fast rise rolls for Easter dinner that I can prep ahead. Most baking/roll recipes that use dry milk call for non-fat dry milk powder vs whole milk powder. In the cake, desert recipes from Christina Tosi (Milk Bar) she calls mostly for whole dry milk. What's the risk in using whole dry milk powder vs non-fat dry milk powder when baking things like rolls/bread? I'm looking at a recipe for pull apart style rolls that calls for NF Dry Milk and wondering if it really makes much difference/why. Higher fat content in the whole dry milk to me seems to be a plus in this case. For reference here's the recipe (KA) Buns3 1/2 cups KA Unbleached All-Purpose Flour2 teaspoons instant yeast2 tablespoons potato flour or 1/4 cup instant potato flakes3 tablespoons Baker's Special Dry Milk or nonfat dry milk2 tablespoons sugar1 1/2 teaspoons salt4 tablespoons soft butter2/3 cup lukewarm water1/2 cup lukewarm milk
-
Had/have those same thoughts as well. Don't quite remember where I got that from though. Whether I learned or if it's just something I came to beleive on my own :-)
-
Agree emmalish - I've pretty much been doing that for cakes and cookies for a long time now. But - the control in it all is that the butter is at room temp. I have never had a problem or complaint or noticed any issue myself. What happens though is that you might be working with someone and they see you throw the butter and sugar into the bowl in one step and they get all concerned because you aren't "following the recipe" I simply tell them that as long as the butter is soft and at room temp you can single step the procedure and that the advantage is that the sugar has more time to melt into the creamed result.
-
Thanks for all the replies and references! I typically will "whip" the butter first if it hasn't set out long enough to soften then add the sugar. But if it's already at room temperature, soft, I'll typically just whip/cream togehter in one step then add the eggs. I've the seen the procedure in recipes both ways. Baking with my partner yesterday and she was very concerned that when I added them together in one step. Butter at room temp/softened. I told her if the butter is already soft it doesn't matter and that in my experience it allows the sugar to combine/incorporate a little better when using regualr granulated sugar. So just checking myself. The pointer to the video is excellent.
-
For cake baking. Simple question I think, but can't seem to find an answer through searches. Many cakes/batter recipes will tell you to cream butter/sugar. I get that. Is there really any difference obatined if you cream the butter first BEFORE you add the sugar? Some recipes will tell you to cream the butter then add the sugar. In my small mind it really shouldn't make a difference as long as you get to the same texture/fluffiness of the butter sugar mix? One is trying to get the sugar to combine/melt into the butter a bit, correct? If I use regualar granulated sugar I might lean towards adding them together to give the sugar more time to liquify a bit. If I was using castor or super fine I might add it after creaming the butter first. But in the end I don't thing there is really any difference. Soften or melt the butter per instructions, toss in the sugar and cream them together in a single step is what I tend to do. Is there a specific case that comes to mind where there would be significant reason (for a cake batter) where you should cream the butter first before adding the sugar? Or is that only if the butter isn't at the right softness at the start?