andiesenji
-
Posts
11,034 -
Joined
-
Last visited
Content Type
Profiles
Forums
Store
Help Articles
Everything posted by andiesenji
-
I have my great grandmother's ERIE griddle (purchased in 1890 before Griswold put their name on them) has only been greased with bacon rind. About every 15 years I buy a slab of bacon about 4-5 inches wide, cut the bacon off, cut the rind into 2 squares - approximately - heat the griddle and rub the fat side on the griddle until it is well coated then allow it to "cook" a bit longer then turn the burner off and let it cool slowly. I have heavy cast iron grates so it takes a while. The last time I stripped it and started over was in the early '70s when my stepdaughter put it in the dishwasher! It is non-stick. Eggs, flapjacks, crumpets, Eng. muffins, meats, etc., slide right off. I have used various oils on other cast iron and carbon steel pans. Forty years ago I used lard or crisco. Lard was preferred in my grandparent's kitchen. We used lard to grease steel baking sheets, steel bread pans, muffin tins, etc., in my mom's bakery in the '50s.
-
I buy the 1.75 liter bottle. A local liquor store carries it because a couple of restaurants use in in their cooking. It costs $40. The man never says anything, his wife rings it up and says "good stuff" - I told her that I was making vanilla extract. She said she makes coffee syrup with "spices" using Everclear. For making coffee "strong" - They are asian but I'm not sure where exactly. They have a little shrine in a corner of the store but it is unlike the ones at the Thai or other SE Asian. To me it looks similar to a Shinto shrine that was in the home of a Japanese friend I worked with for several years. Anyway, it is obvious they are not Muslim. Now I know. I asked a neighbor, who is friends with the couple who own the store and in fact she was the one who told me they carry it in the big bottles a few years ago. The couple are from Okinawa and apparently coffee is a very big "thing" on the island. They are actually growing coffee there for about 25 years. Some growers are also experimenting with growing the vanilla orchids on the island which is in the "zone" where the day and night temps are ideal. (TMI - I know, I just thought it was interesting)
-
I have some from 2011 and another batch from 2012 purchased on ebay, vac sealed in the freezer. I have pulled some out from time to time to use and they are perfectly good. I went back and looked at my records. I bought a kg of each - the 2011 batch was 89.00, free shipping and the 2012 batch was 71.00 free shipping. One was grade B the other was "Extract grade" most were short but fat, lots of beans inside, split one not long ago for a custard and got a heaping half-teaspoon of beans, actually close to a full teaspoon from just one bean. I split and chop most of mine for extraction. And I like the snap seal jars because I can agitate them and not worry about leaks.
-
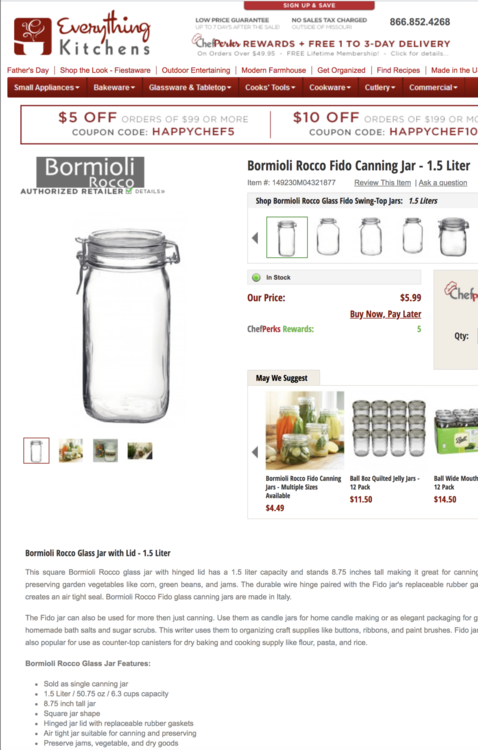
I use these with the wire closure - however, I buy the silicone rings separately because the original rubber rings tend to get quite brittle when exposed to high proof alcohol. I've been buying from this vendor for years. (Amazon sells them too but for 12.00 each) I posted much earlier in this thread - on page one and again on page 4 and etc. I have been making my own extracts for more than 40 years, at least since the '70s when I lived in Canoga Park and worked in a medical building that also housed a laboratory that would sell me straight grain alcohol (used in some laboratory processes) for a lot less than the 190 proof Everclear. I posted several times that starting with Everclear and then later "tempering" it with lower proof liquors is much more efficient and faster than using regular liquor. Early on I included a link on the "Technical aspects of vanilla extraction" - that link is no longer active. Other articles all require a subscription. I have not searched further but I am sure there are open articles out there. This one explained exactly how the process worked and the need for the high proof alcohol to "trigger" the maceration process that extracts the greatest percentage of vanillin from the beans. I didn't know this when I started out years ago but I followed the directions of our patient, then retired but had worked at See's candy factory for decades, in the "flavor lab" where they made their own flavorings, including vanilla. This is the 1.5 liter jar, which I now find handier than the smaller ones.
-
Because I write a lot of reviews on Amazon, I get emails with "New products that may interest you." I got this one Mengshen Self Stirring Glass Mug which has no reviews to date. I scrolled down and was surprised to see that there are a bunch of these "self-stirring" vessels. And it's only 350ml, isn't that about 12 ounces? That's not big enough for me. My coffee mug is 16 ounces. Have none of these people heard of a spoon? I have a self-stirring cooking appliance because I don't want foods to scorch. I guess it is too much effort to remove a lid and stir a beverage by hand. I can see this being a good thing for someone who is disabled but they don't seem to be aiming at that market.
-
The brands that failed to meet the extra virgin olive oil standards, according to this study: Bertolli, Carapelli, Colavita, Star, Pompeian. They are STILL taking mundane olive oil and BLENDING IN just enough EVOO to qualify for the designation.
-
There are ways to use substitutes to make masa harina. Here is a link to several solutions to the problem. In the past I have used coarse polenta left to soak overnight in cold water with lime water (purchased in drug store) which is safer than the calcium hydroxide used in commercial preparations of masa.
-
Yard Sale, Thrift Store, Junk Heap Shopping (Part 3)
andiesenji replied to a topic in Kitchen Consumer
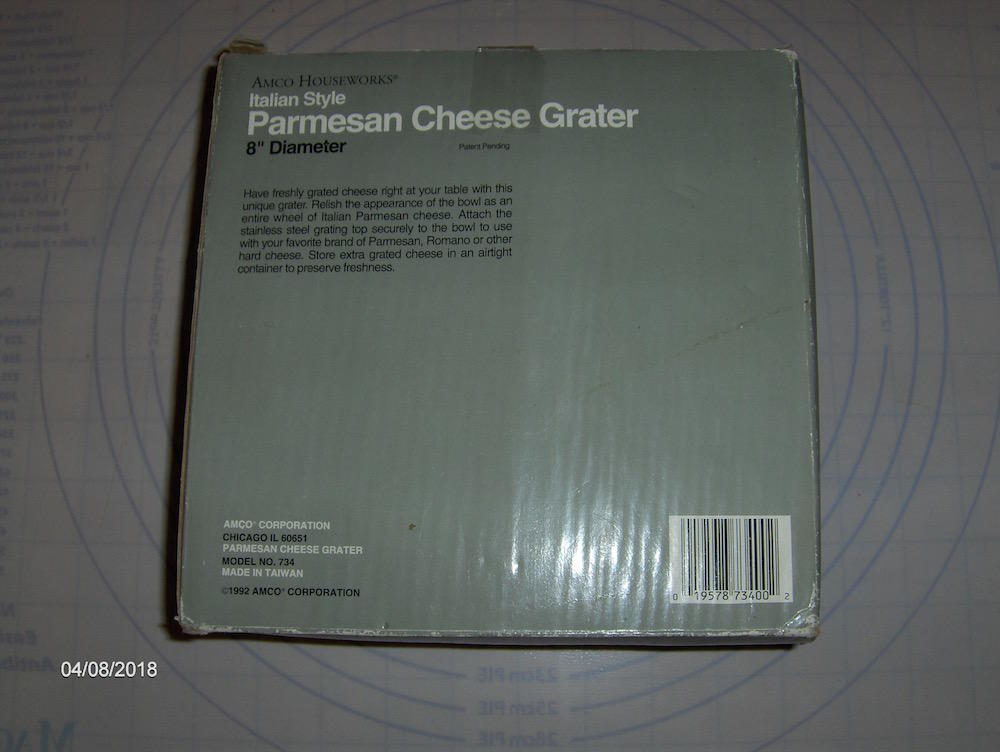
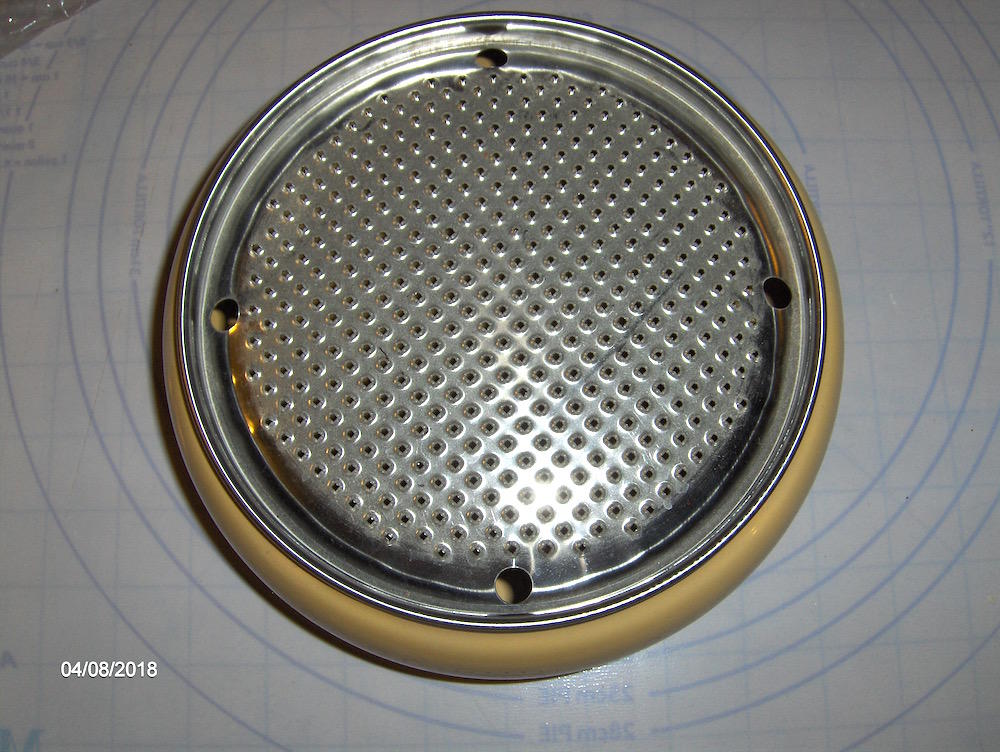
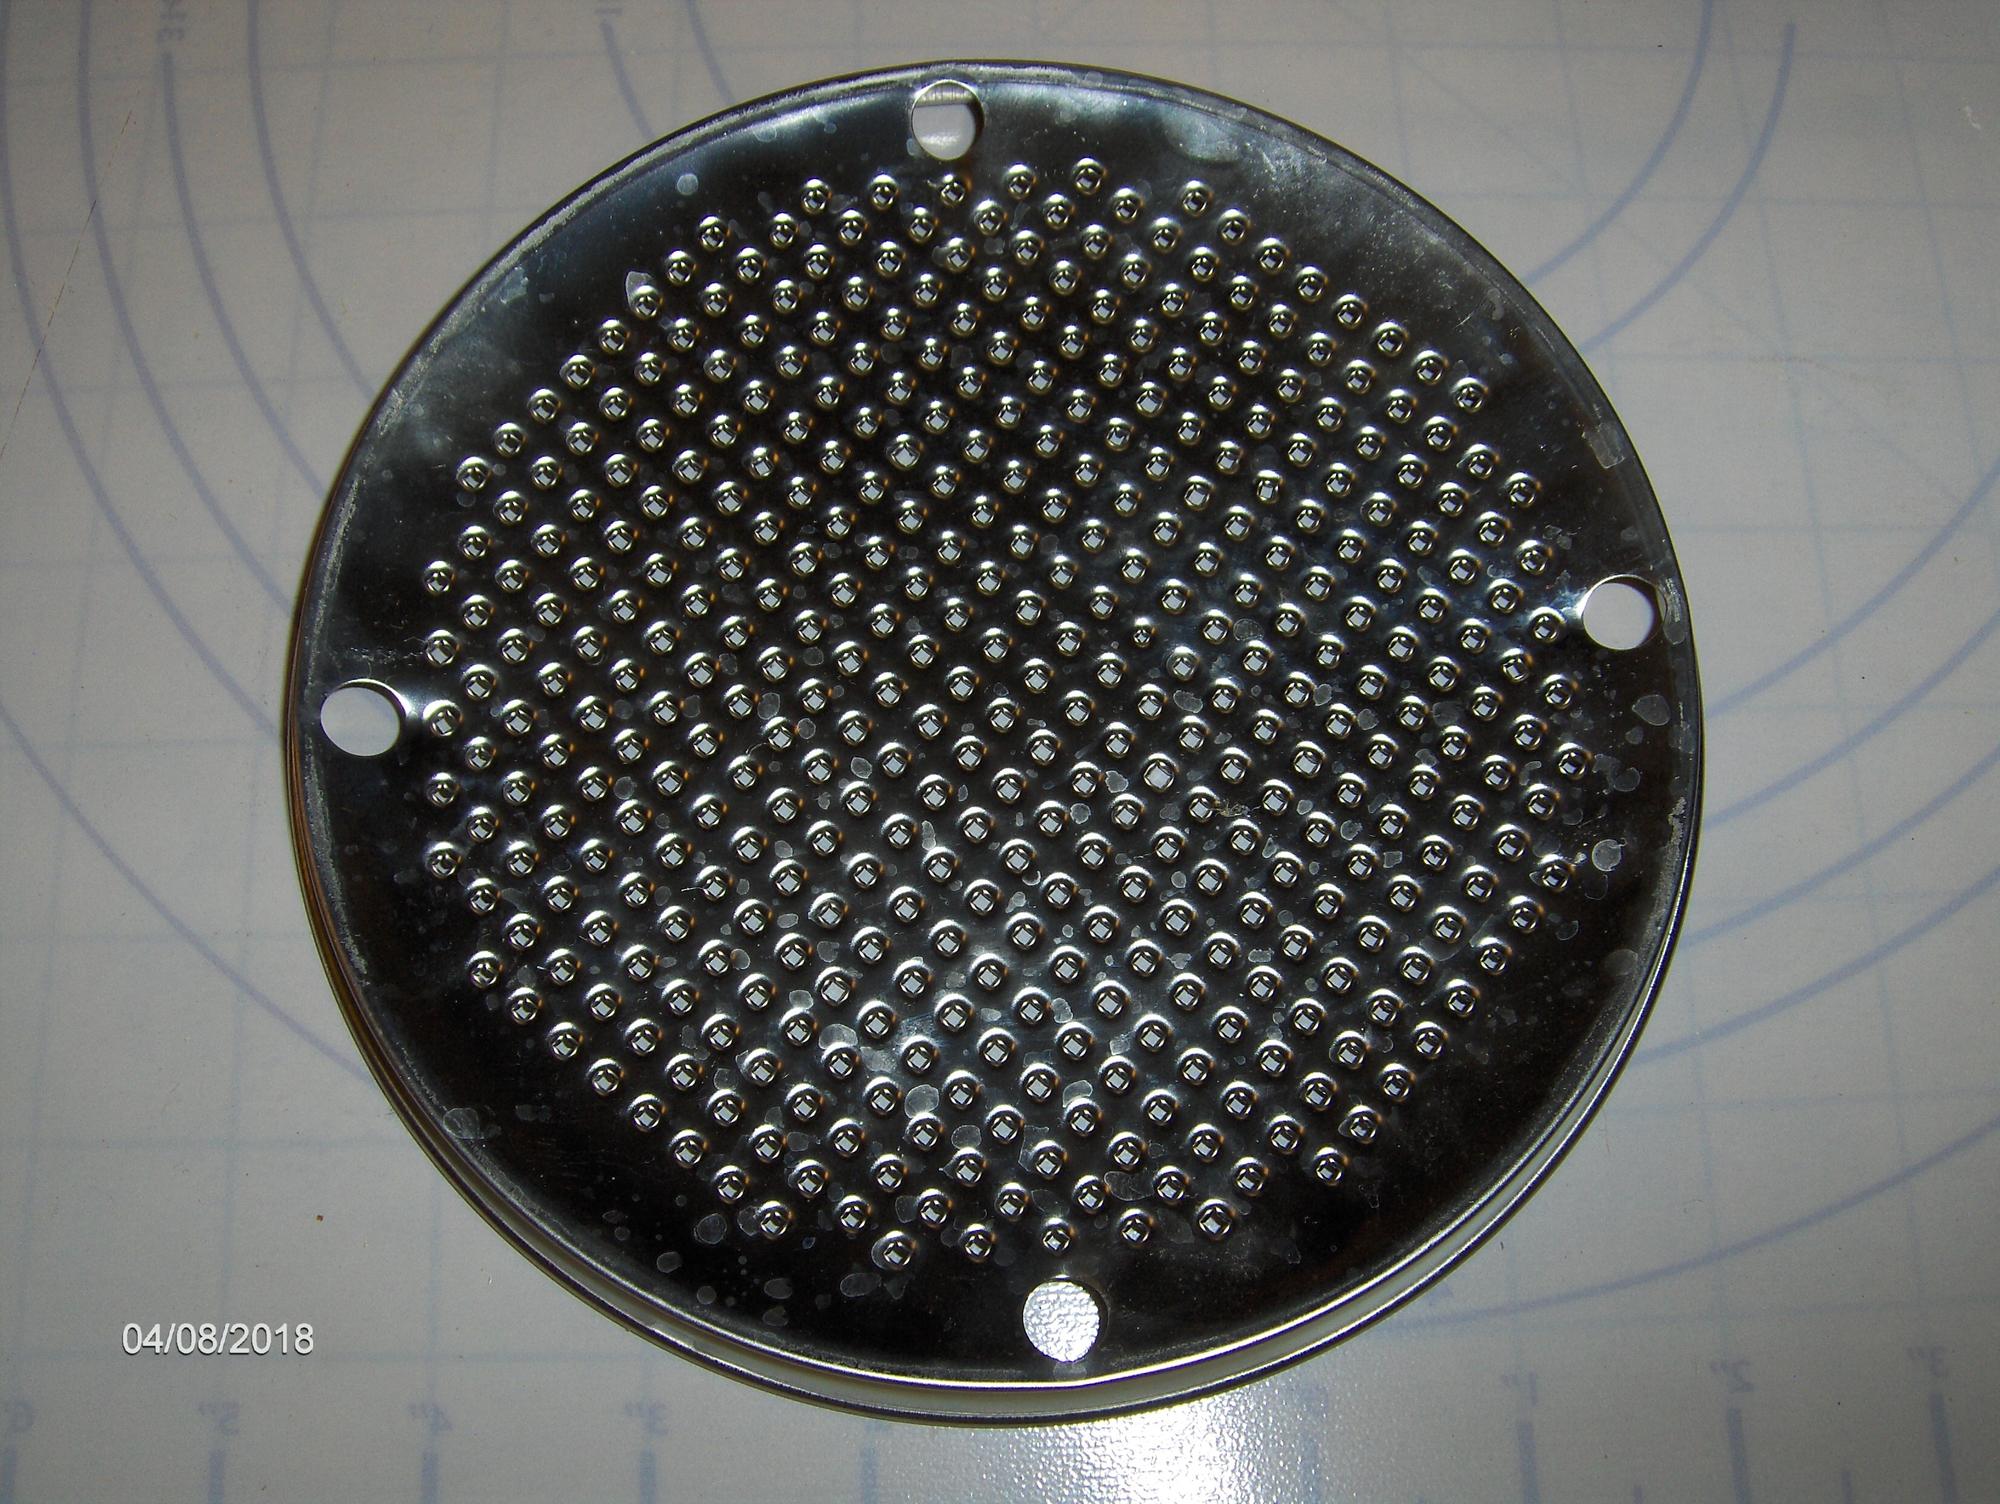
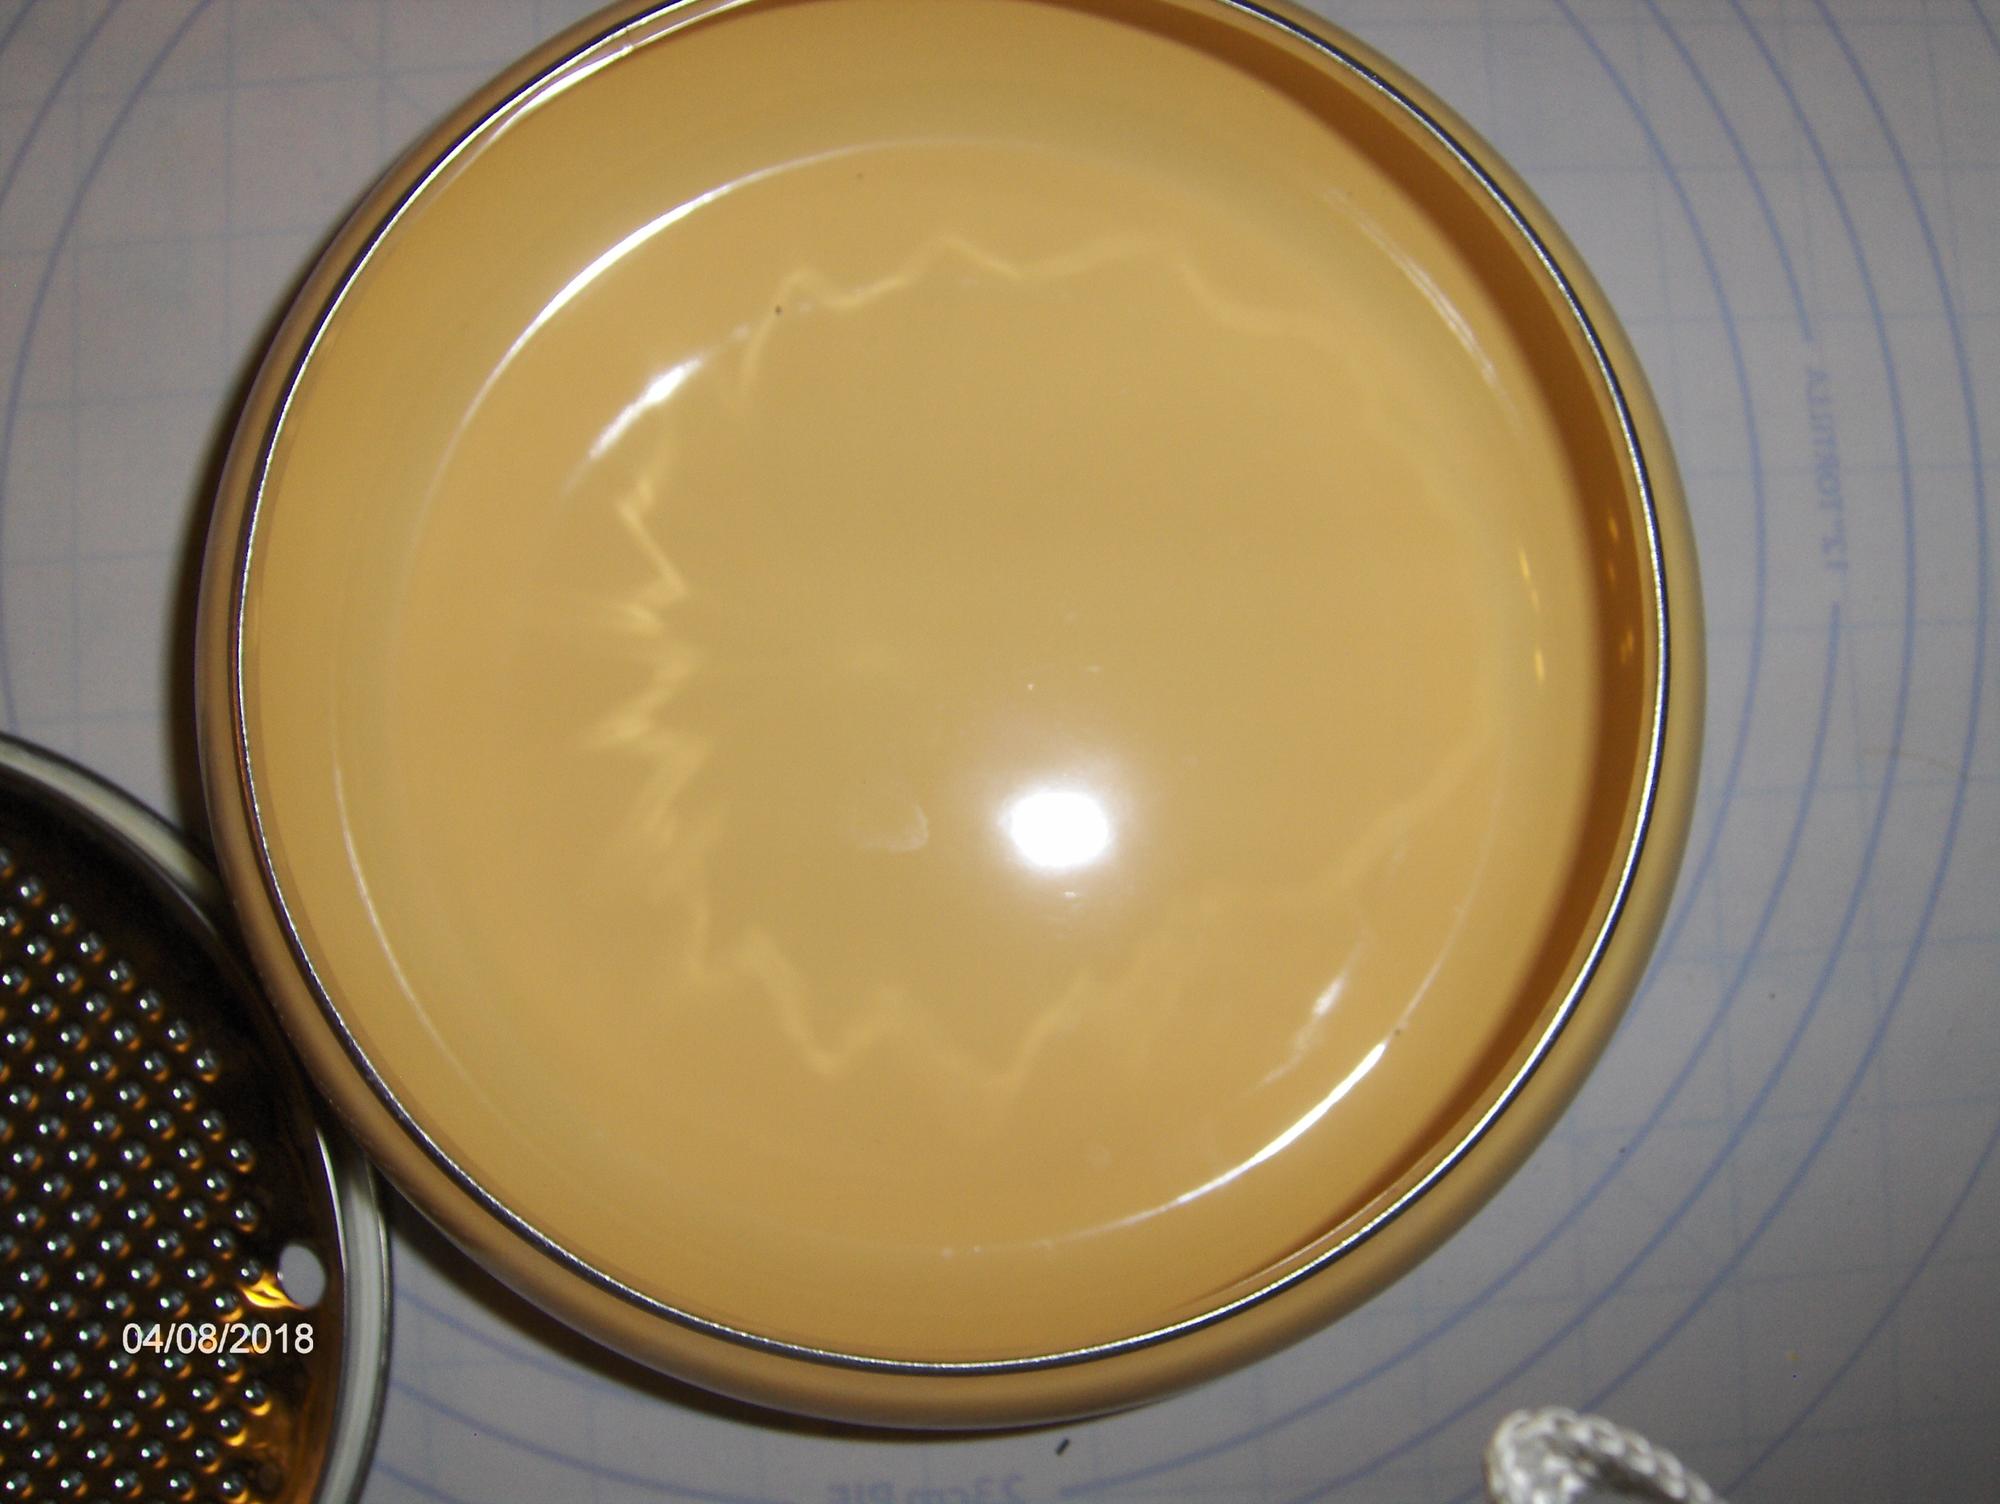
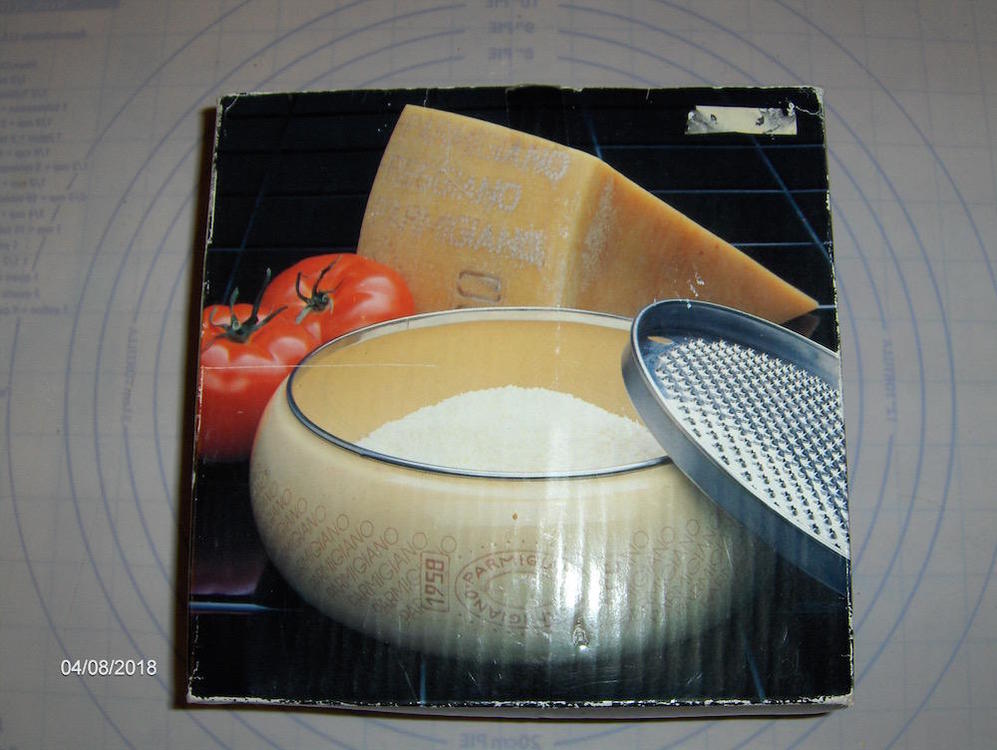
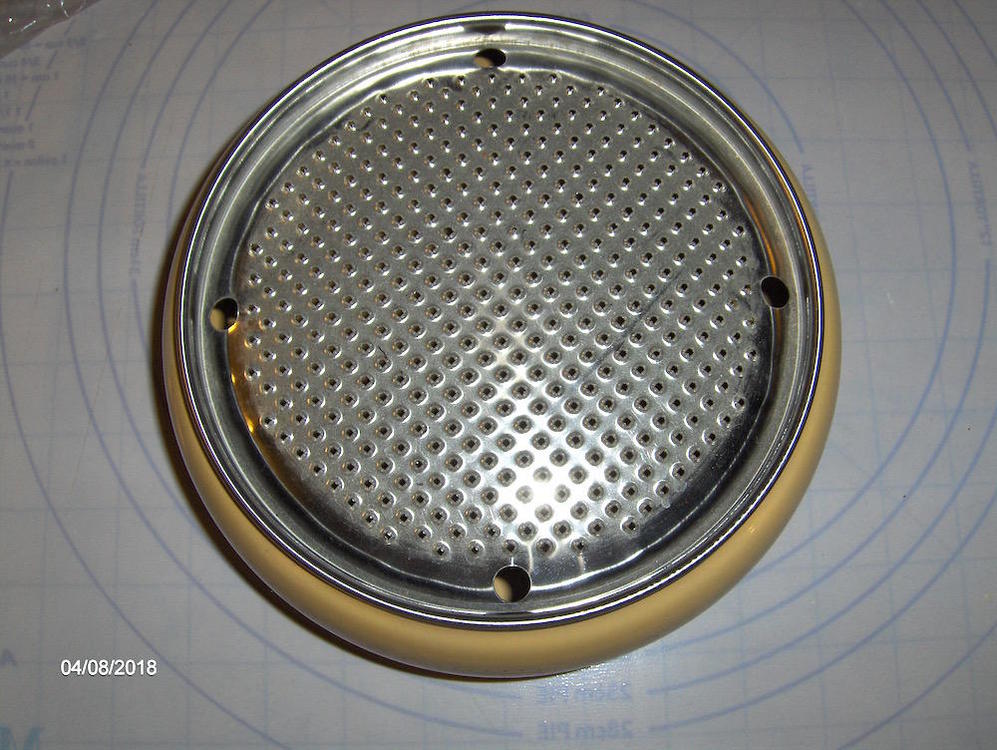
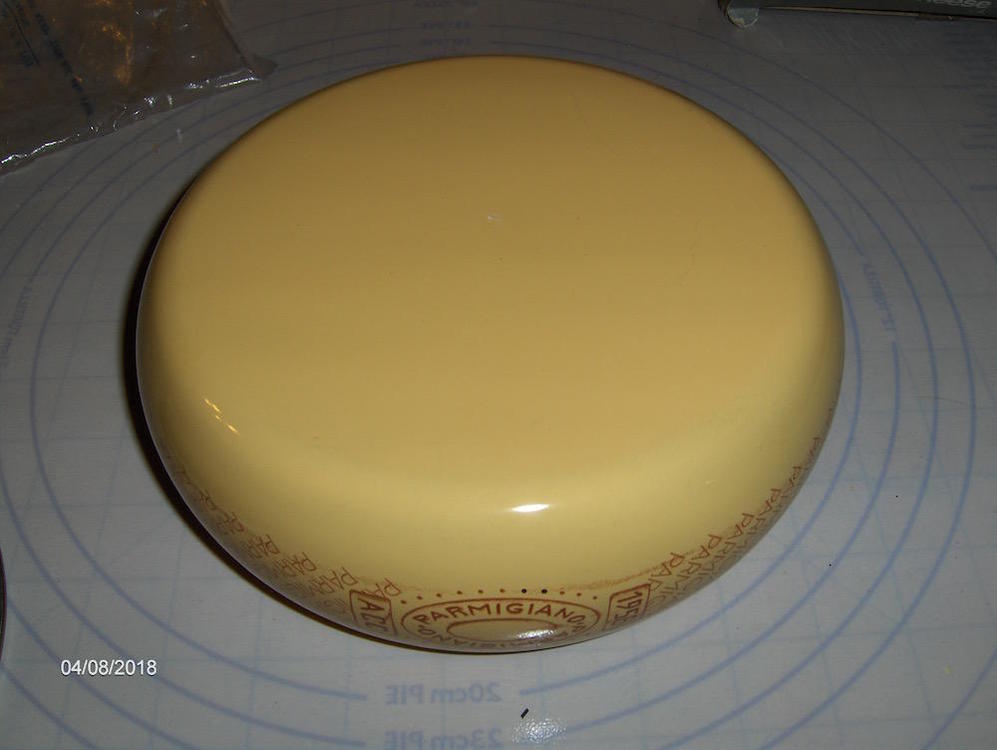
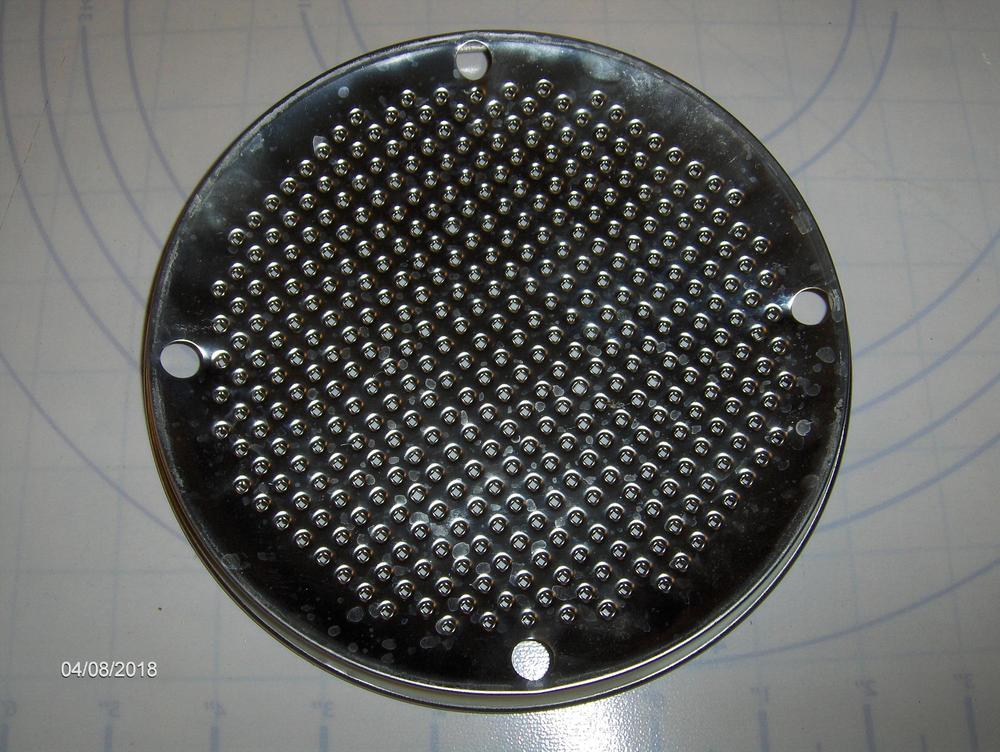
Found this in a box with some Catamount glassware I bought at a local swap meet years ago, when the fairgrounds was only a couple of blocks from my home. I've never used it and don't intend to use it but I think it is rather cute and a clever idea. The grater is VERY sharp. It's date 1992 AMCO CORPORATION. Made in Taiwan.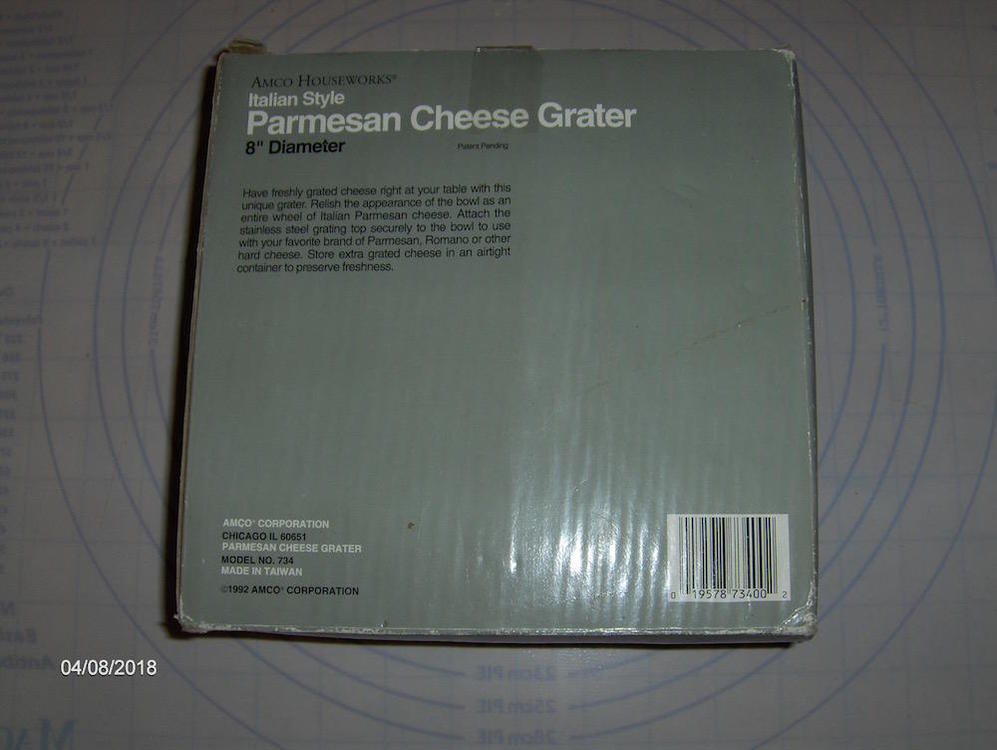

-
I have a waffle bowl maker that I use a lot. My daughter also bought one. Back when I was catering, one of my helpers was very adept at making cast sugar cups that we used for place markers, filled with little candies, candied nuts, etc. I made some but I was not anywhere near as good or as fast as she was. Mostly they were plain little round cups - shaped like the small tea cups in Japanese restaurants but occasionally, for small parties, she would make teacups with handles and tiny saucers which were attached to the bottom of the cups. Once she made little sombreros with the rims turned up to hold the goodies and with a slot in the crown of the hat to hold the place card. I did not attempt any of the fancier stuff. My modest expertise with sugar was pulled sugar ribbons and bows and even a couple of rosettes with "trailng" ribbons.
-
Yard Sale, Thrift Store, Junk Heap Shopping (Part 3)
andiesenji replied to a topic in Kitchen Consumer
Which one? -
Wow! That thing is $350. or so.
-
You already thanked me long ago. I'm happy that you are pleased with the results.
-
I was also surprised by the interior volume. My Cadco oven takes a 1/2 sheet pan but it is far more shallow and it was difficult to bake tall things in it. So I bought the Sharp combination Convection/Microwave which was tall but had the disadvantage of that rotating tray. I love to bake some denser breads using the probe with the alarm so I know when the interior temp is 210° - could not do that with the rotation. When the Sharp finally died, I was looking for a replacement and ordered the Oster. I was so pleased with the results that I posted about it on another thread. Your baguettes/batards are gorgeous.
-
Get a "CONTRACTOR'S" power supply cord that had a built in GFI or a switch. The ones made for table saws and etc. That's what I have used when I take appliances like this out onto the deck.
-
Your Daily Sweets: What Are You Making and Baking? (2017 – )
andiesenji replied to a topic in Pastry & Baking
Yes. I have been using the product for some time - and other Cornaby's products. It was called Ultra Gel when I posted my Peach pie with canned peaches last year. Not have to COOK the filling means the milk products never "split" or curdle. Note: There are NO EGGS in this recipe. Eggs require cooking so a different product. I use Cornaby's Thick Gel for stuff that needs to be cooked. Particularly for canned stuff. Gravies and sauces. I make my own Hoi Sin sauce and it was always runny. I cook it with the Thick Gel before jarring it and processing it in a water bath and it turns out perfect. -
I've had no problems with the digital controls on my Oster. I love it. I can put tall vessels in it that would not fit in the other countertop ovens, not even in my Cadco. I didn't think to take a photo. I baked a fantastic cheese souffle last Sunday that 3 inches above the top of the baking dish and had plenty of room. I used regular BAKE, not the turbo.
-
Your Daily Sweets: What Are You Making and Baking? (2017 – )
andiesenji replied to a topic in Pastry & Baking
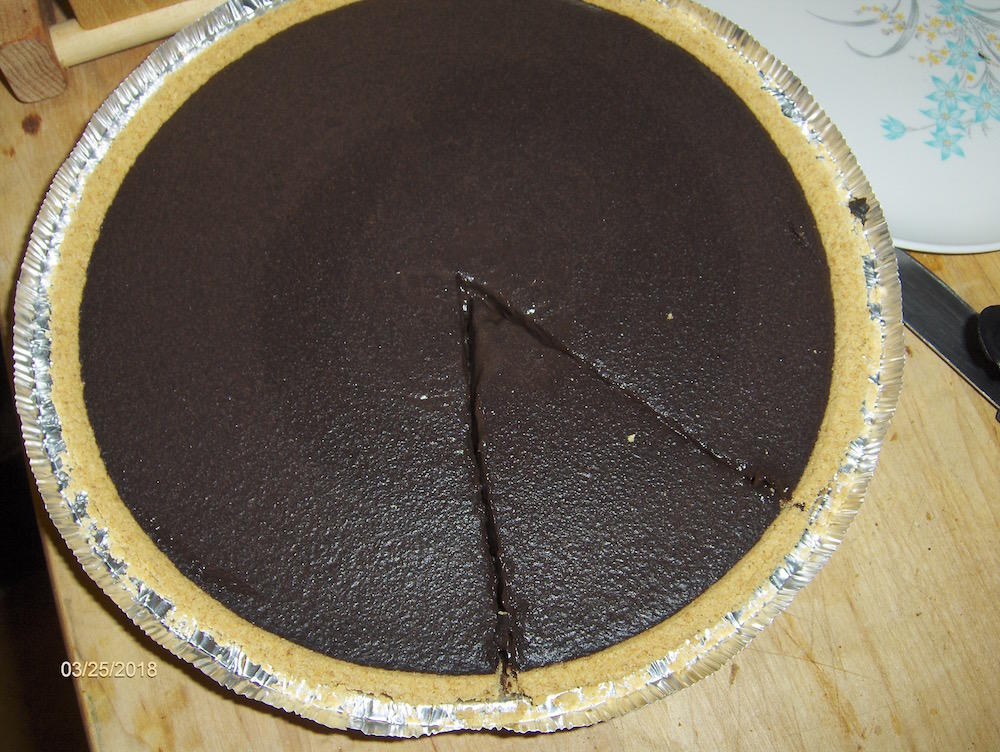
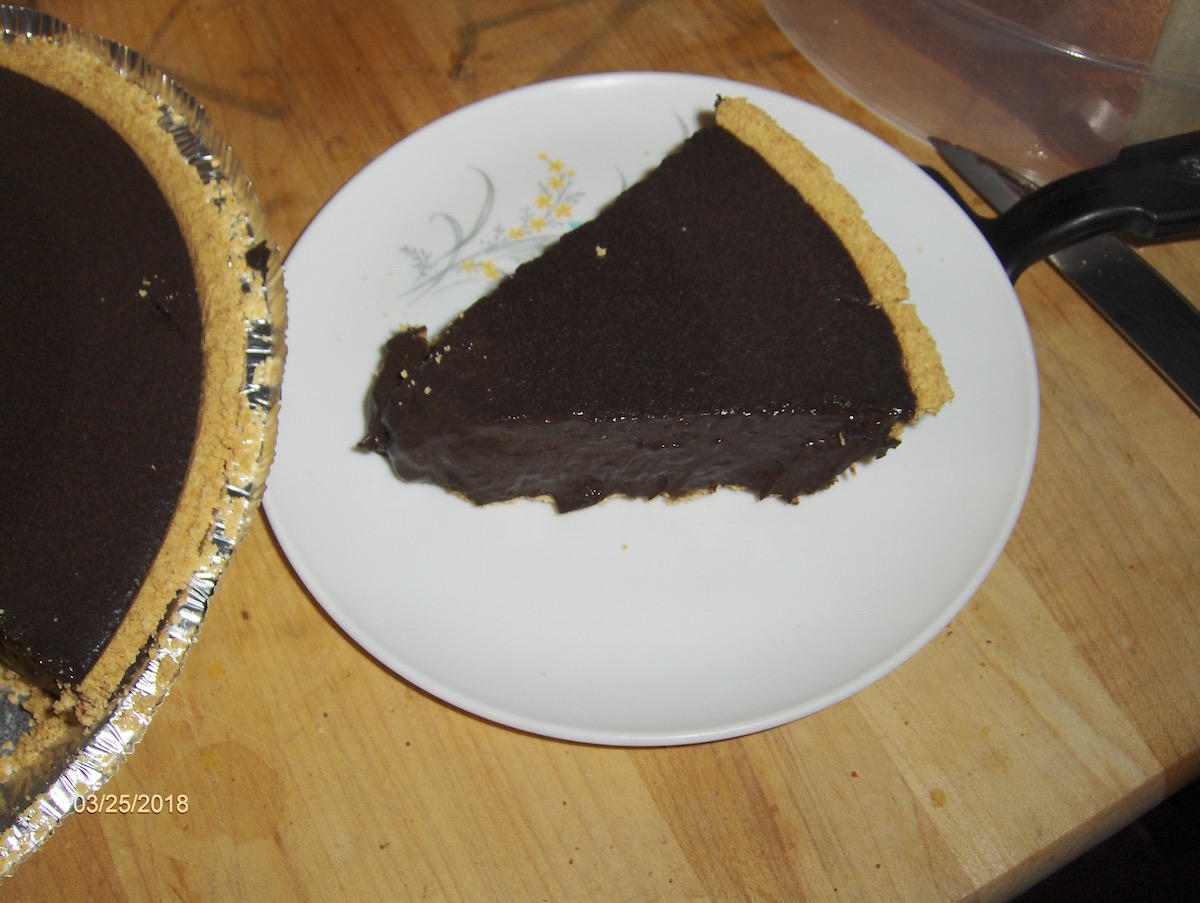
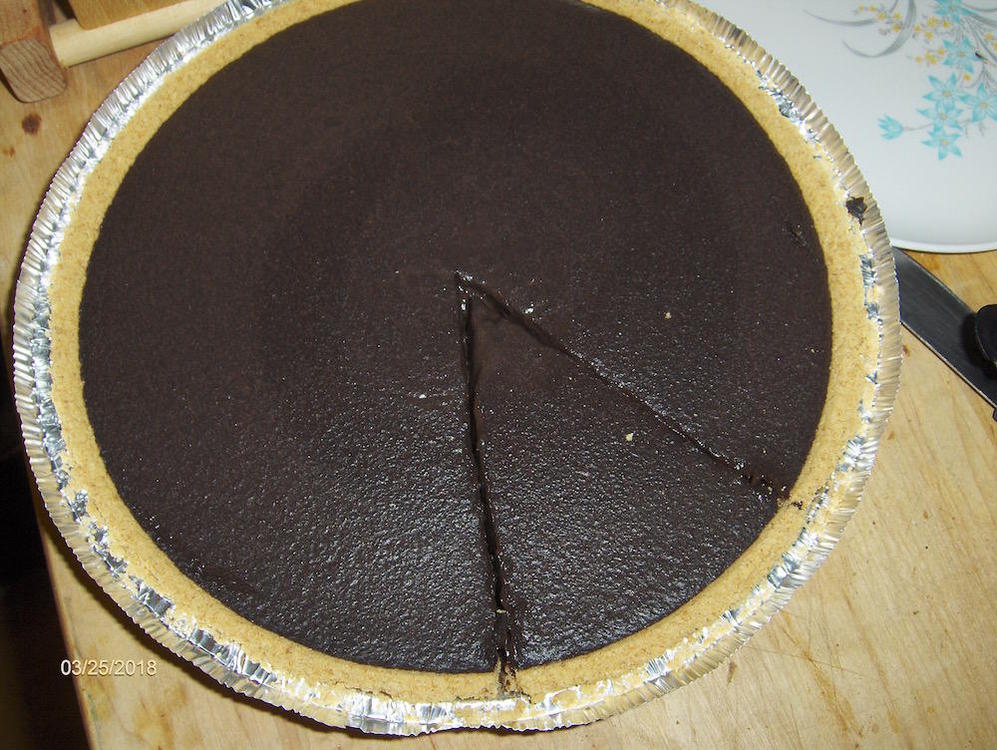
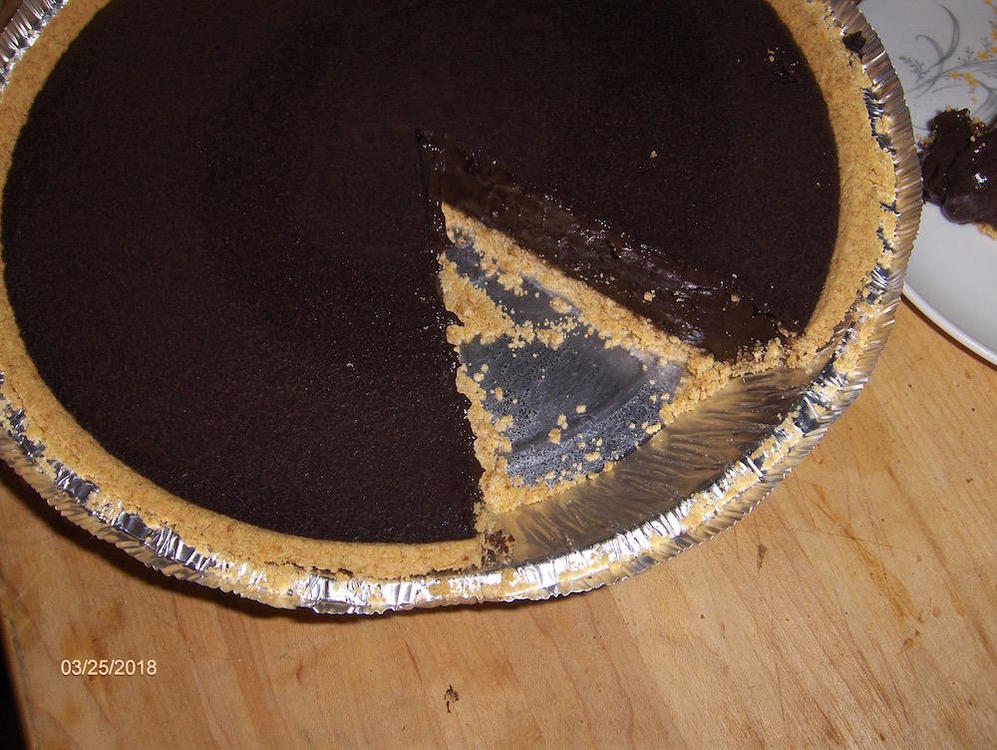
Deep, Dark Cocoa Pie my own recipe - after much trial and error, finally got it right. Andie’s Original Cocoa Pie no cook, no bake (unless you want to use a pie pastry shell that has to be blind baked) Deep rich flavor. One prepared 9-inch Pie shell - You can use the Keeblers graham shell or the Oreo chocolate shell or make your own with vanilla wafers. There are recipes online for cookie crusts. Or bake a regular pastry shell. Ingredients: Cocoa - half Black cocoa, Half double dutch KA cocoa 1/2 cup If you use other cocoas, add 2 TBS Truvia baking blend 1/3 cup (if you want to use plain sugar it is 3/4 cup. Cornaby’s E-Z Gel instant corn starch 2/3 cup kosher salt 1/2 teaspoon Whole milk 2 cups Heavy cream 1/2 cup Vanilla extract 1 Tablespoon Directions: Mix dry ingredients together - I actually measure them into a sifter or fine sieve to make sure there are no lumps in the cocoa. In a large mixing bowl with rounded sides where a whisk can reach all areas, measure in the milk, heavy cream and vanilla. Add the cocoa/sugar/thickener mix and whisk for about 3 minutes. The mixture will begin to thicken. Allow to set for 2 more minutes Whisk again and pour into pie shell. Unless you are using a rigid pie plate, set the pie pan on a plate. Allow it to set for 30 minutes without moving it. Place in refrigerator and chill for at least 3 hours. A bit longer is better. I cover it with one of my microwave spatter covers DON’T USE PLASTIC WRAP! If you have one of the wide and shallow “cheese or meat drawers” you can place it in there without a cover if it is the type that seals.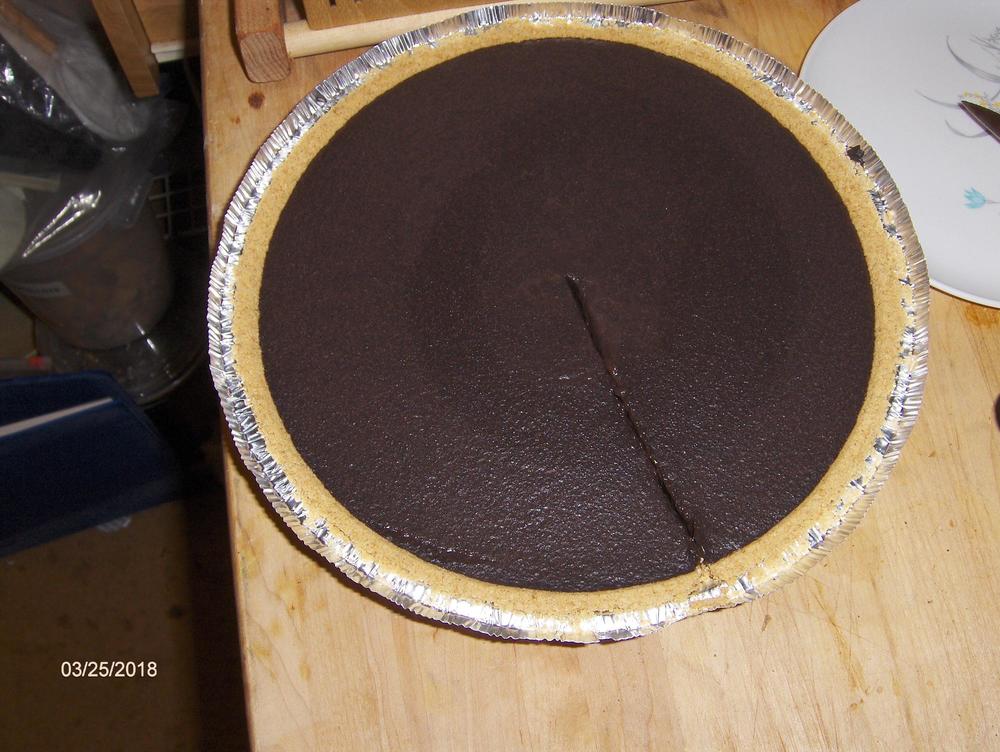

-
I have no answer to someone who obviously has all the answers.
-
I bake my angel food cakes in there in my TALL angel food pain with the feet, that certainly would not fit into a shallower oven. I do have to remove the top shelf for it to fit, but there is generous room for the cake to rise well above the rim of the pan.
-
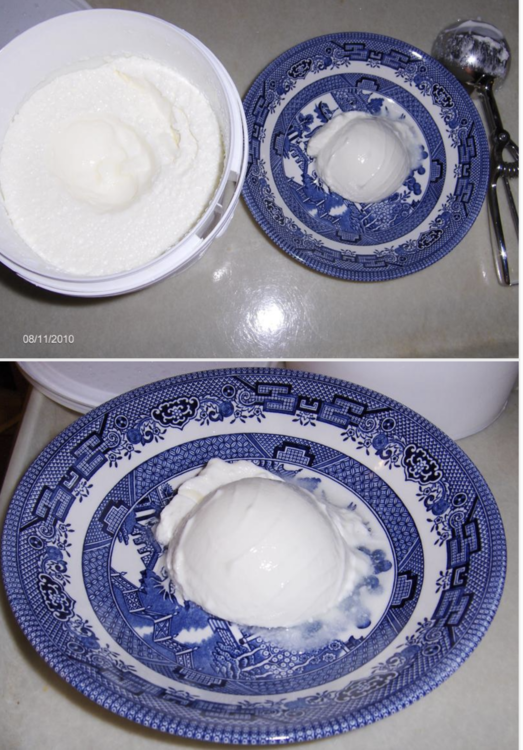
The reason for bringing milk to the REQUIRED TEMPERATURE is to convert some of the components so they can react with the organisms that PRESERVE the milk and produce the yogurt. Failure to do this can result in UNWANTED bacteria taking over, even under refrigeration and causing illness. I posted the bulletin from the California Milk Board August 10, 2010 The only other thing that could be interfering with your result is not getting the milk up to at least 180° F. before cooling it to 105 to 115 before adding the culture. If not heated sufficiently the "curd" won't form. Following is a quote from the California Milk Board: "Yogurt is formed by the growth of two bacterial organisms in milk; Streptococcus thermophilus and Lactobacillus bulgaricus which turn the milk sugars into lactic acid. These are two separate bacteria that are active at different times during processing. Some times you will also find yogurt that contains other ""Probiotic"" cultures such as Lactobacillus acidophilus, Bifidobacterium longum, and Bifidobacterium infantis which are bacterium normally found in your intestines. Together these bacteria aid in digestion and the synthesis of vitamins. Here are the required steps. Heat milk to between 180 and 200 °F. Heating the milk is done for a few reasons. First, to sterilize/pasteurize the milk so that the yogurt bacteria/culture has a hospitable place to grow in. It is not desirable to incubate contaminating bacteria that might be present in the unsterilized milk. Heating should be done even with pasteurized milk to help make a smooth thick yogurt. Heating the milk also helps stop the whey from separating out quite as much. You must then cool milk to 115 °F and add yogurt culture. (If the milk is too hot it will kill the yogurt bacteria.) Stir in yogurt culture gently until dissolved. Hold temperature at 105 to 110 °F for approximately 8-10 hours. This allows your ""good"" bacteria to grow. The methods listed in the post are suitable for this. Finally, you must refrigerate the processed yogurt for at least two hours. Refrigeration help slow the continued bacterial growth. If yogurt is not refrigerated it will become sour." I have been making yogurt for 50 years. The ONLY time I had a failure was when I tried a "short-cut" method which purported to be a "better and quicker" method. And did not require HEATING THE MILK TO 180° F AND THEN COOLING IT TO 115°F to add the culture. It was a total disaster and a total waste of a gallon of milk. This was the yogurt I referenced in August 2010 - culture from New England Cheesemaking company.
-
A Collection of Vintage Cooking Equipment/Techie's Toys
andiesenji replied to a topic in Kitchen Consumer
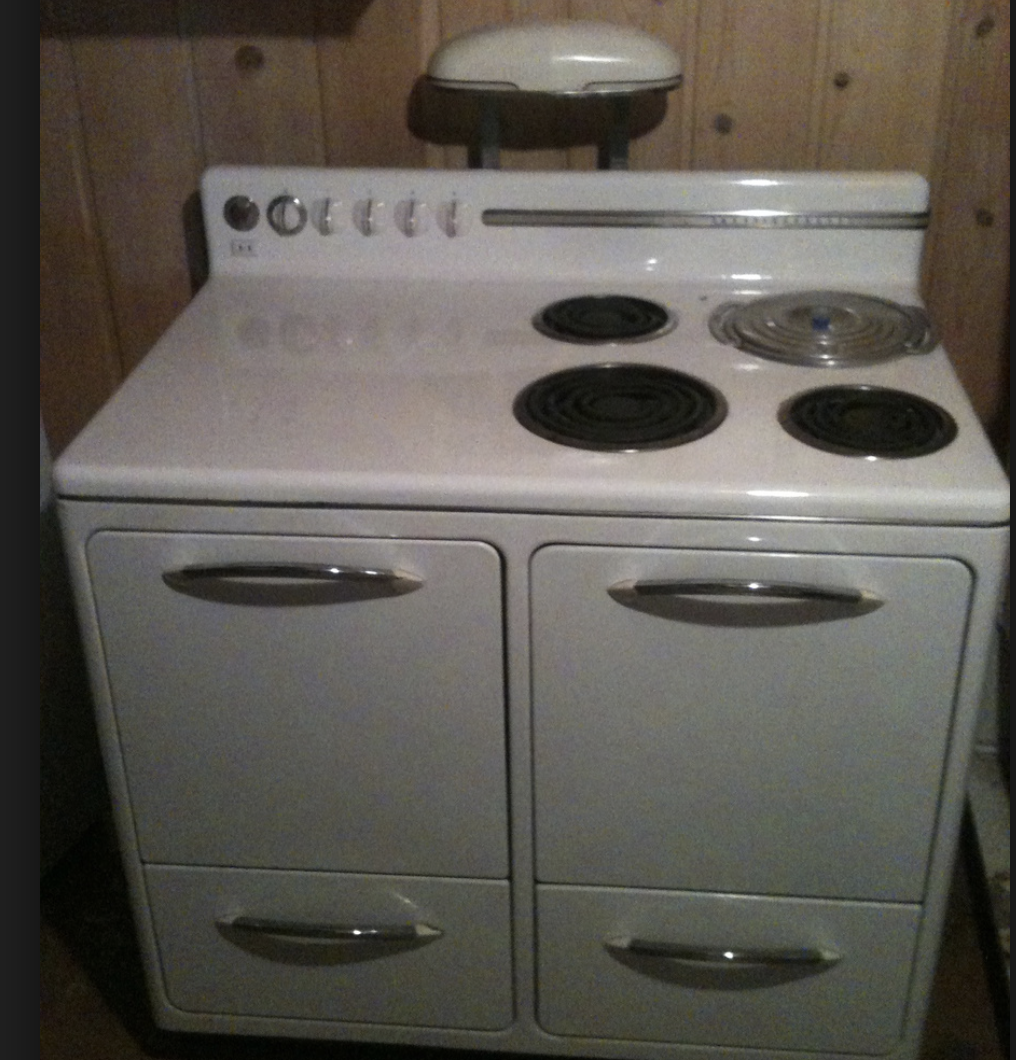
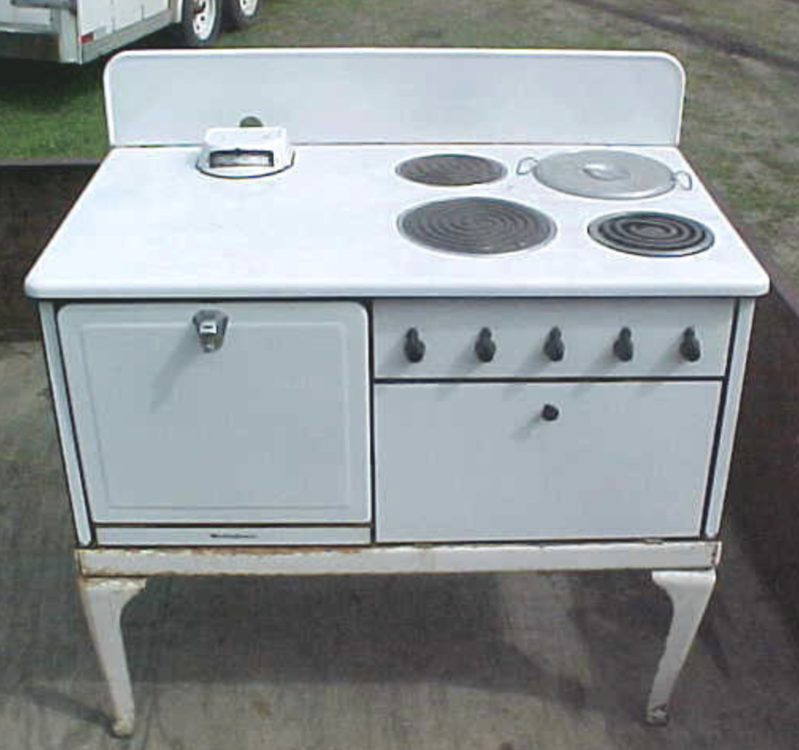
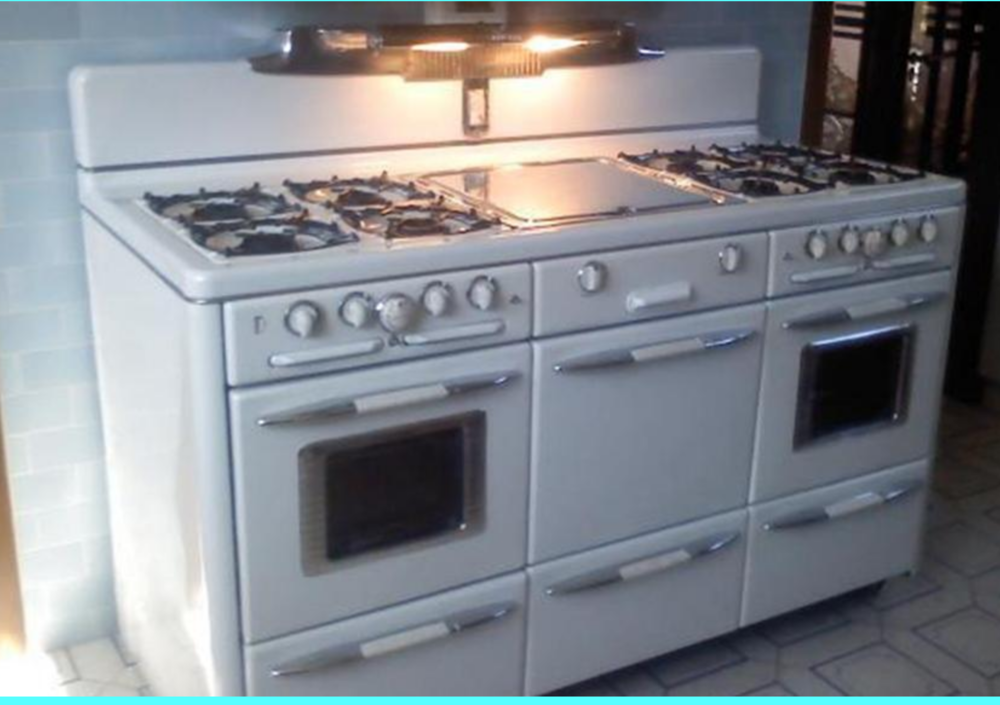
Not really. My stepmother's was on the back right. It was a Westinghouse with two ovens and a broiler under one of the ovens plus a warming drawer. Like this one. It also had a florescent light which put out a weird blue light. She never used it because it bothered her (migraines). My dad mounted one of the jointed "architect's" lamps on the wall above the stove so she could have good lighting. The other photo is a late 1930s Westinghouse that I came across while looking for info on an electric roaster. This was the stove we ended up getting. Roper Town & Country. We had to do a lot of entertaining because of my husband's job and a regular range just did not have enough output. It has two ovens and a broiler which can be converted to an oven by locking the lift mechanism down and installing one or more racks - it came with extra racks. The griddle is much larger than on most ranges and we used it a lot. We did have to get a larger gas line put in because that thing demanded a lot of gas. We did not have a range hood - it was on an exterior wall and my dad (he was a contractor and built our house) installed two 12" exhaust fans with a small copper "hood" that was only about 8' deep. There were louvers on the outside that opened automatically when the fans were on.
-
A Collection of Vintage Cooking Equipment/Techie's Toys
andiesenji replied to a topic in Kitchen Consumer
I still use mine. I have three. The oldest T20 got a new cord in 1999. -
A Collection of Vintage Cooking Equipment/Techie's Toys
andiesenji replied to a topic in Kitchen Consumer
Deep well cookers were available on several electric ranges. GE introduced one in 1938, later their Hotpoint division offered them after WWII. I had a Norge in 1960 and when we built our house in 1962 we considered a Frigidare but eventually decided on gas instead of electric. Kelvinator offered one - I looked at one when I was buying our Kelvinator Food-O-Rama refrigerator. This is a 1948 GE Airliner. In the late '50s some of the ranges offered a "fryer pot" which was taller and projected about 4 inches above the stovetop to make it safer for deep frying. My stepmother had one of those.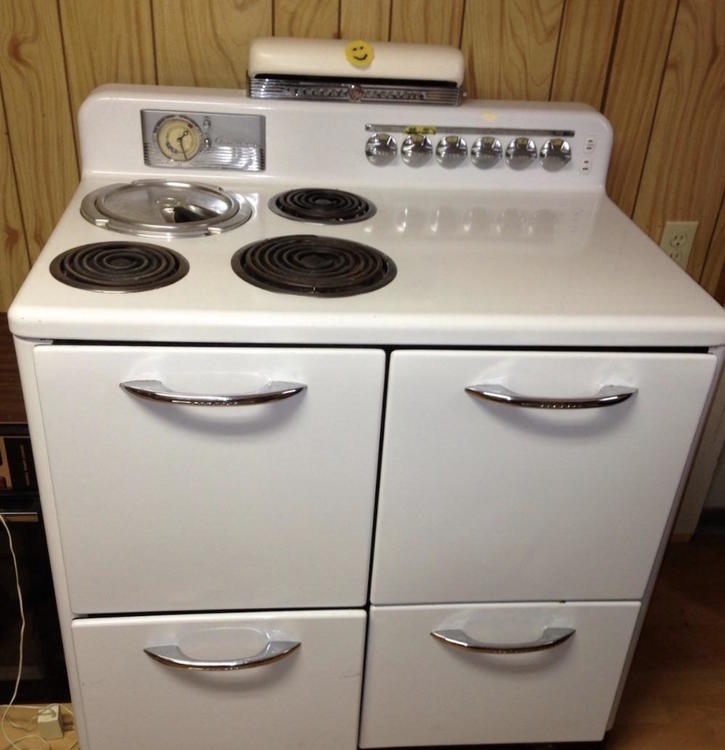
-
A Collection of Vintage Cooking Equipment/Techie's Toys
andiesenji replied to a topic in Kitchen Consumer
The best consumer waffle iron ever made. I've been using mine since 1961. I had the cord replaced about 25 years ago. -
Forget I wrote anything.