btbyrd
-
Posts
1,808 -
Joined
-
Last visited
Content Type
Profiles
Forums
Store
Help Articles
Everything posted by btbyrd
-
It's not uncommon to use shitloads of soy sauce in marinades.
-
You can always dope less spicy mustard with powdered mustard or mustard oil.
-
NaCl influences the water binding and water holding capacity of meat. It can also change the texture. A dry “brine” can make protein juicier when cooked, even if no extra water is added. Liquids high in NaCl like soy sauce or fish sauce (or just a saltwater brine) can affect similar changes while also drawing exogenous moisture into the meat. Phosphates are also useful for increasing water holding capacity in protein. For both NaCl and phosphates, it is dubious whether osmotic pressure is responsible for these changes. In stews and conventional braises, the protein is going to be so cooked to death that these facts matter very little. It’s not like oversalted braises are dramatically juicier than underseasoned ones.
-
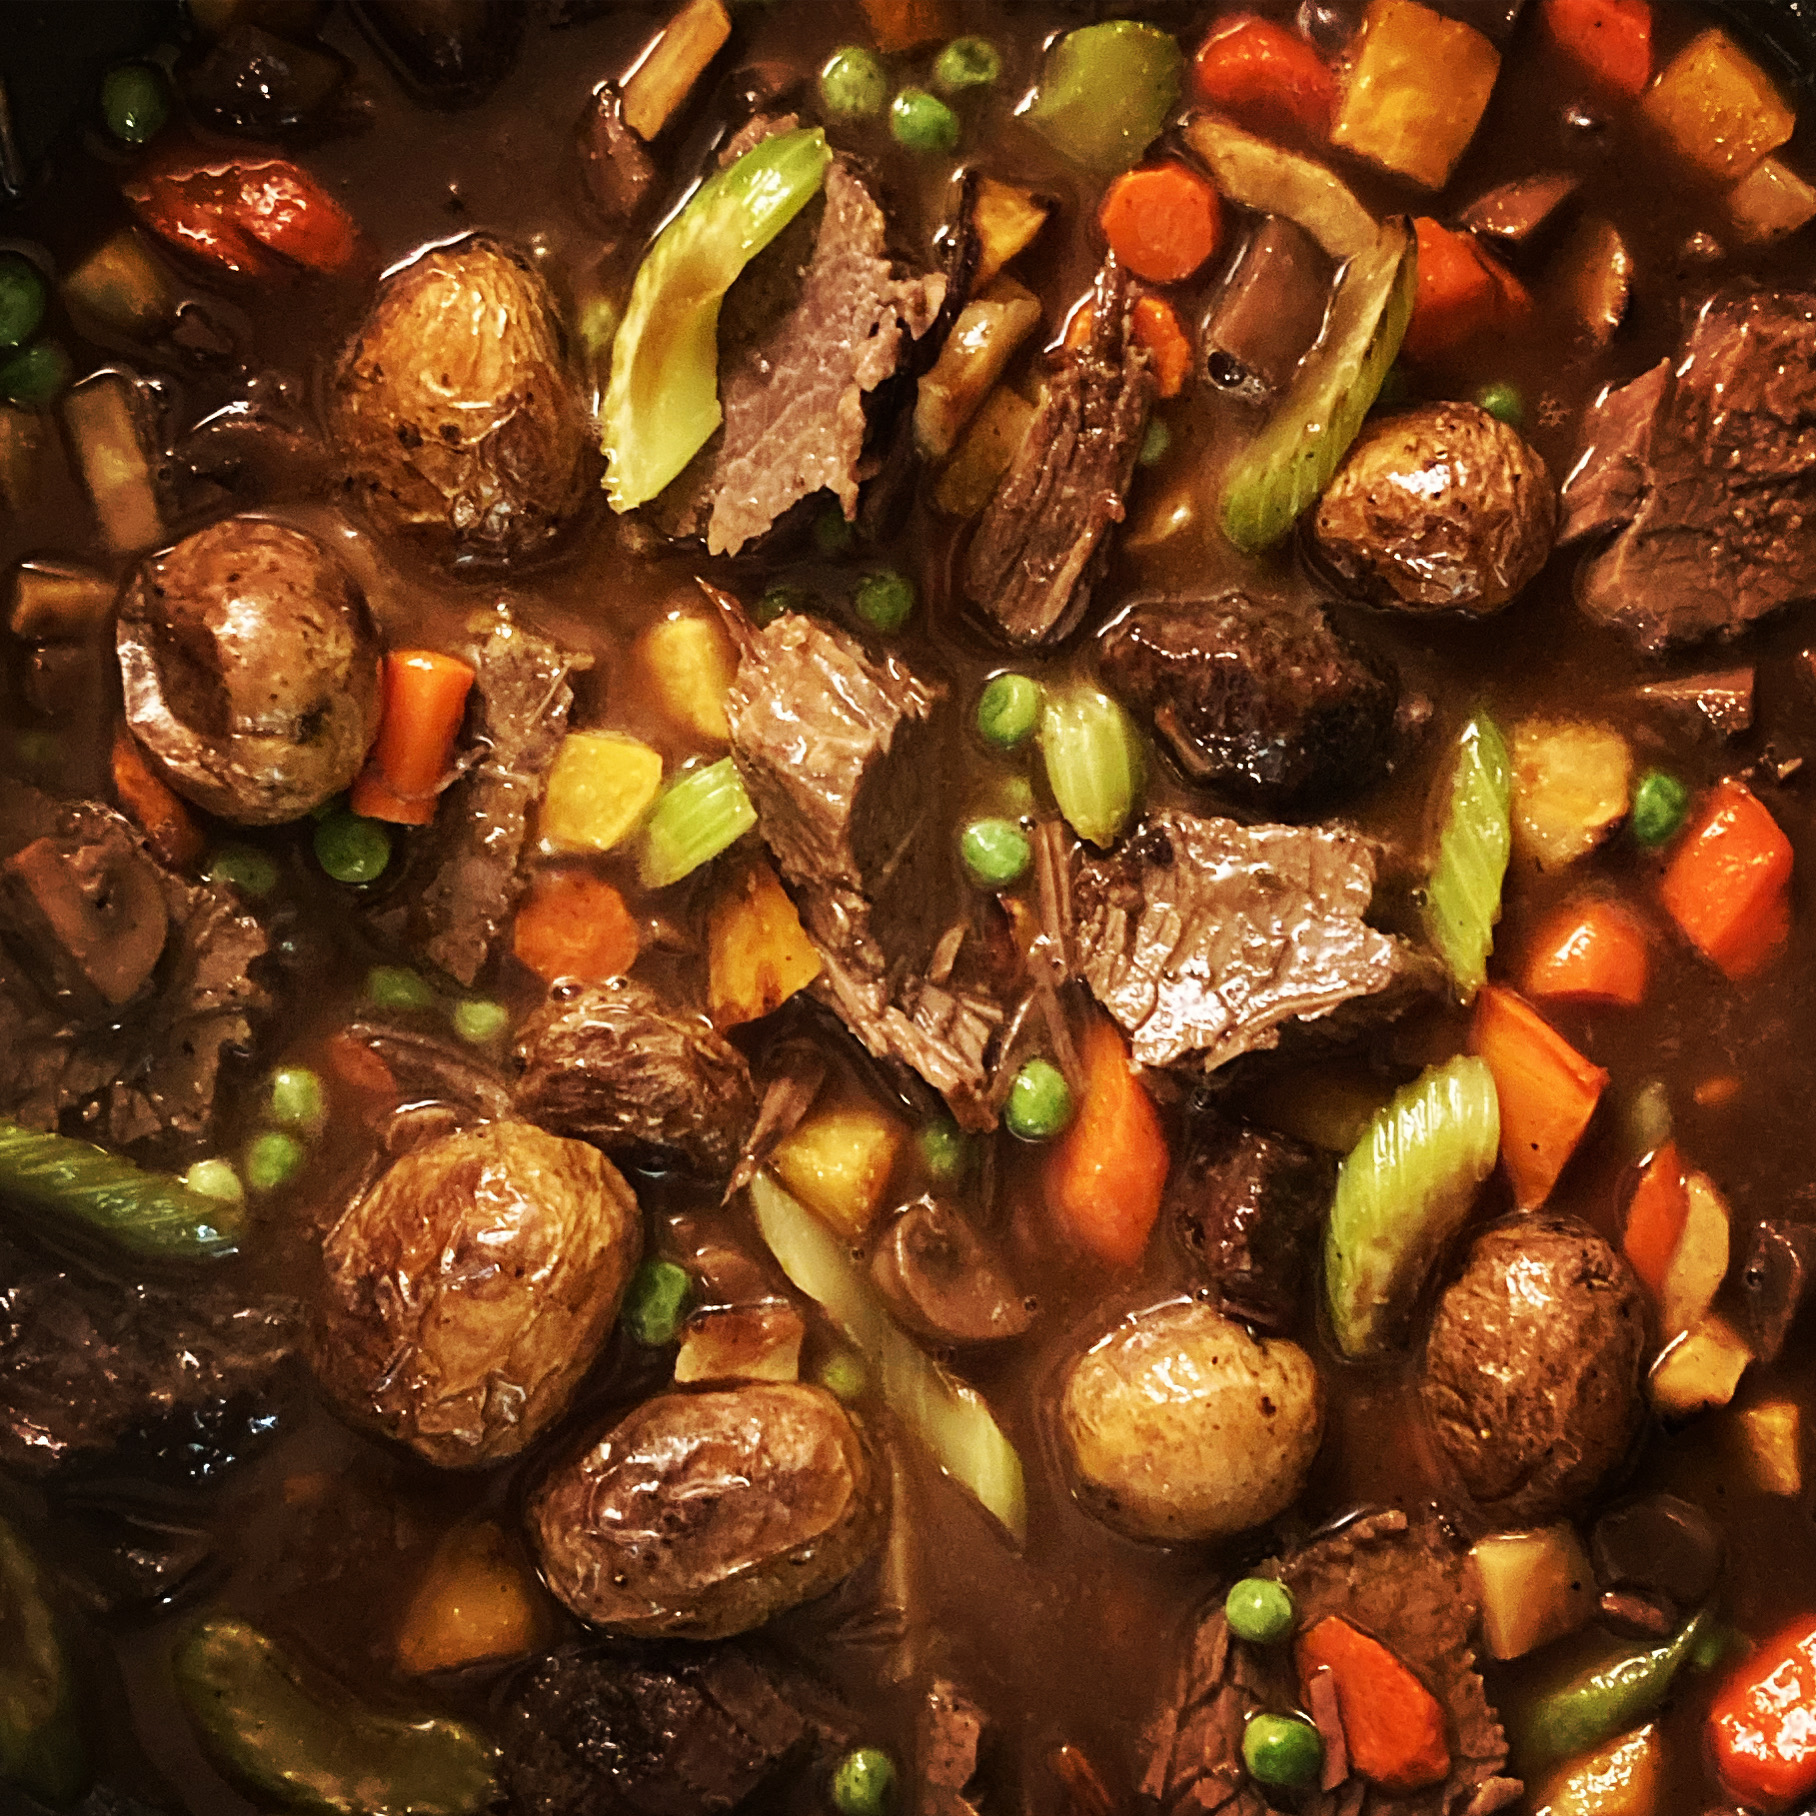
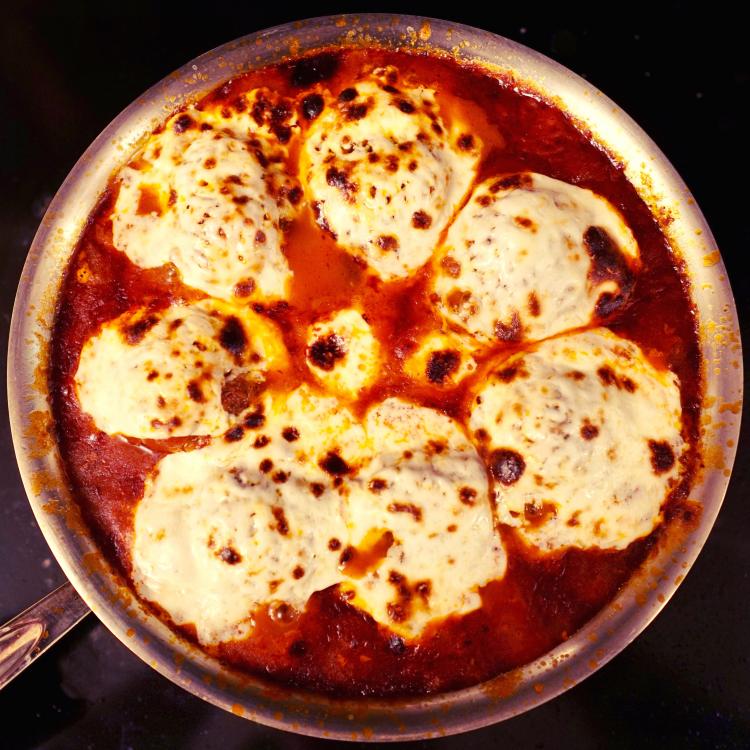
Meatballs. Had some tortellini on the side.
-
The Joule app itself doesn't have a SV risotto recipe. The Joule app's search function can search within the app itself (which provides no results for "risotto") or the ChefSteps website (several results for "risotto") or both at the same time. All of the recipes actually contained in the app are free and aren't behind a paywall. The recipes on ChefSteps.com are mostly free, but there are some behind paywalls. And it's been that way for many years.

-
ChefSteps started selling recipes and classes in 2013. None of the recipes in the Joule app require additional payment, and anyone can download the app and check them out for free.
-
You say that like it's a bad thing.
-
"You need a chopping knife, 9 to 12 inch depending on the size of your hand. You know, a man may have a bigger hand than a woman. Whatever feel comfortable. A utility knife, for slicing, doing all of this, about 6 inches. And a paring knife. You don't have to pay much money for the paring knife, you tend to lose it, so cheaper ordinary paring knife is fine. But you need those three knives... (pause) ... That being said, I probably have 300 knives at my house."
-
Only a few days left in Zingerman's annual Balsamic Blowout sale. I always pick up a few bottles of Veccia Dispensa balsamics during the sale. And don't tell anyone, but you can save additional 10% off with coupon code <redacted because expired>.
-
I'm very suspicious of the notion that applying fat to the outside of meat will somehow "go into the fibrous meat" or otherwise penetrate the interior. This does not accord with my experience or knowledge of food science. It's also not true that marinades "penetrate easily." Salt penetrates deeply due to its ionic properties, but marinades don't go beyond a couple of millimeters into the interior of the meat, even after 18 hours. As much as I dislike the Sous Vide Everything guys and Guga, this video attempts to provide some evidence one way or the other. Unfortunately, the guys conducting the experiment have somewhat limited capacities for description and expression. However, the verdict "this is trash" seems to sum up the verdict. Though admittedly comparing larded eye of round to wagyu is an unfair comparison.
-
Thanks! The "newspaper" was printed.
-
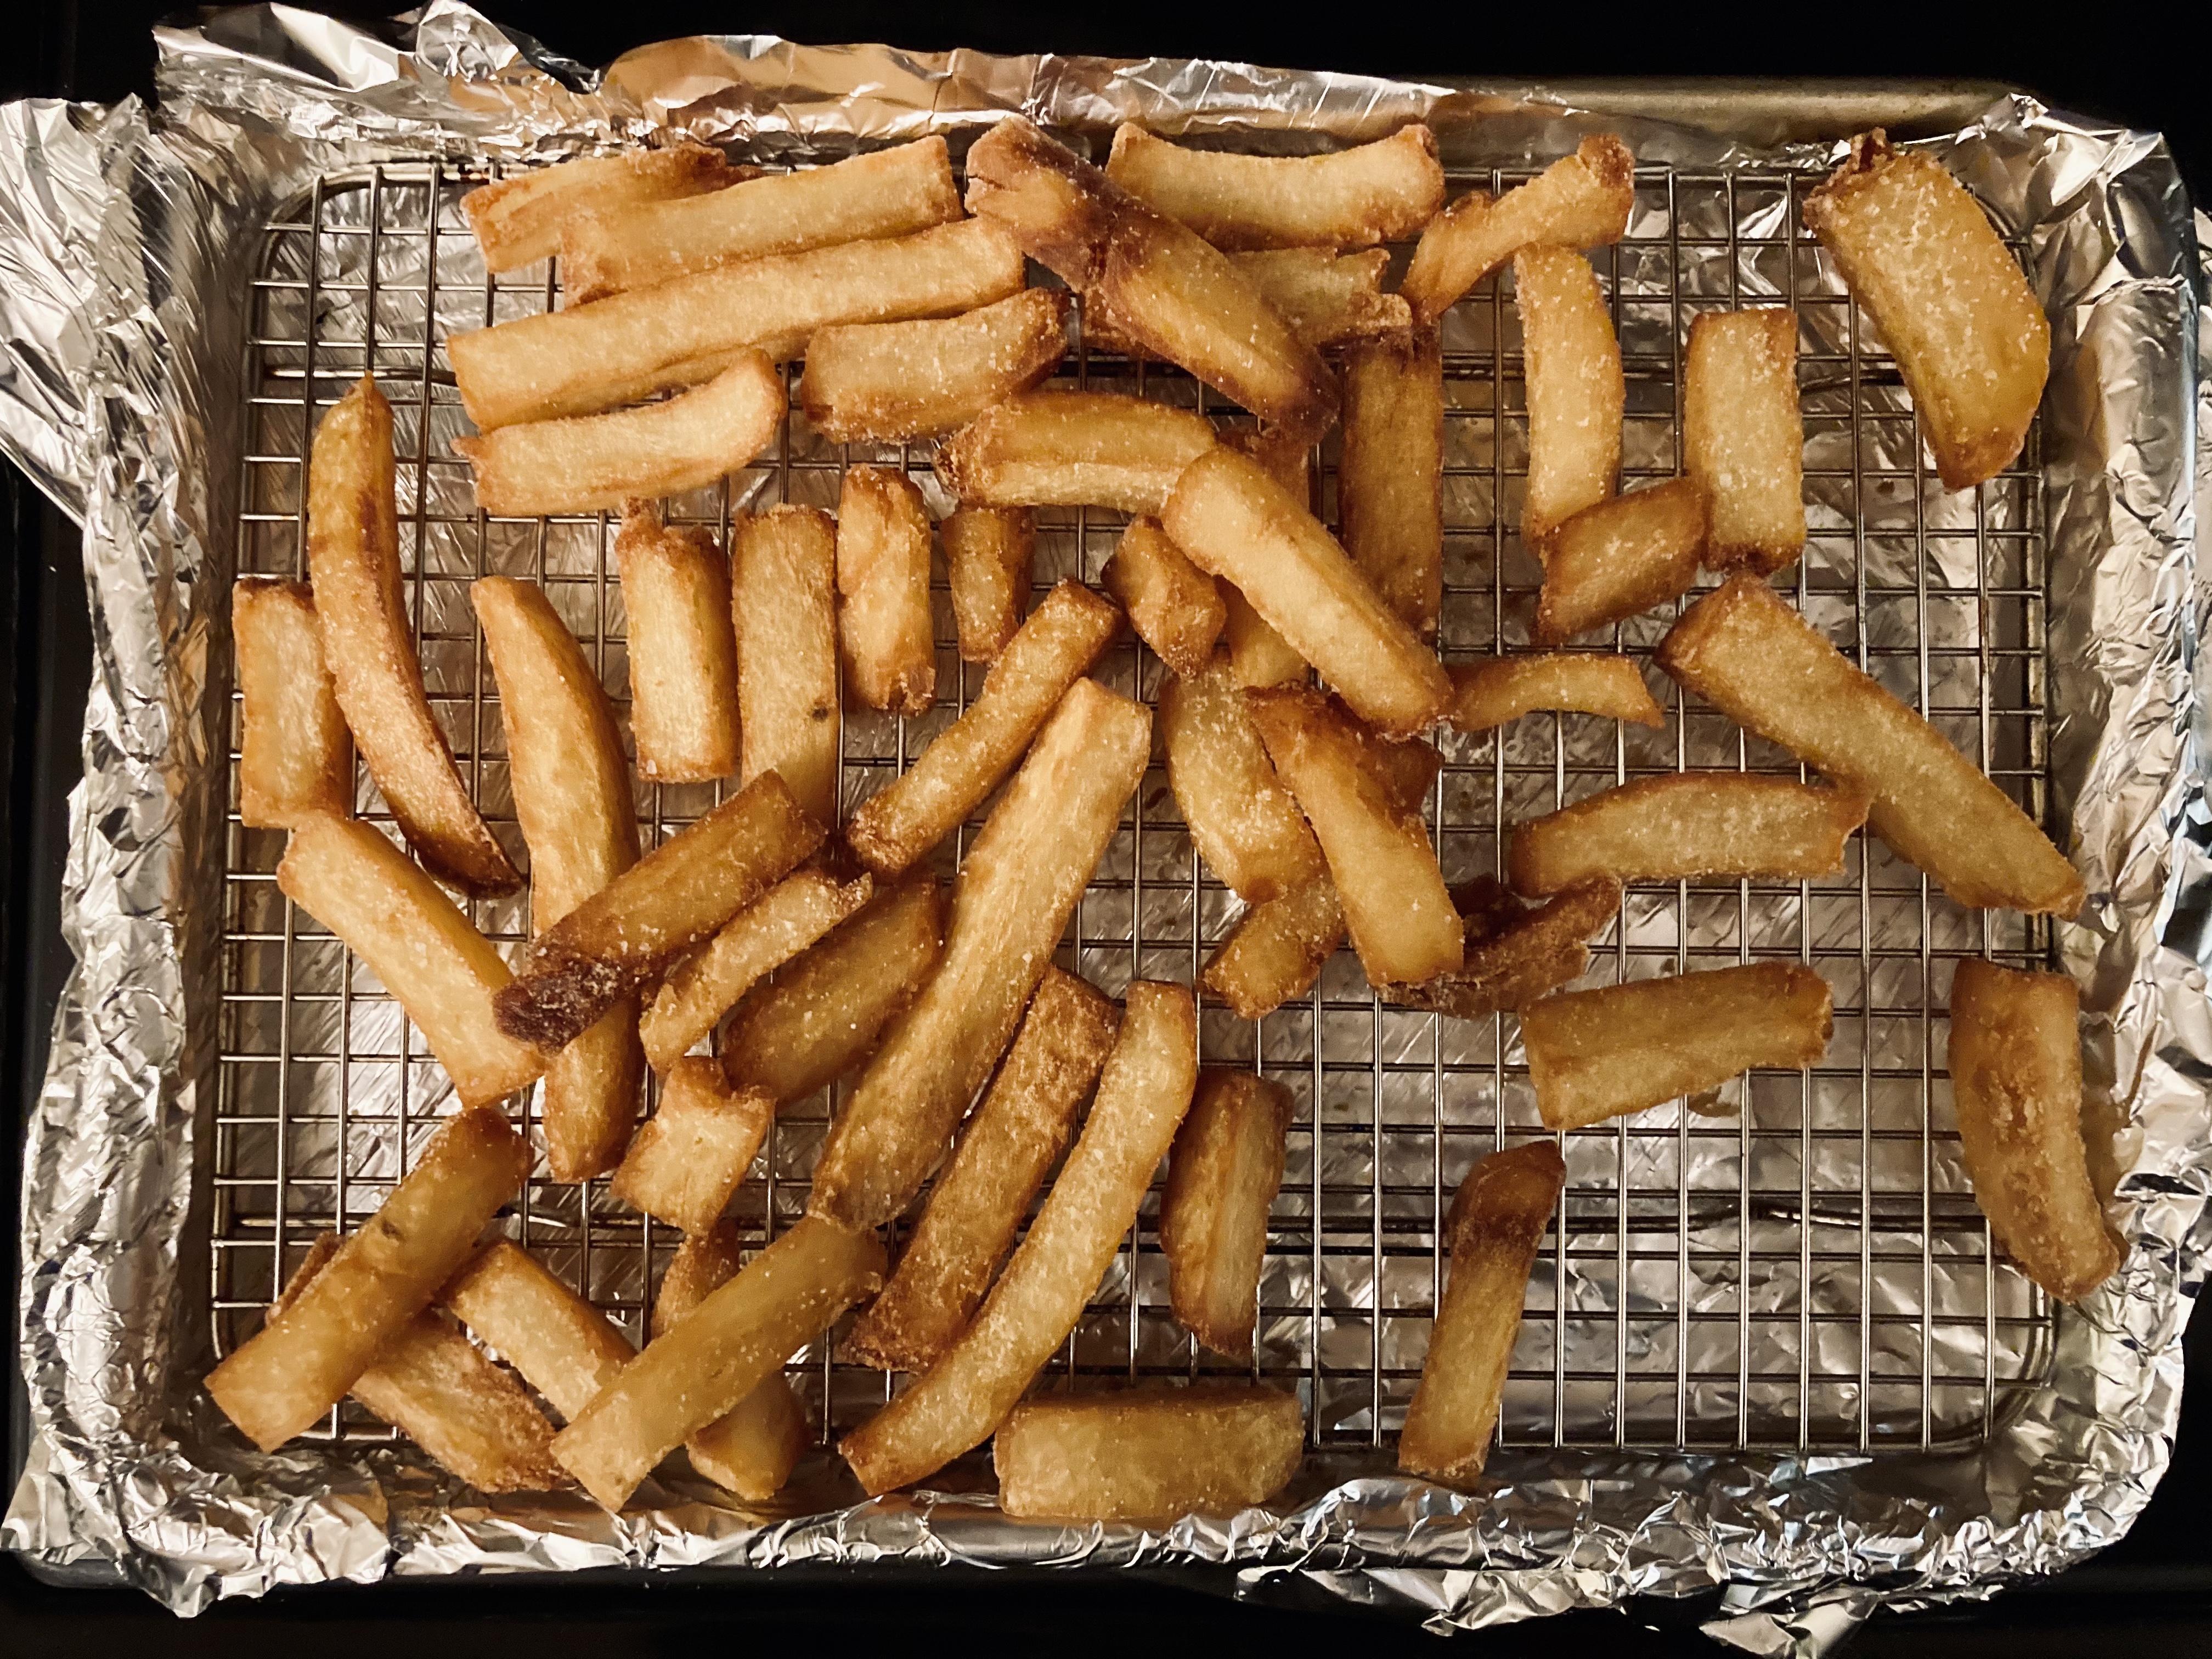
Dave Arnold was definitely an inspiration with the SPL pre-soak. I originally used the ChefSteps recipe which blanches the fries sous vide.... it helps keep them from falling apart, but sealing up fries with brine is a pain and requires a bunch of bags if you're making a larger batch. So I skip the bags and just blanch them conventionally. You break more of them, but each time I make them I try to cook them a little less so they don't break as much. Haven't been very successful, but I don't make these fries frequently because they're so involved. If I had a bigger freezer, it might happen more often.
-
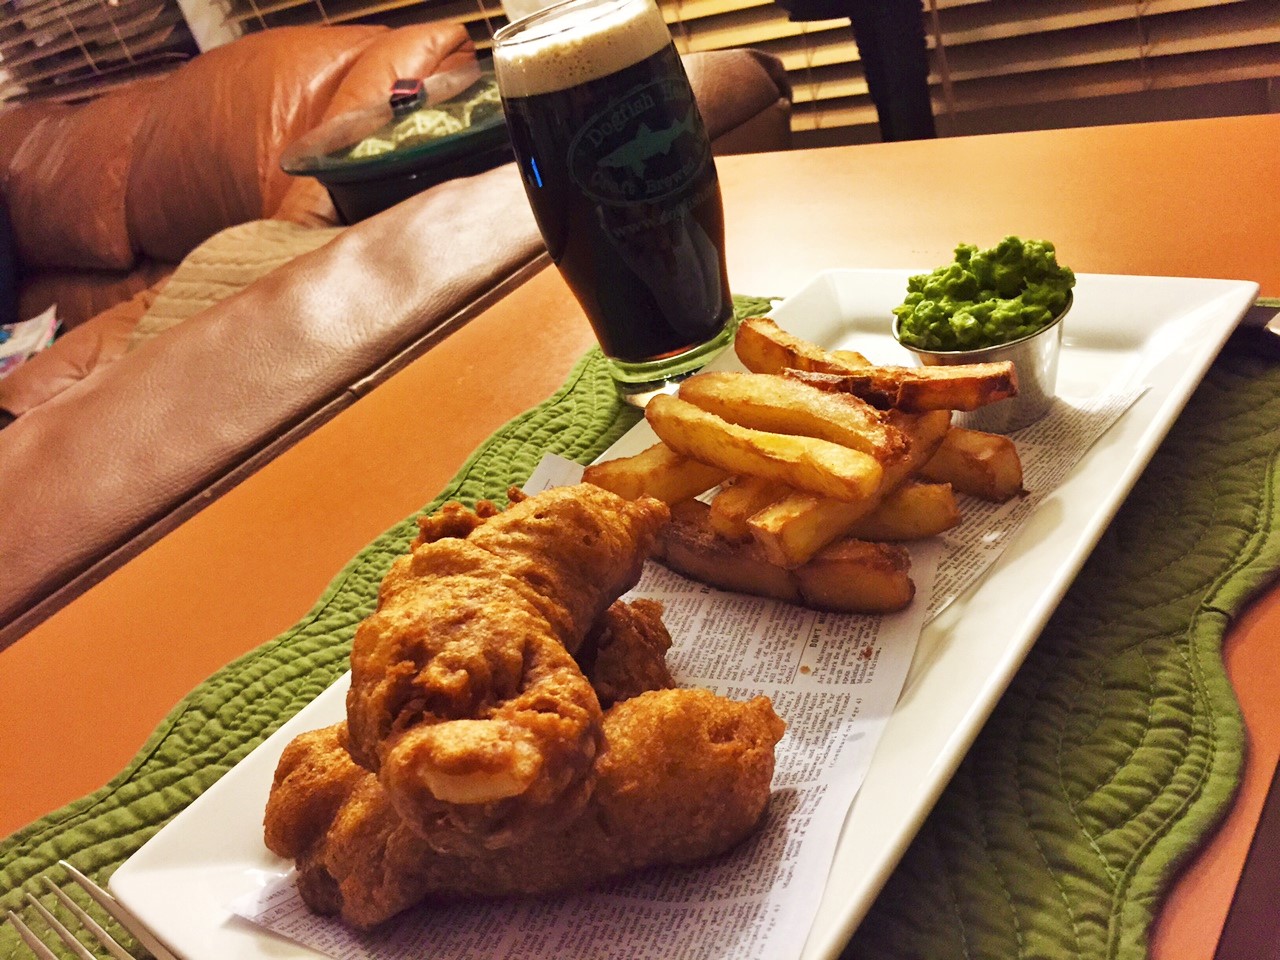
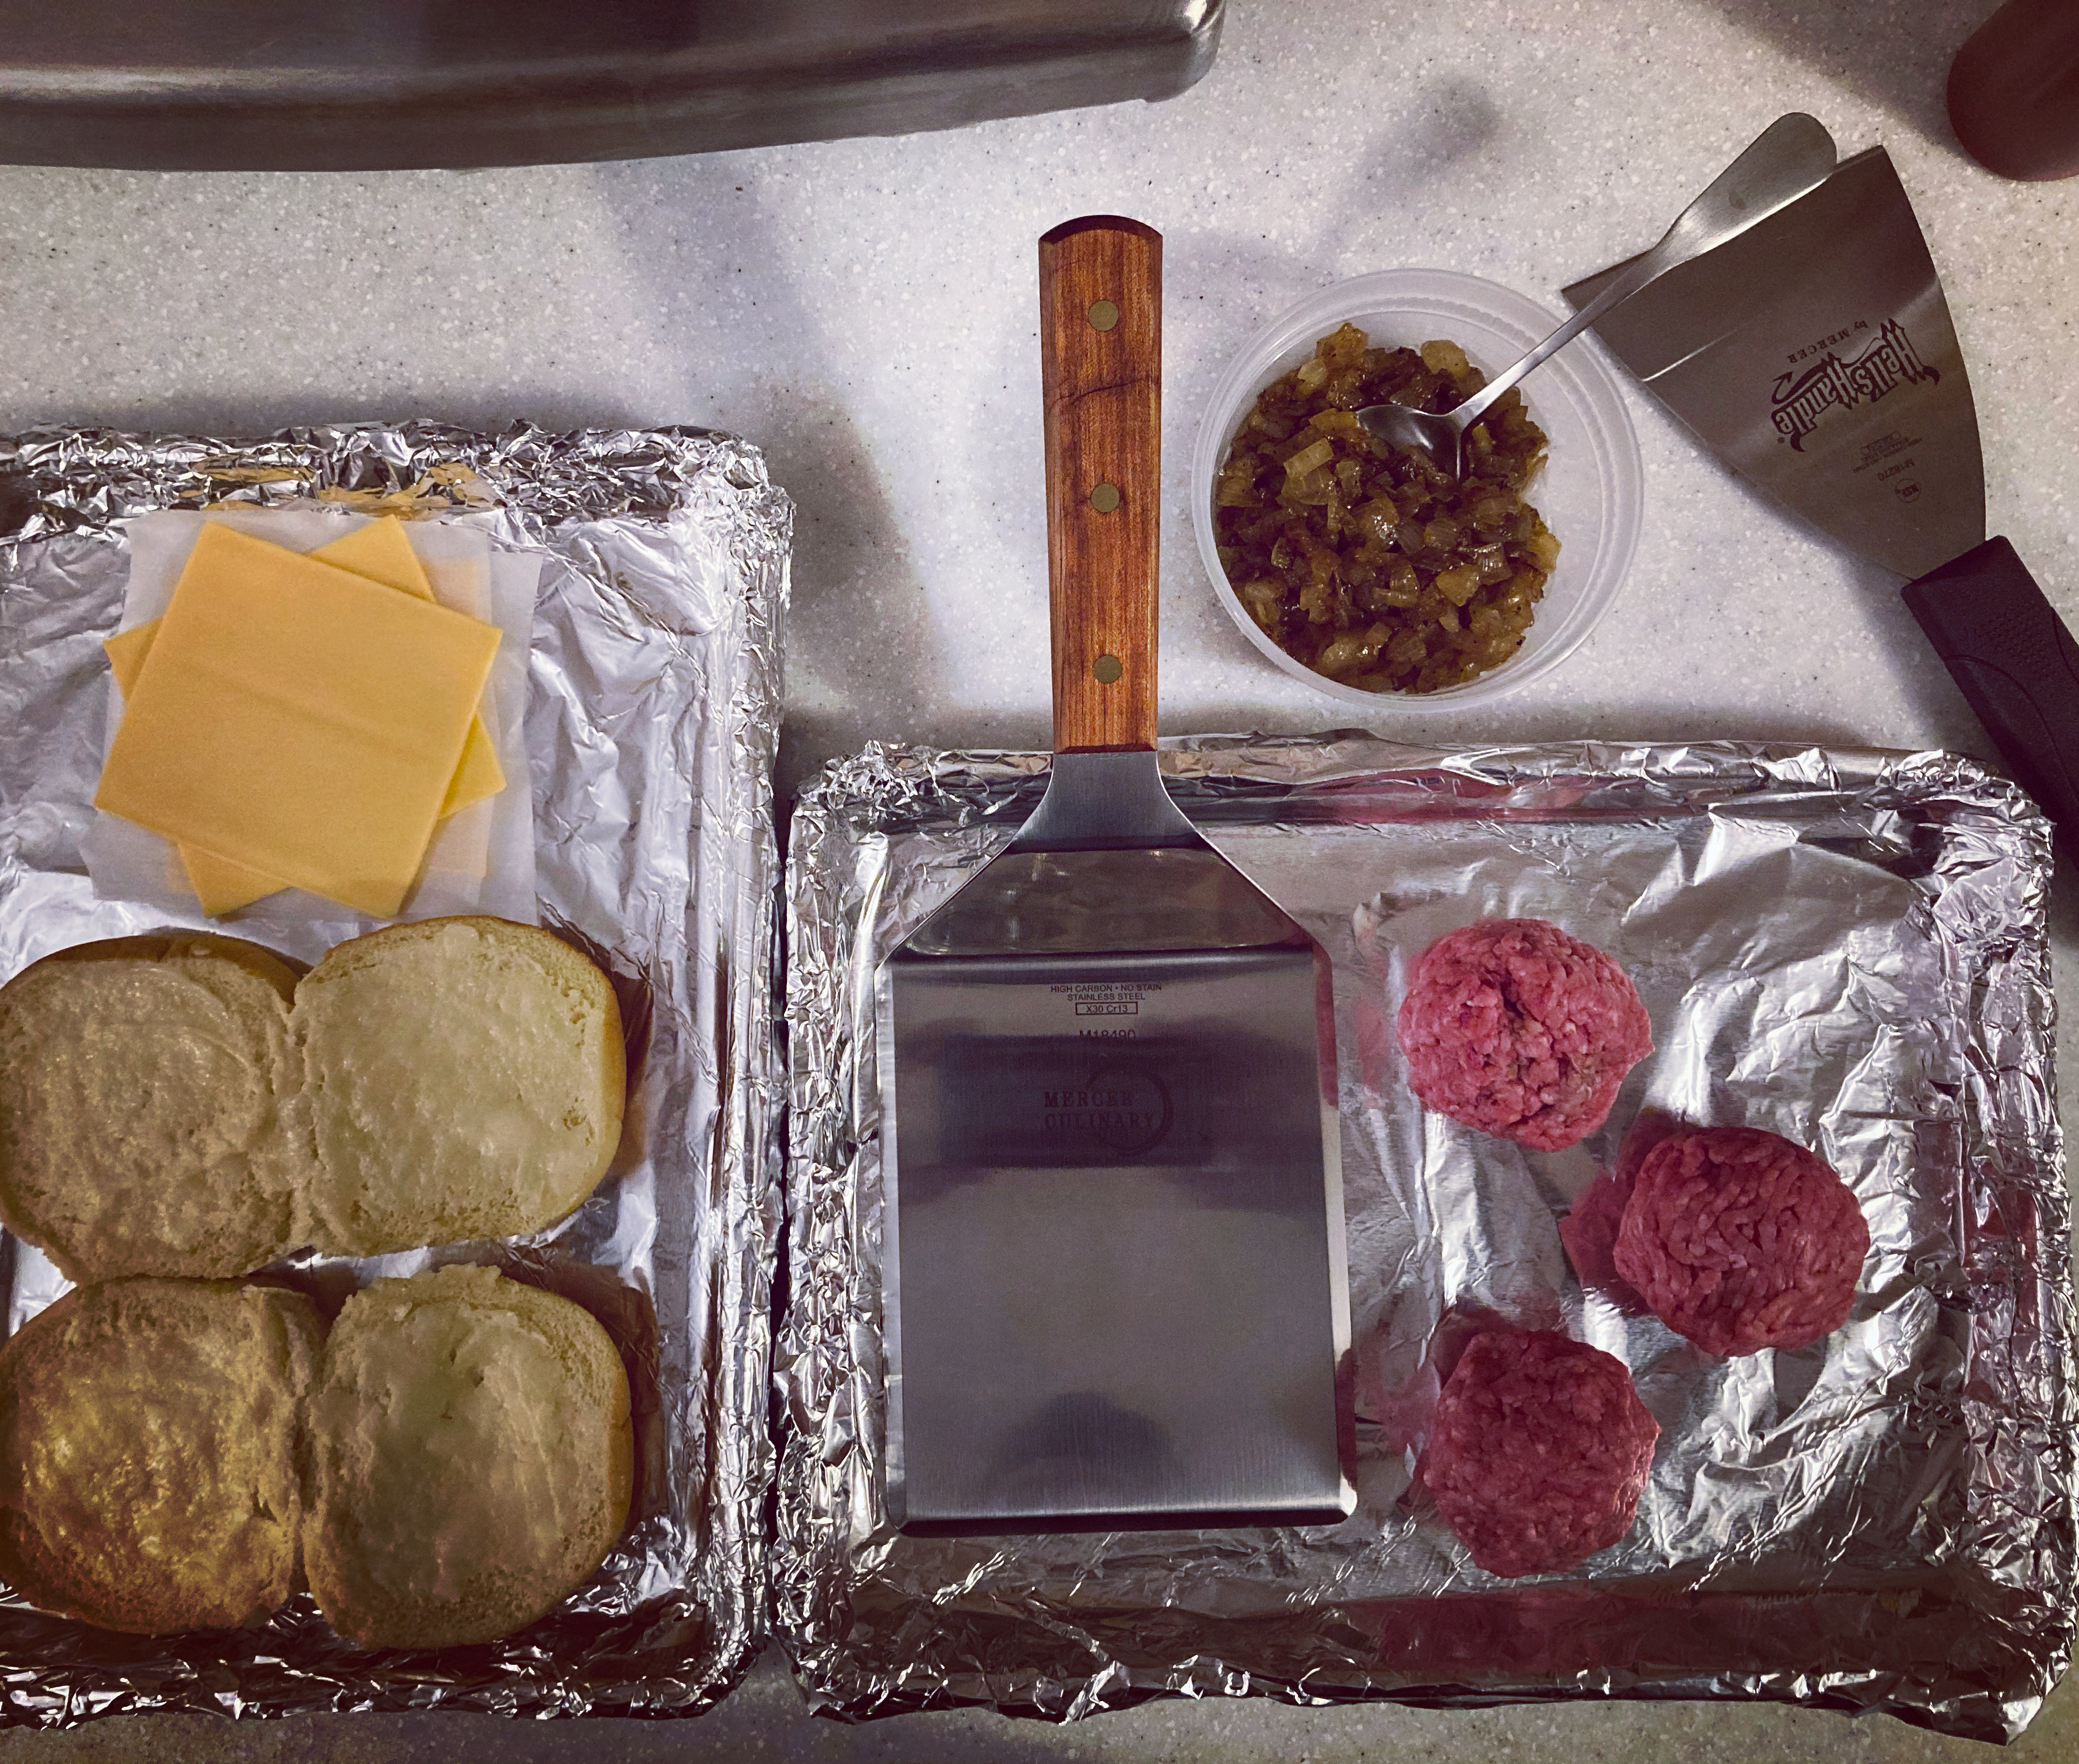
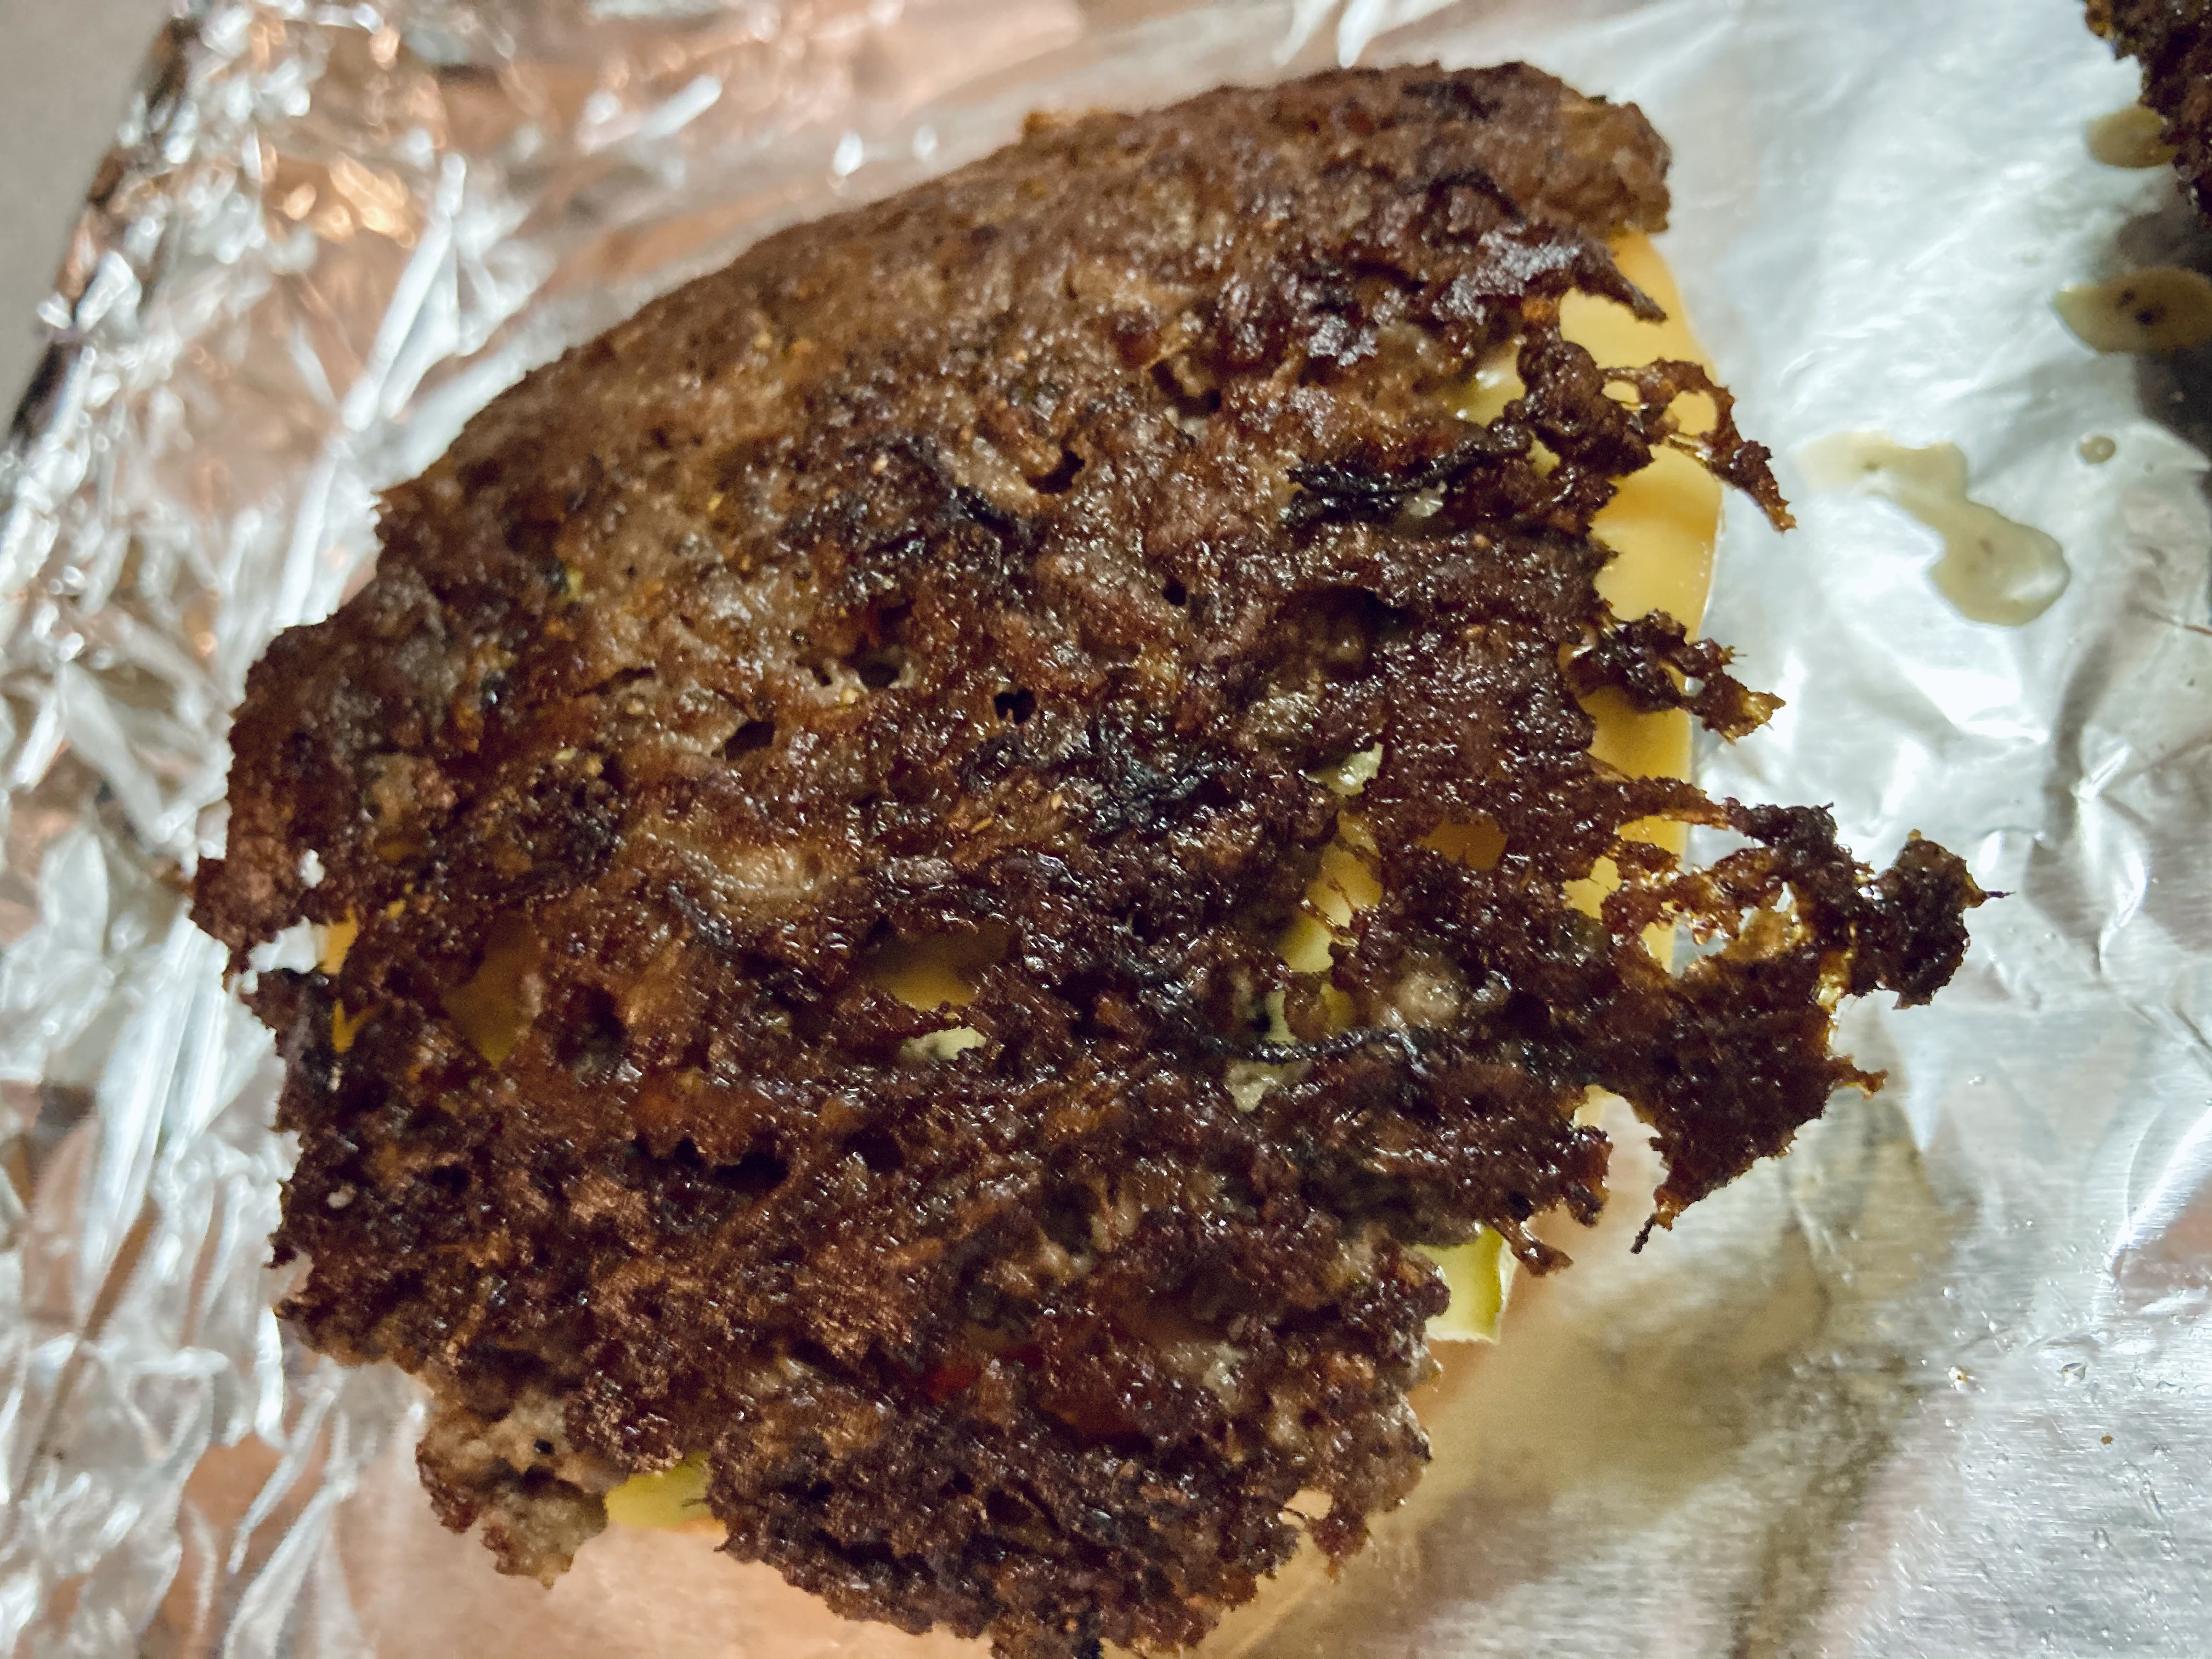
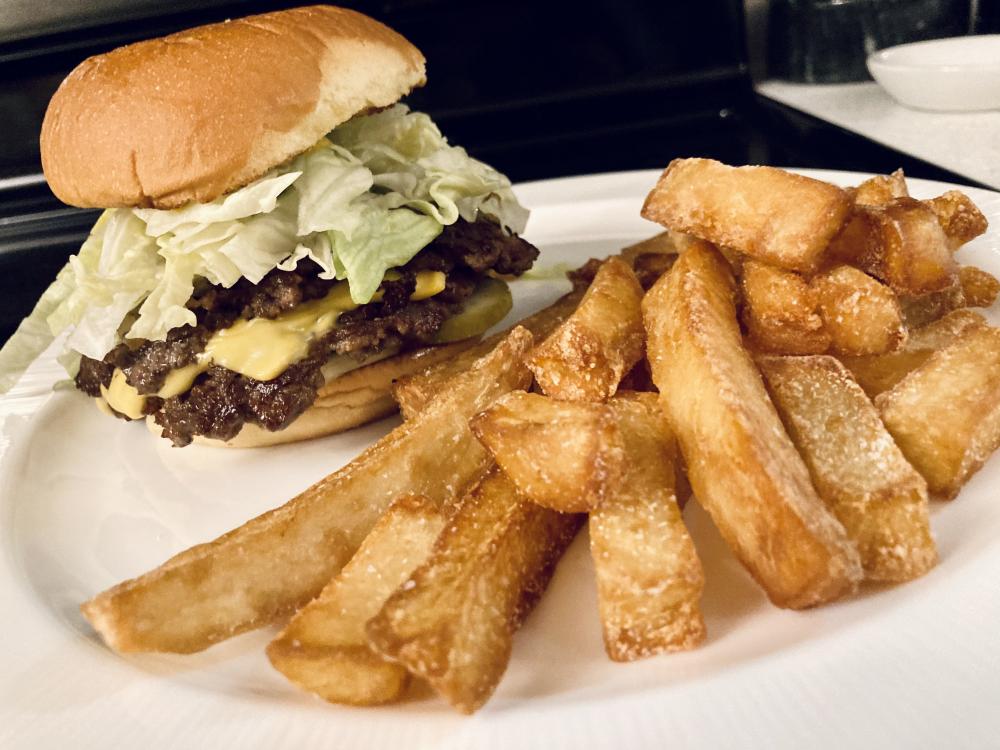
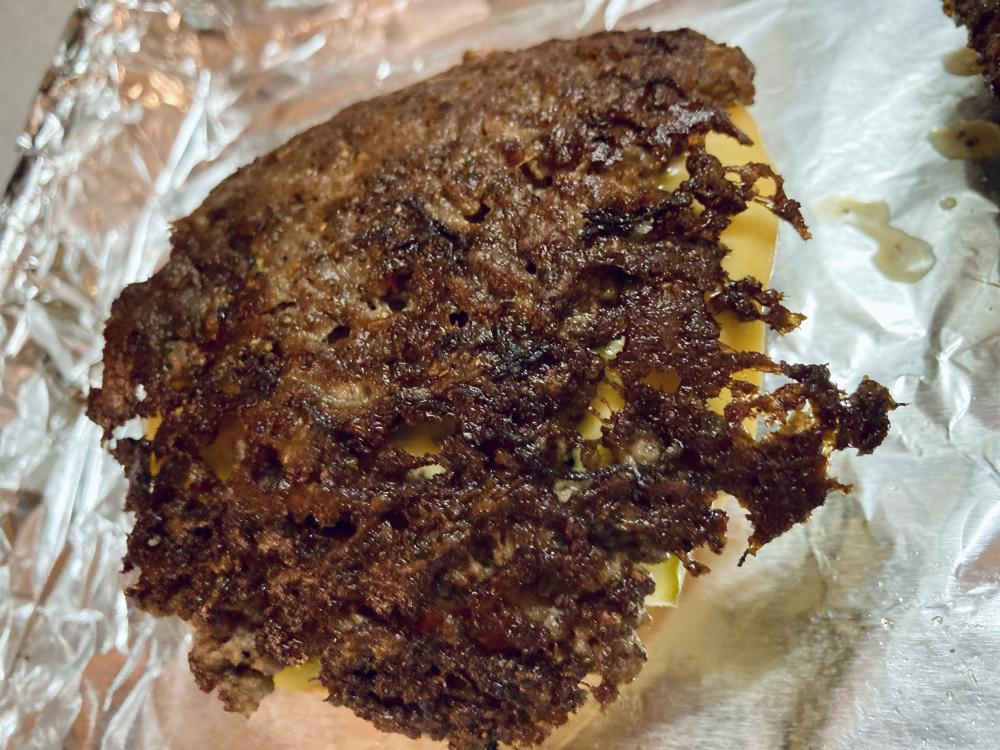
Thanks! My family has always, and I mean always, cooked burgers on the grill. I've always considered the "grilled, roughly 1/3lb burger" to be my personal burger-making style; its what I grew up with and it's what I've been making my entire adult life. But I recently got a small Blackstone griddle and decided to give the smash variety a try; we love them at restaurants, but never made them at home because we haven't had a cooking surface large enough to cook them efficiently. But oh my goodness, this was probably the best burger I've ever made, and I doubt I'll make them another way for quite some time. As for the fries, they were hand cut. I follow a modified version of the ChefSteps thick cut fries recipe, the potatoes get a pre-soak in Pectinex SPL and are then blanched in simmering brine instead of cooking them sous vide. You blanch them until they're almost falling apart, let them dry, and do a low-temp fry to set the crust. Then freeze them and do a final high-temp fry to brown them up and warm them through. The fries are superior, but the downside of blanching them until they're almost falling apart is that they're very fragile and you end up breaking a lot of them. The batch in the photo was the busted/broken dregs of a larger batch that I'd used for steak frites and fish/chips. Just realized that I never posted the fish and chips, so here they are with the unbroken "fancy" fries:

-
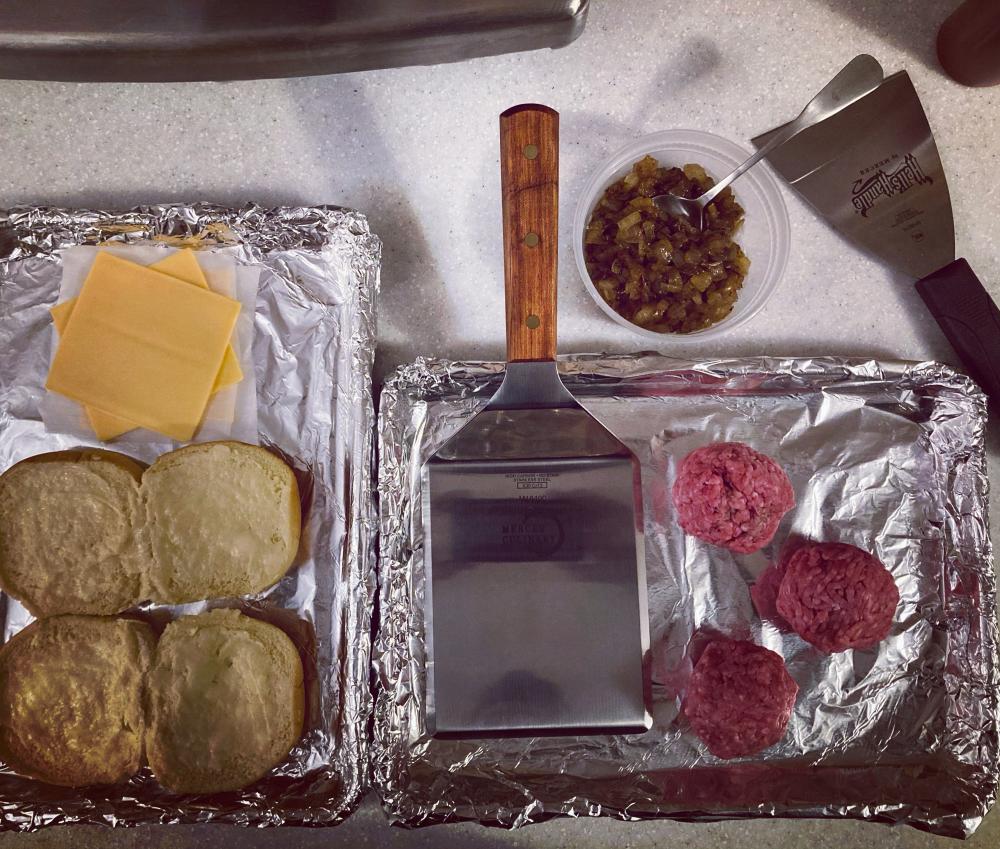
It's the Mercer Praxis heavy duty 5"X6" turner. (eG-friendly Amazon.com link) It's very large, so it's basically going to be a unitasker in my kitchen. But it's well made and does the job. The edges are thin and sharp enough to get under the burgers -- no need to use a razor scraper like Kenji does.
-
New spatula day. Time to smash some burgers. Lacy and crispy. With triple cooked chips: Plated:

-
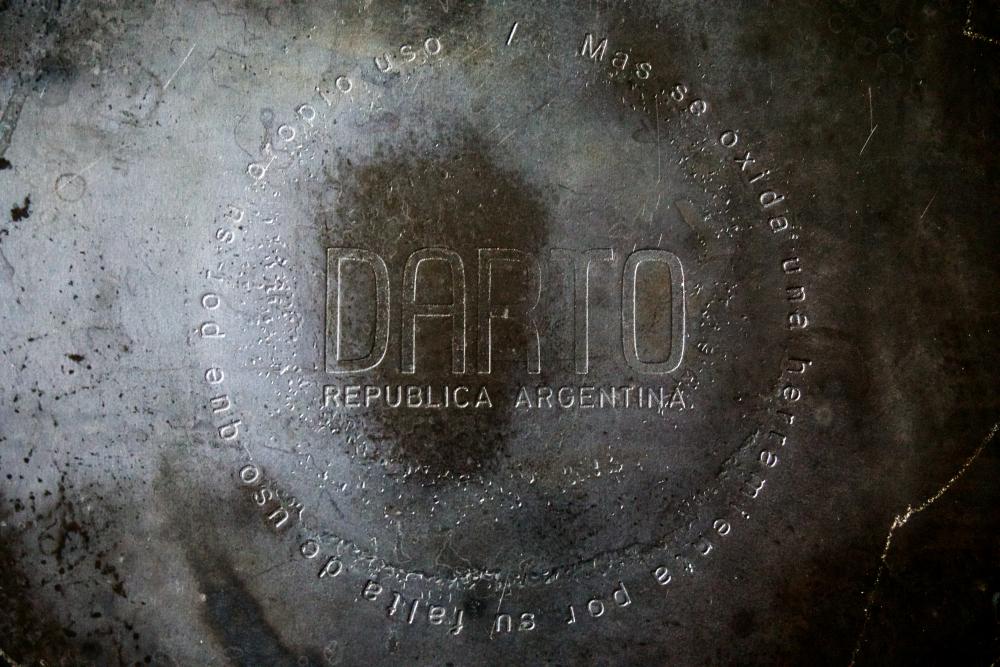
As they say in Argentina, a tool rusts more because it's not being used than because it is being used. Anyway, I already have a No 27 in the old style, but I'd happily use one of these thicc boi 4mm new models if it showed up on my doorstep.
-
If it's one I recommended on here, it's probably an Epicurean board. They're thin, light, easy to care for, and last basically forever. And inexpensive. They sometimes warp. They're not-so-bad on your knife edges, but not especially great. I much prefer cutting on wood or on a good synthetic board like HiSoft or Hasegawa rubber board.
-
 +1 for Toiro and Korin. Also check out MTC Kitchen (though they're slow shipping right now because of COVID). Then there are knives...
 -
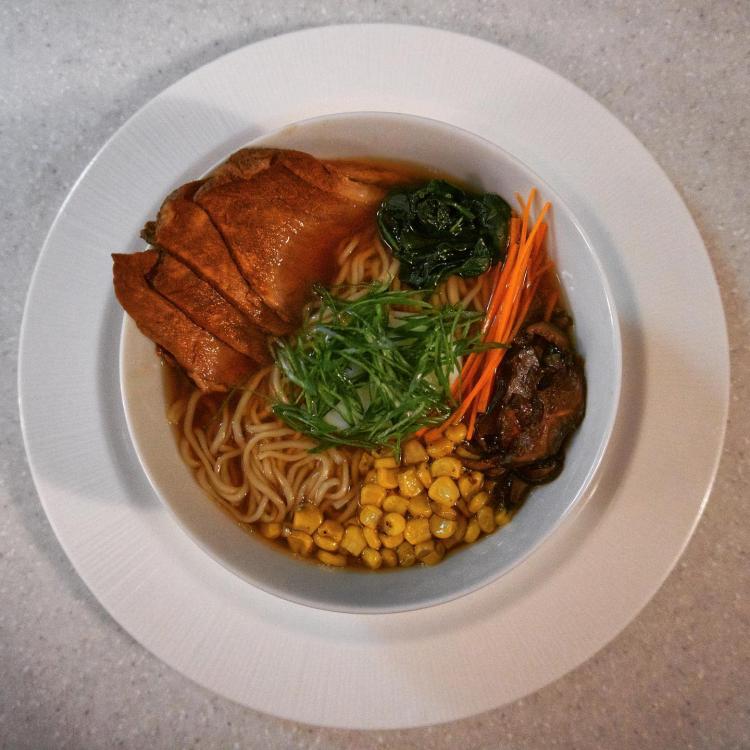
"Snow day" ramen. 4 inches of snow was in the forecast, but we got nothing. Shoyu chicken and Benton’s bacon dashi broth. 63C egg. Sous vide chashu.
-
I agree with jimb0's post above, but would elaborate since you're immunocompromised (or at least pregnant). There's a difference between pasteurized and "safe to eat." If you're willing to eat a conventionally cooked medium-rare steak or a soft boiled egg (that didn't start out pasteurized) then you should have no qualms about eating food prepared SV according to recipes and guidelines from reputable sources (like ChefSteps, Anova, Modernist Cuisine, Doug Baldwin, and America's Test Kitchen). It is just as safe to eat as conventionally prepared food. But if you're trying to abide by strict guidelines in avoiding pathogens, SV offers you the additional advantage of being able to pasteurize foods that you couldn't normally consume (like a medium-rare steak). If you're looking for pasteurization times/temps, Doug Baldwin's Practical Guide to SV offers pasteurization tables for fish, poultry, and meat. Most SV ice cream base recipes (like those from ChefSteps and Anova) have you cook the base at 185F for an hour, after which it's going to be pasteurized (just be sure to agitate the bag a few times during cooking). Since you mentioned curds, I'll add that the same thing is true of ChefStep's lemon curd recipe (which cooks at 75C for an hour). All that's to say, if you already have a Joule, I wouldn't go through the bother and expense of returning it in favor of the Breville/Polyscience unit. For the novice, the Joule is extremely helpful with its visual doneness features and in-app recipes. And if pasteurization is a concern, you can easily look up most of that information in tables. I realize that SV can be daunting to the beginner, but if you've got good recipes (many of which are in the Joule app) and some good online resources, there's no need to fear the technique -- even from a safety standpoint.
-
I'd eat it and serve it to my non-immunocompromised family members. Baldwin's timetable isn't an indication of how long it takes for an item to cook per se, but rather how long it takes for the temperature of the core to reach (basically) the temperature of the bath. This results in that uniform, edge-to-edge doneness that is associated with most SV cooking techniques. But if you don't care about the core being the exact same temperature as the edges, a piece of meat can be cooked all the way through (i.e., the core is at 130F or higher) faster than the times listed in the table. I broke out the Polyscience SV Toolbox app to do some calculations. In a 137F water bath, a 2 1/8" thick pork chop starting out at 33F will reach a core temp of 130F after 2 hours and 19 minutes. It will reach 135F at 3 hours and 16 minutes. And because it takes the core so long to come up the final degree or two when cooking SV, it won't reach 137F in less than four hours and the app will not provide the calculation (though Baldwin's table suggests it'd take roughly 4 hours). TLDR: your chop is fully cooked, even though the core didn't reach the same temp as the bath. If you're going to retherm it SV, keep in mind that it's not going to reheat any faster than it took to cook; it'll still need to hang out in the bath for a couple/few hours. Finally, FWIW, ChefSteps suggests cooking a frozen 2" chop for 2 hours and 15 minutes.
-
Gas is better than induction, but it depends on your range. I used to use mine on a low-end gas range to make pancakes, but the ones around the outside took significantly longer than the ones in the middle. Since this thread is about baking it makes more sense to just stick the pan or steel in the oven as the oven preheats. This is especially true if you're going to bake the bread in a dutch oven to mimic the effect of a steam oven.
-
They heat very unevenly, especially on induction. Only the part of the pan directly above the induction coil will fully preheat. I did some tests with an IR thermometer using the MC baking steel on a Vollrath Mirage Pro induction burner. After 30 minutes of preheating, I found that the surface just an inch away from the induction coil was 100F cooler than the steel directly over the coil. Though that's pretty awful, things got much worse out toward the edges. The steel would be useless as a baking surface or griddle unless you wanted to cook only in the area above the coil. The combination of a poor conductor (steel/iron) over a spotty heat source just doesn't work very well at all. Cast iron pans and baking steels are best pre-heated in an oven.
-
Anova Precision Oven. I took your original post to include the APO as one of the "overly sophisticated and expensive" options if all you're looking for is a proofer.