Jim D.
-
Posts
2,417 -
Joined
-
Last visited
Content Type
Profiles
Forums
Store
Help Articles
Everything posted by Jim D.
-

Molded and Filled Chocolates: Troubleshooting and Techniques
Jim D. replied to a topic in Pastry & Baking
I would be very interested in knowing whether you end by using Bird's Custard (or other similar items) and whether you get that elusive eggy flavor. I have wanted to achieve this (as in a crème brûlée bonbon), but when I saw the ingredient list for Bird's (cornflower, salt, coloring, flavoring--no eggs), I gave up. It appears to be an illusion, and while I am not averse to illusions and realize that taste is often governed by what we expect, I never got any Bird's to try. I don't see why dried egg would have any negative impact on Aw (taste may be another issue). There is a famous chocolate shop in New York, Kee's, that offers a crème brûlée item and insists it be consumed with two days. It gets rave reviews, but I assume Kee's keeps their food insurance premium paid up. -
I do it both ways, mostly the first. I send out an email to those on my list to announce the ready date of the next batch. I state a deadline about two weeks before that date (which is how long the process takes) and provide an online order form. I mostly adhere to the cutoff date and so know how many pieces I MUST make. But experience has taught that people will forget deadlines, encounter last-minute needs for boxes of chocolates, etc., so I now make lots of extras. If those are not claimed soon after the pickup date, I freeze them for "between-batch" emergencies. So far no boxes have gone unclaimed, eventually. I also have two wholesale accounts and can always use extras for those. For the batch I am currently working on, I have not sent out a notice because I am committed to two events that must take precedence, and customers have somewhat lower expectations because of the very warm weather. But I am making enough extras so that I will be able to provide some boxes. When everything is done, I will send out a notice and then take orders until everything is gone. But the first method is what I normally do. It works well for me since I make the chocolates in my home kitchen and cannot turn it over constantly to bonbon production--batches must be finite and cannot be gigantic. I have reluctantly turned down two newspaper interviews simply because I know I cannot fulfill many more orders. I would love to have a shop in the flourishing downtown where I would have a gorgeous glass case with a constant display of many different bonbons, but that would require more employees and much money, and is, alas, for another life.
-
@Sweet Impact Mama, those are indeed beautiful--and quite close to the Monde du Chocolat technique. Thanks for sharing the photos and especially the description of the technique you used. I agree about the importance of choosing colors carefully. I do a marbled effect with layers of colors painted with a brush (an idea from Andrey Dubovik) and have learned that sharp contrasts don't work well at all. For instance, brushing layers of (translucent) red, then orange or yellow or even green is fine, but then airbrushing the entire mold with a light color intended to blend with the previous two colors doesn't work.
-
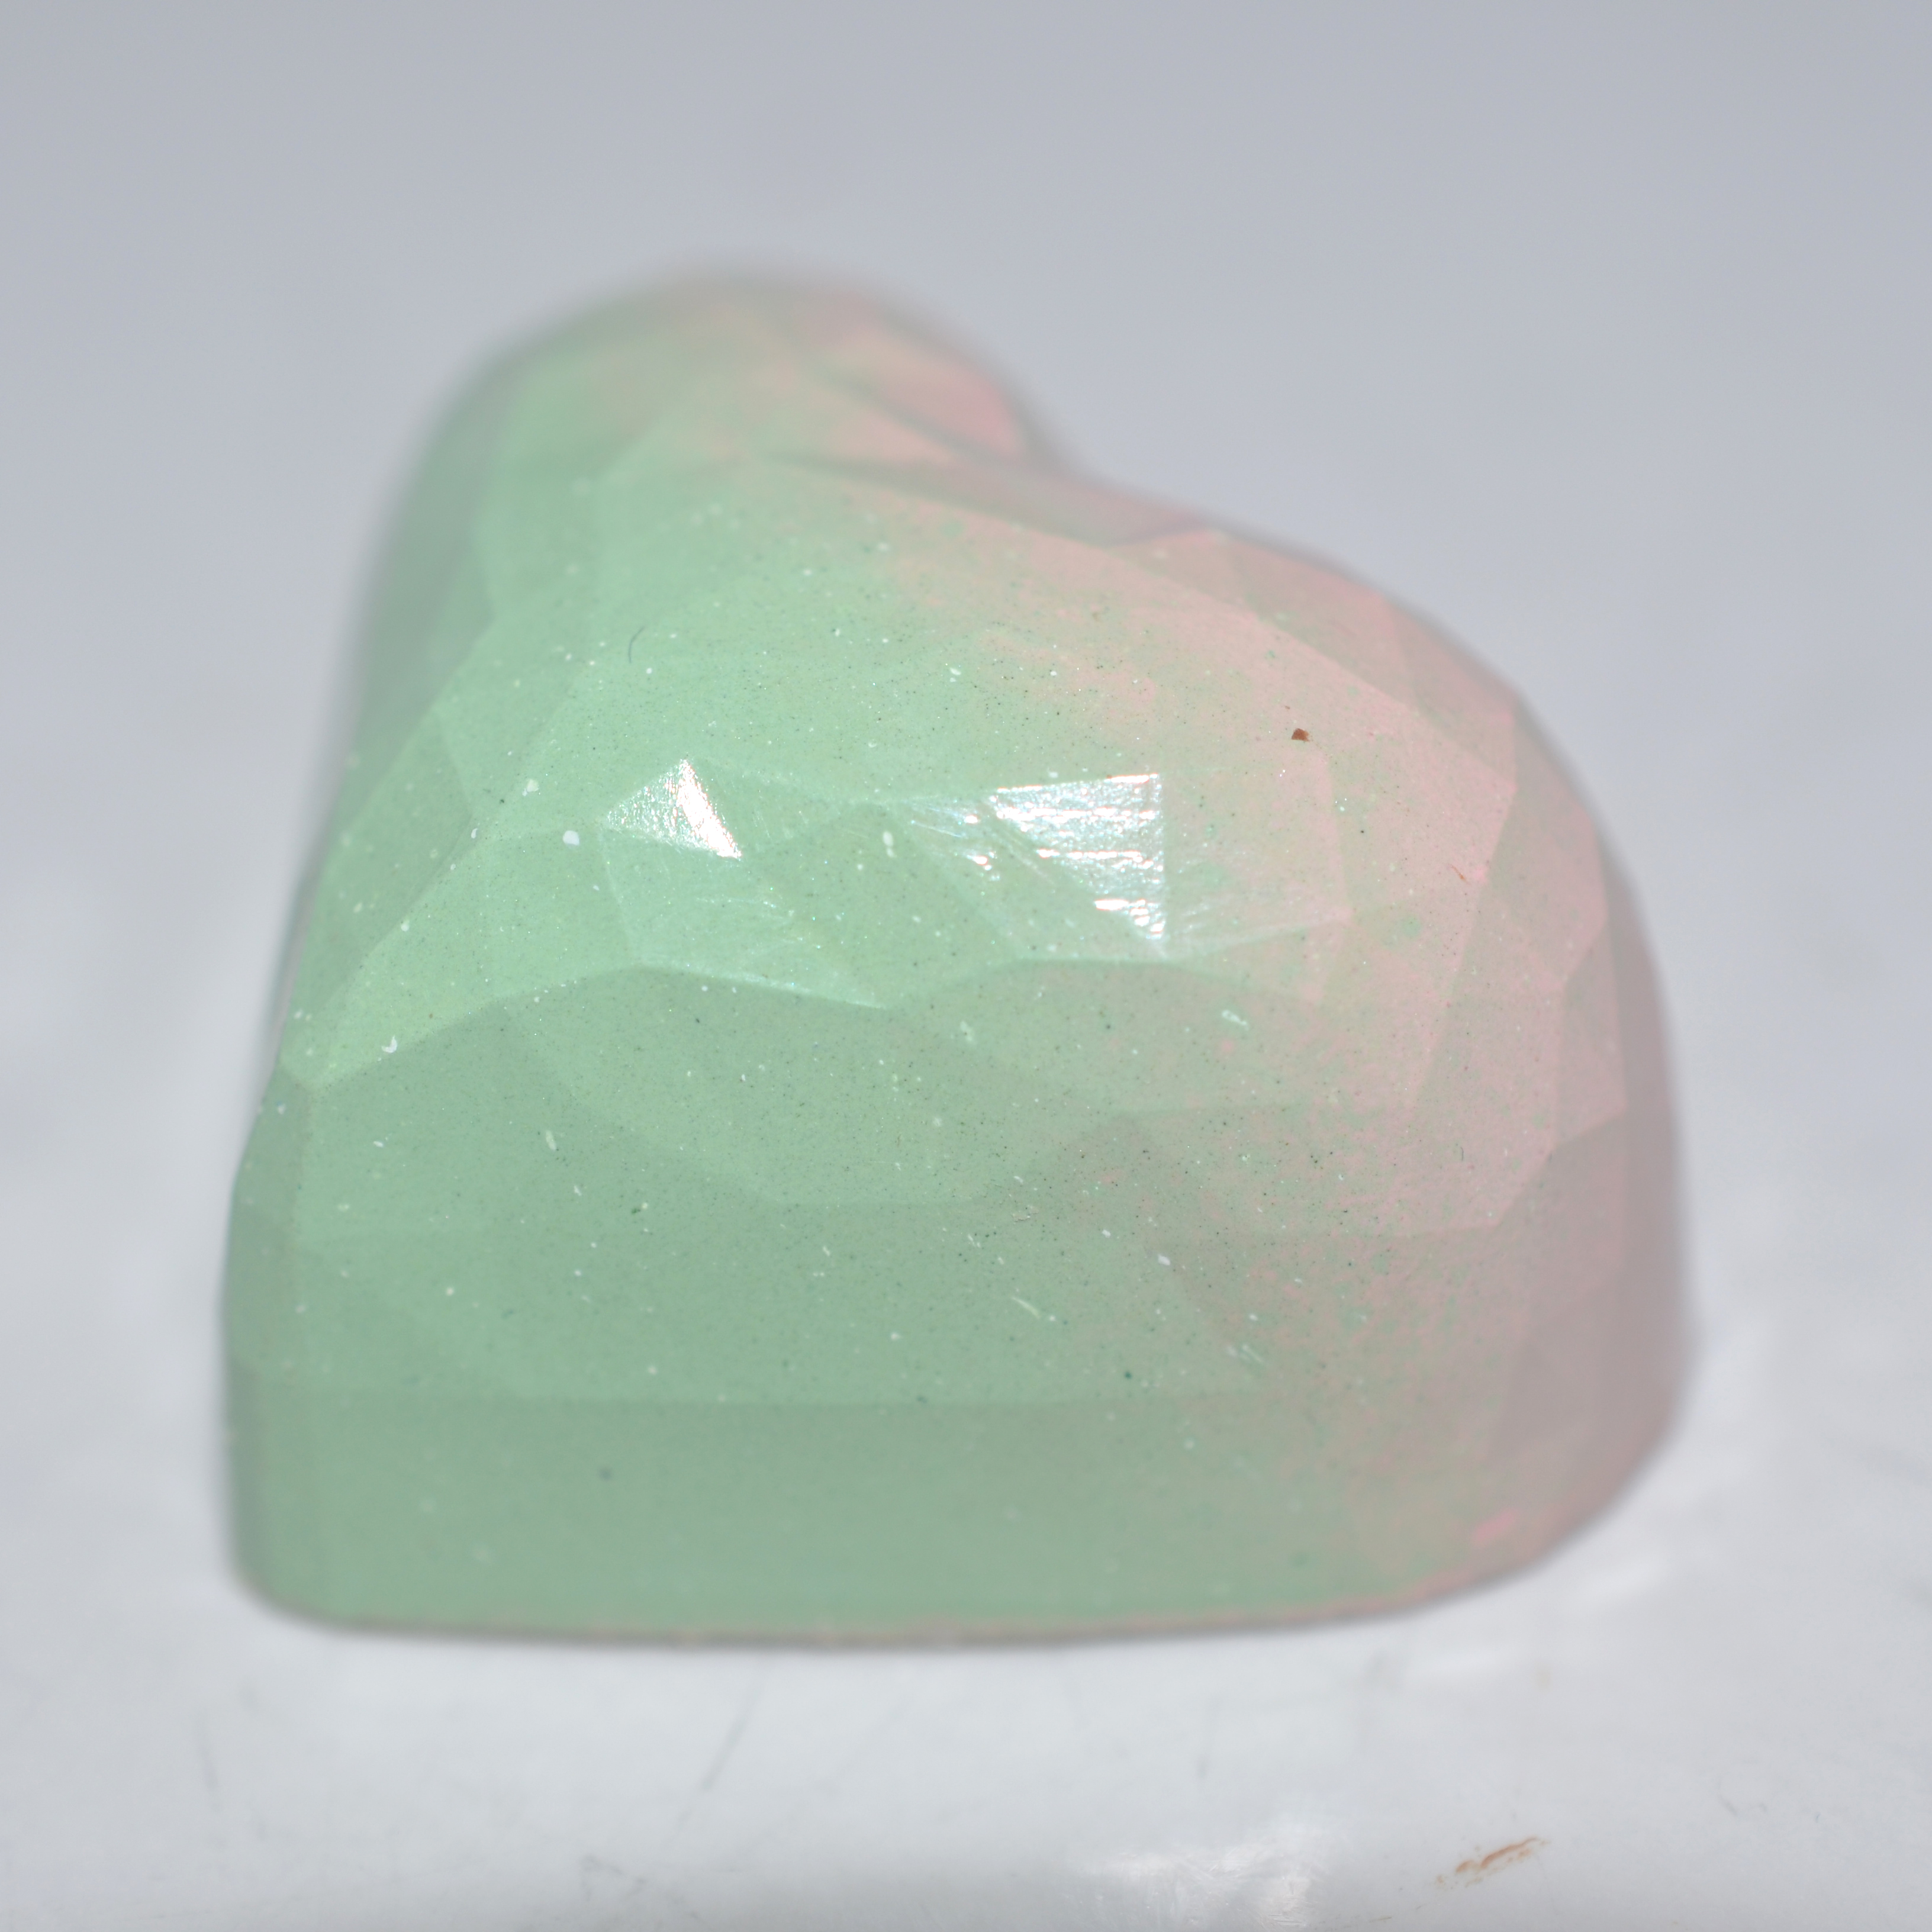
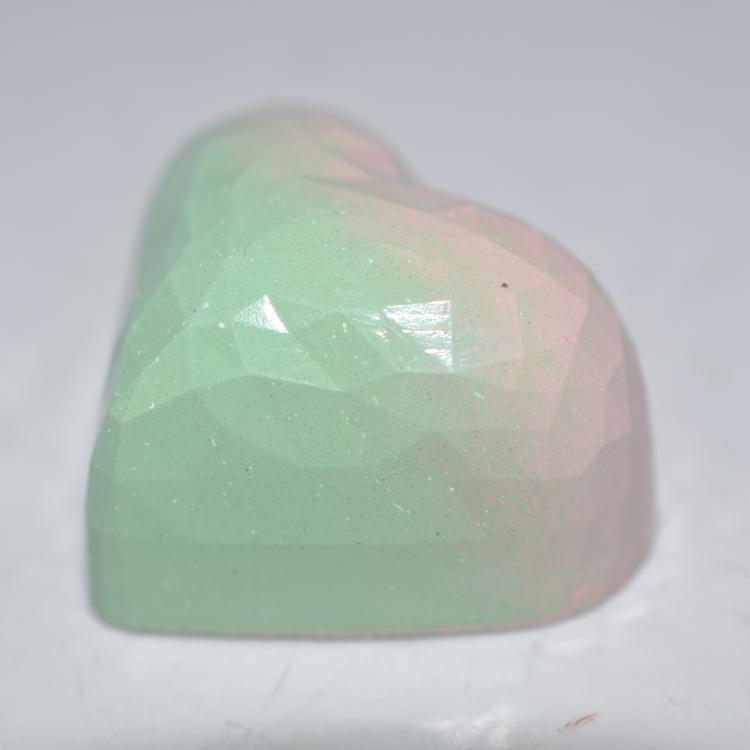
Here's what I did: On second looks, it doesn't resemble the work of Monde du Chocolot all that much. And, in the interest of honesty, the flavor combination was disappointing so much so that I am officially giving up on rhubarb as a bonbon ingredient. Even though the rhubarb pâte de fruit was delicious on its own, the strawberry ganache and Zéphyr caramel shell overwhelmed it. Rhubarb is for pies and similar pastries, not (IMHO) chocolates.
-
I've been trying to get something close to that for a long time, ever since I saw her Easter eggs. One year I printed out the images of some of the eggs and had them in front of me to see if I couldn't get that blended effect, but did not succeed. I think there is either white chocolate or white cocoa butter used to get the pastel painting effect, but I don't have her skill. Unfortunately she is not one of those chocolatiers who shares her secrets! Without making a deliberate effort to emulate the blended pastel look, I recently got something roughly similar when I airbrushed a gradient of light pink and light green cocoa butter, then used white chocolate for the shell (the filling was rhubarb and strawberry, thus the color choices), but it was nowhere close to the stunning effects she obtains.
-
Looks delicious. And the decoration nicely suggests the contents. Another of your specialty multi-layered bonbons. So can you reveal the contents? Some cinnamon ganache?
-
I made a rhubarb PDF recently, using both commercially made rhubarb purée and some fresh rhubarb I purchased locally. I was using Pomona's pectin. Mine turned out without any issues such as yours. Since commercial purées (like Boiron) are used for PDF a lot, I don't understand what happened to yours. As rhubarb is low in natural pectin, you may have to use more pectin powder (or add another fruit, such as apple or pear, to provide pectin). In regard to the rhubarb strings, I have not found that to be a problem. If it is cooked long enough, they more or less dissolve. You could always use an immersion blender to smooth it out.
-
Airbrush and Spray Gun for the enthusiastic chocolate hobbyist on a budget?
Jim D. replied to a topic in Pastry & Baking
The eye technique requires spraying air (no cocoa butter), and I didn't think I could clean out my Grex thoroughly (or couldn't spare the time to do so). If you look through the eGullet thread on the subject, you will find a post from teonzo that thoroughly explains that HP is not nearly as important as capacity. As I wrote previously, when I was using the spray gun, my compressor was running almost constantly to keep up with the air requirement. And experts seem to agree that a compressor that runs that much won't last long (and there is the noise factor as well). When I need a new compressor, I will buy one with bigger capacity. A 0.7mm nozzle (with a gravity-feed airbrush) seems to work best for most people spraying cocoa butter (note that the sizing is different for spray guns). A 0.5mm will also work but will be more tedious to use (and with the constant crystallizing of cocoa butter, speed is important). I have never sprayed chocolate, but I think that would take a larger size. I believe you will find some of the most up-to-date information on spraying and equipment in the thread to which I referred in an earlier post. I know it's a lot to read, but the info is there, including detailed information on the Grex if you decide to go with that. You mention that at this point you are not spraying more than a few molds. At the risk of sounding wiser about these matters than I really am, it would be very unusual for a "wannabe" chocolatier to stop after doing a few molds and not be "hooked" on doing it. If/when that happens, you will be happy that you bought decent equipment to start (I speak from expensive upgrading experience). -
Airbrush and Spray Gun for the enthusiastic chocolate hobbyist on a budget?
Jim D. replied to a topic in Pastry & Baking
Spray guns are useful for very large molds, but not necessary. I use my Grex airbrush for single molds and for Easter eggs as well. The airbrush will be the more expensive item; spray guns can be found for very little money. They tend to use more cocoa butter than an airbrush. I have a Fuji, and at first I used it because of its speed in coverage, but I quickly discovered it uses a huge amount of cocoa butter. I was using so much cocoa butter that I fully expected a thank you note from Chef Rubber. After a while the necessity of removing the tube delivering pressure to the Fuji spray cup became really annoying. For me the Grex is quite sufficient for coverage. I also have an Iwata (which I bought just for trying Dubovik's eye technique). I don't know which model you are thinking of, but the one I have has a button on top which you press to spray (this is how most airbrushes operate). In time, that motion becomes much more uncomfortable than pressing the trigger on the Grex (and other airbrushes like it). As for compressors, I wouldn't trade a 3-gal. one for a 1-gal. unless you absolutely cannot endure the noise. Bigger is better. I have a compressor of 4.6 gallon capacity, and it struggles with a spray gun. -
Airbrush and Spray Gun for the enthusiastic chocolate hobbyist on a budget?
Jim D. replied to a topic in Pastry & Baking
You might look at Badger and Paasche within your price range, but unless you already have a compressor, you will need to buy that as well. You cannot do all this for $100. You might wish to read through the entire airbrush thread for lots more information. And, for the record, I wouldn't say Fuji is the favorite. The Fuji system is really overkill for a typical small-volume chocolatier. My personal favorite is the Grex, but you won't find that (and also a spray gun) for $100. -
Production volume - how many filled chocolates can you make?
Jim D. replied to a topic in Pastry & Baking
Thank you. I haven't updated the list since I started doing a lot with inclusions (various cookies, etc.), but, to be honest, I couldn't stand to do this if I didn't have a variety. And I am in a different situation from you and other professional chocolatiers. I am retired, so do not have to depend on making chocolates for income; in addition, I make them once a month (except at Christmas); and, perhaps more importantly, I don't offer a choice of fillings--customers have to accept what I have in a particular batch (in essence, they have to trust my taste). I make chocolates in my home kitchen (my state allows that, as do most U.S. states), meaning I wouldn't have a life if I turned my kitchen into a production facility. If I were younger, I would build a chocolate kitchen in my back yard, but "if" is the operative word in that sentence. And my final consideration is the community where I live. It is a small city with tradition ruling the day, and most people just aren't willing to pay what chocolates cost. That situation is changing as people from other areas are choosing to move here--most of my customers are the new arrivals, many of whom think my pricing is too low! But I think the only chocolate shop in town, which makes only truffles, not filled or enrobed bonbons, is not overflowing with customers. -
Production volume - how many filled chocolates can you make?
Jim D. replied to a topic in Pastry & Baking
I am required to follow the same process here. Since writing down the lot numbers of ingredients is incredibly time-consuming, I came upon the idea of taking a photo of each bag or box in question; the inspector thought it was a great idea. I have a computer program to format and print the labels (a different label for each size box, since they differ in weight), and at the end of each ingredient list (and, of course, the ever-popular allergen list), I print the date of that batch (in code so that frozen boxes from previous batches don't reveal how technically old they are). I am not required to have the ingredient list visible, but do have it available and it is included in an insert in each box. For wholesale situations, I provide a single copy of the list for posting. So far no customer has ever asked a single question about ingredients. And, after all, bakeries don't provide an ingredient list. In the U.S. the allergen list is ever shifting (only going up, never down). I had a "discussion" with the inspector about why pinenuts should be included since they are not nuts; she sighed and said, "I know, I know, but just do it." -
Production volume - how many filled chocolates can you make?
Jim D. replied to a topic in Pastry & Baking
I wish I were closer to you, so much to learn from you! Unfortunately after 50 years close to you in Boston, I am now considerably farther south (but I hadn't the slightest thought of making bonbons during my "Boston days"). -
I use this fan placed in the refrigerator near the wire racks used for molds. You need to be sure whatever you purchase is refrigerator-proof.
-
Production volume - how many filled chocolates can you make?
Jim D. replied to a topic in Pastry & Baking
I think the need to temper chocolate and keep it in temper makes the process a bit different. In other words, having the chocolate ready to use (which also includes the crucial step of not letting it get "overtempered") means, for example, making all the dark shells at once, storing them while you make the fillings one by one, then tempering chocolate all over again and sealing all the shells. At least that's what I have found works the best for me. If the chocolate would just sit there in perfect temper for days on end (which is what the Selmi accomplishes, but most of us small producers don't have those), then we could use your cannoli method. In making chocolates, the fillings are the most time-consuming part by far. For me, boxing the finished chocolates works best when all of them are done at once--the boxes are readied, the chocolates are spread out on a counter, then comes the tedious part of filling the boxes. I do sometimes hire people for that final step (or, even better, my sister offers her free help). I am not so much an "efficiency bitch" as a perfectionist nut, meaning I need to see each box myself before it is closed. -
Just to add a little confusion to this issue of cleaning molds (there are many, many posts on this subject scattered around the forum): When the eGullet workshop last met in Las Vegas, we were able to watch Melissa Coppel in action. She vigorously cleans her molds with alcohol, so they are super-spotless. Jin Caldwell, across town from Melissa, does not clean her molds between uses at all. Both produce beautiful chocolates. One might draw the conclusion that it doesn't really matter, although I do clean mine just in case. Sometime during the summer I plan to test a really dirty mold with bits of colored cocoa butter still visible to see what happens when it is used to make new bonbons.
-
Production volume - how many filled chocolates can you make?
Jim D. replied to a topic in Pastry & Baking
I agree. Magnetic molds are wonderful at busy times. The time it takes to cut and insert a transfer sheet is nothing compared to airbrushing. Other advantages include the fact that the chocolates all come out of the mold without fail and you don't lose any bonbons from flaking and sticking cocoa butter (do you have that issue? I certainly do). The downside is that magnetic molds are expensive. At first I felt guilty using them--they seem like a copout--but I really appreciate them in December. And, a final plus, customers like them and no one has ever commented on how much less work they involve than sprayed bonbons. In fact, several customers have asked me how I managed to paint such intricate designs onto 200 chocolates (yes, I do confess). Finding attractive, well-sized transfer sheets is difficult, but they exist. You would have access to European sources. -
Production volume - how many filled chocolates can you make?
Jim D. replied to a topic in Pastry & Baking
Beautiful bonbons, beautiful display case. I think the obvious answer to your question, "will it kill me making nearly 10,000 bonbons a month?" is "probably." Your singlehanded production is amazing to me. I also am a one-person operation, and I considered it an accomplishment when I made 3700 for the Thanksgiving-to-Christmas period. Do you have a life beyond chocolate-making? -
Troubleshooting air bubbles in my soft caramel for filled chocolates!
Jim D. replied to a topic in Pastry & Baking
The Aw reading (free water, allowing for microbial growth) for my caramel with sea salt was 0.56. According to experts, that means it will last for many months. As for poisoning your children, I don't think you will do it with caramel. There may, of course, be times when you might wish for that outcome. If you start making bonbons in quantity, you may want to look into freezing them (lots of info on how to do that on this forum). -
Troubleshooting air bubbles in my soft caramel for filled chocolates!
Jim D. replied to a topic in Pastry & Baking
I use the "wet" method, but both involve much stirring (well, maybe less for the dry method). I would not be disturbed by the bubbles in the photos. Do bubbles still appear after you have piped? Caramels (if not cooked to too high a temp) will settle into a cavity with time, leaving no air. Although it is heresy to say this, you may be worrying needlessly. I can't believe I wrote that.- 6 replies
-
- 1
-

-
- Confections
- Troubleshooting
- (and 1 more)
-
Troubleshooting air bubbles in my soft caramel for filled chocolates!
Jim D. replied to a topic in Pastry & Baking
How do you get the caramel into the molds? With a pastry bag? I don't recall seeing lots of bubbles in caramels I have made, but I would think the pressure of the piping would remove them. You can also tap the molds on the counter after they are filled. I use an immersion blender to add the softened butter to my caramel, but even that doesn't make bubbles I have noticed.- 6 replies
-
- 1
-
-
- Confections
- Troubleshooting
- (and 1 more)
-
@Jonathan, about your baklava bonbon: I'm assuming this is the filling in the faceted pyramid/triangle. I get the green part of the filling, but what is the pink- or tan-colored base? It looks very interesting. I tried a baklava, but in attempting to get a strong honey flavor (definitely part of actual baklava), the ganache ended up much too sweet. I even bought some of the macadamia honey (I think you are the one who mentioned that).
-
Spraying Chocolate: Equipment, Materials, and Techniques
Jim D. replied to a topic in Pastry & Baking
Congratulations on taking this significant step. We will be looking for samples of your work in the future. I am sure fame and fortune are just around the corner! Well, fame at least. -
Spraying Chocolate: Equipment, Materials, and Techniques
Jim D. replied to a topic in Pastry & Baking
I assume when you say $1,000 you are converting your currency to the US dollar. If that is the case, you can do this within your budget. Here is what I wrote previously: The following is the setup of another eGullet member: If you can afford it, this compressor looks good: https://www.homedepot.com/p/California-Air-Tools-20-Gal-2-0-HP-Ultra-Quiet-and-Oil-Free-Electric-Air-Compressor-20020/312624543 -
Spraying Chocolate: Equipment, Materials, and Techniques
Jim D. replied to a topic in Pastry & Baking
I don't know if you have read through this thread, but it contains a great deal of information relevant to your questions. If you absolutely know that you will never do more than occasional painting of molds as a hobby, then what you propose will work, but it won't satisfy you if you get "hooked" on decorating chocolates. You might look in this thread for a discussion of what are the essentials for a good compressor. HP is not the main issue; storage capacity is, and I noted that in the specs for the Iwata compressor you mention, the storage is left blank. A compressor that has to run almost constantly to provide enough air will wear out quickly (I speak from experience--just discarded my old Iwata compressor a few weeks ago). You can get decent compressors for a reasonable amount of money. I have an Iwata airbrush that I have used for blowing air into cavities to spread cocoa butter around, but the capacity of the cup will not be sufficient for serious airbrushing--you will go crazy filling it up often. If you can afford it and have a source to purchase it, I recommend the Grex 0.7mm. I think a trigger-style airbrush (such as the Grex) is much more comfortable to use than one with the button on top (like the Iwata).