gfron1
-
Posts
6,155 -
Joined
-
Last visited
Content Type
Profiles
Forums
Store
Help Articles
Everything posted by gfron1
-
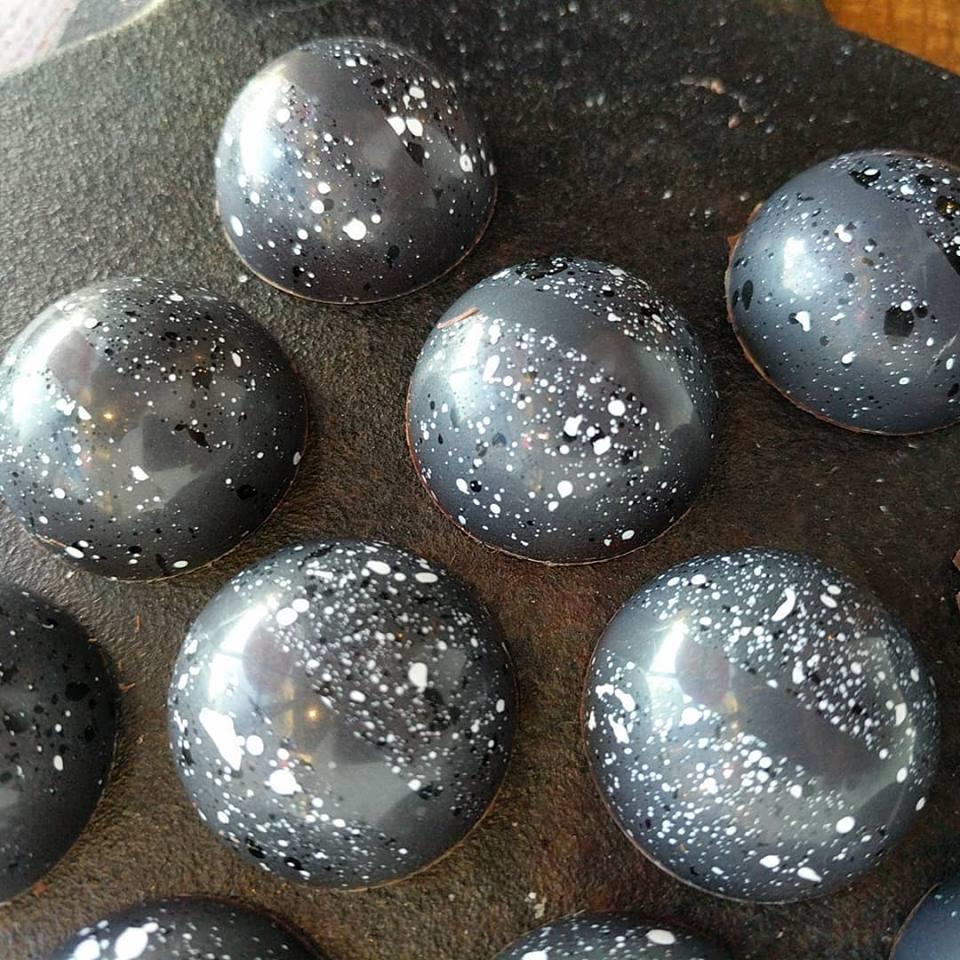
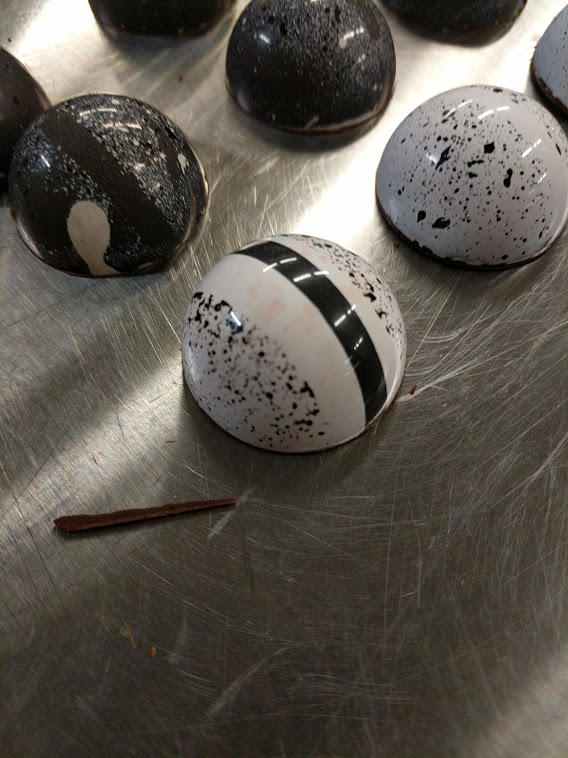
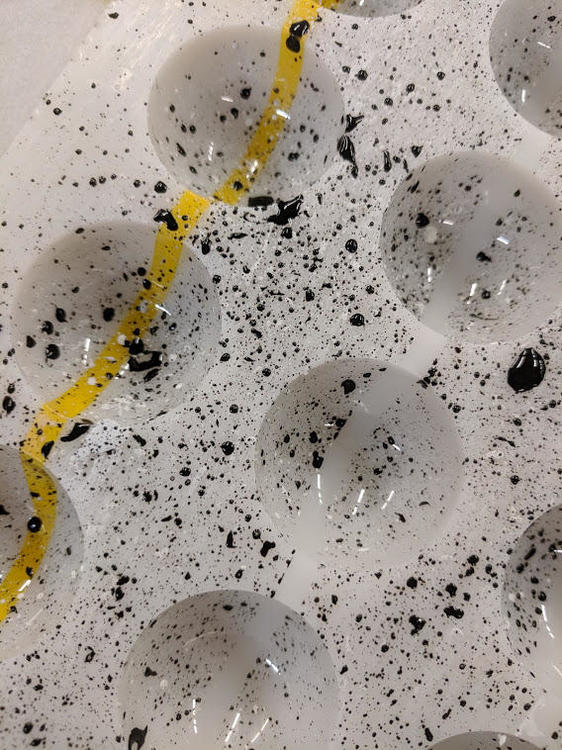
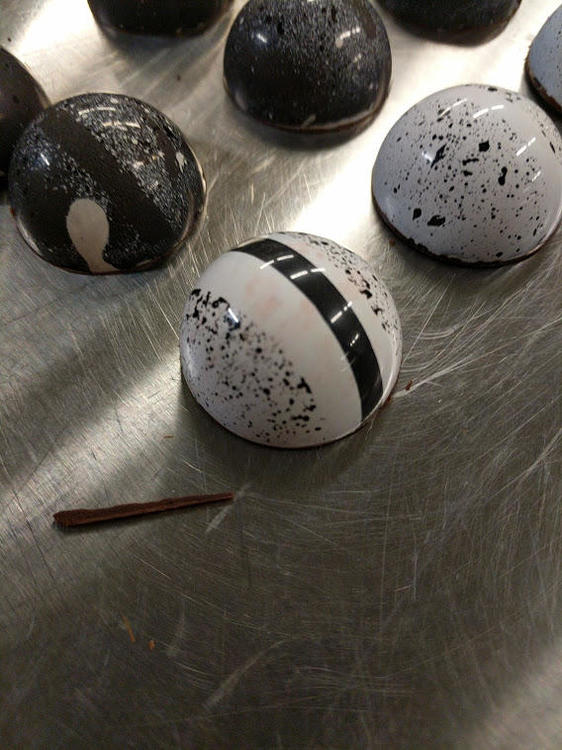
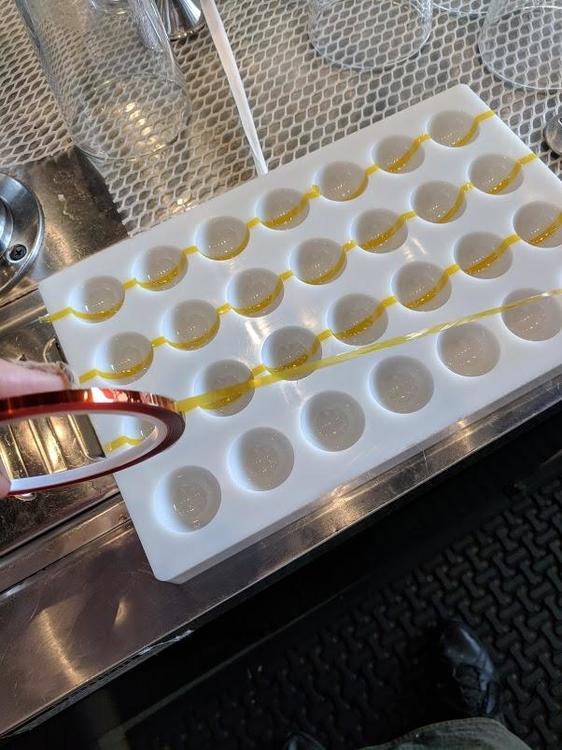
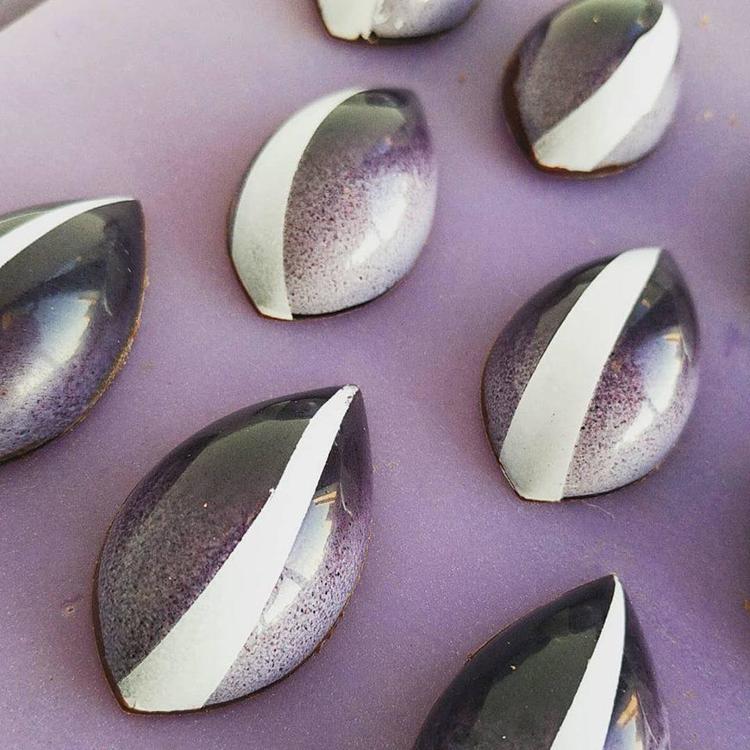
My turn at the striped quenelle mold and the graphite look. All I see in the purple ones are the flaws. Ughh. I think I've been pushing/cleaning my mold surface either too hard or on too soft of a towel. The swoosh stripes were made with electrical tape. We're using what he calls PVC tape, but what we call electrical tape. For my graphite I accidentally ordered this high temp tape off amazon that worked great. Hard to handle, but once in the mold it was flawless meaning no seep and no residue. Here's what it looks like: and after splatter: And Then I had covered some of that tape with electrical tape to do a double strip seeing if I could remove one tape and not damage the second. It worked perfectly although I wasn't very careful in how I placed my tape:


-
Andrey refers to them as horizontal feed and gravity feed (side and top). I've used the horizontal feed for a decade now and it works just fine, but as we're discussing, the colder room definitely would exasperate the problem that already existed with horizontal feeds of the additional millimeters that the cocoa butter has to travel through, and be pulled through, versus the shorter distance of dripping into.
-
The funny thing about this to me is that with my old Badger I never could have pulled it off - not enough pressure. But now that I have the big ol' California Air Tool that YOU suggested I buy, I'm blowing through the gun with no issues whatsoever. I did also switch to a gravity feed gun at Andrey's recommendation and that i am sure is helping.
-
micro.
-
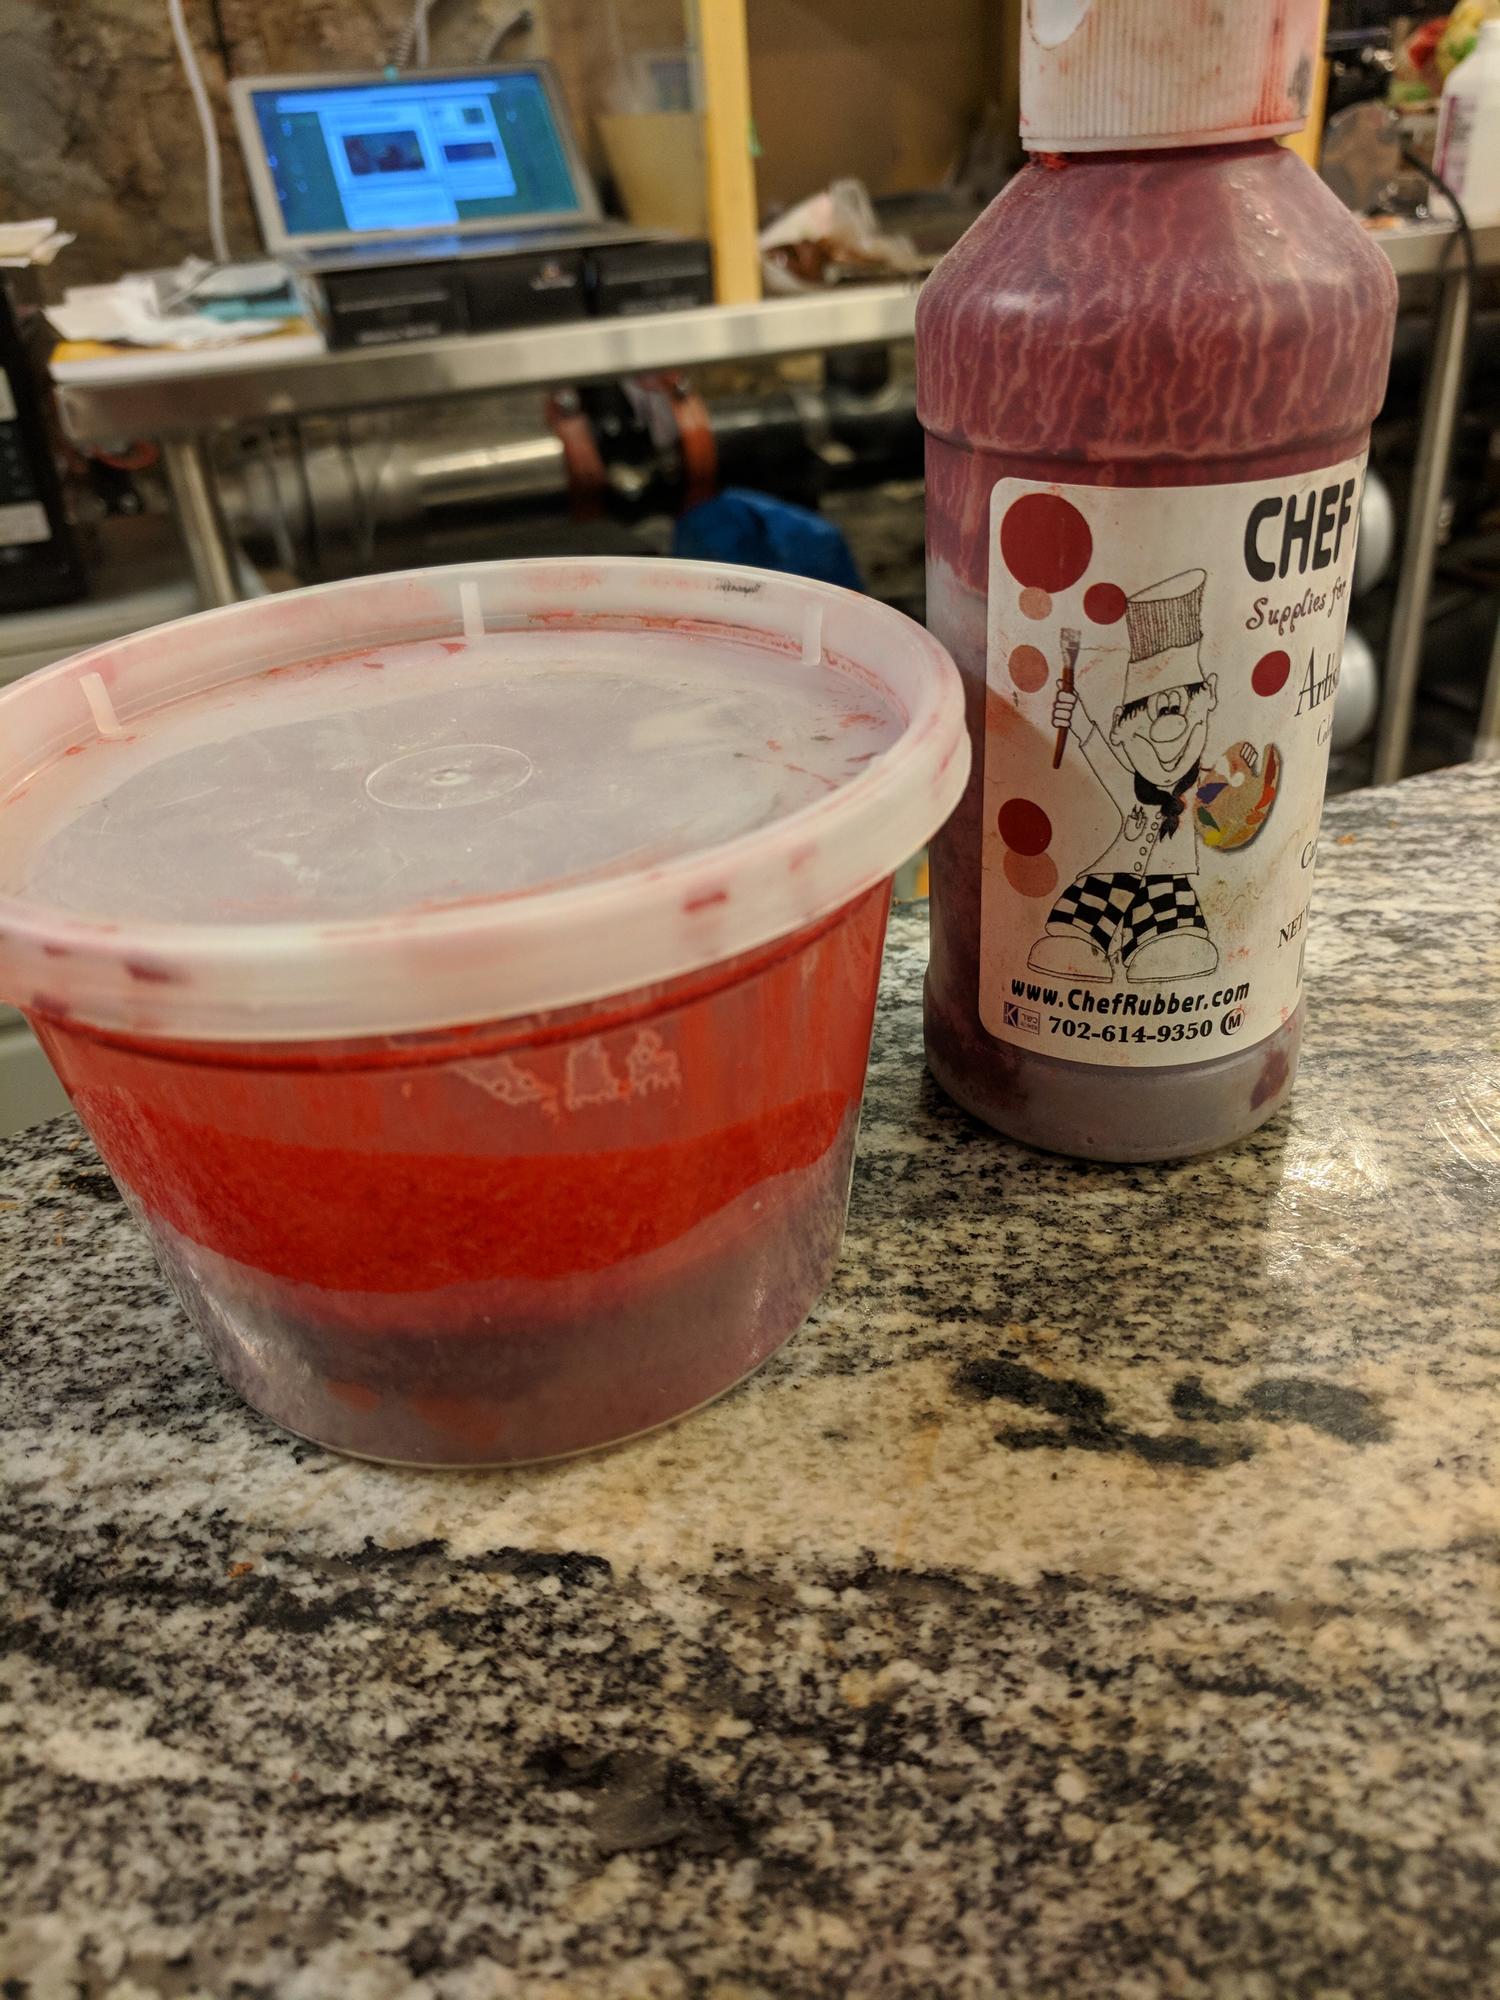
Here's a basic change that I have made because of this course - I now keep all of my cocoa butter in these plastic containers instead of all of those chef rubber bottles. So much easier to melt and use. Being a restaurant I have cases of these things, and I'm sure they're not hard to find.

-
Here's the thing about this course for me, and really any course - give yourself over to doing what the instructor is saying whether you agree or not and see how things turn out. That's a good way to expand your knowledge. I thought my tempering skills were pretty solid, but I've always had a few chocolates cling to the mold,, or cocoa butter pull off in the mold, or what I now know is not a great shine. This course has taught me so much about temperature control, and a side conversation with Kerry and Jim has reminded me of the inconsistency of thermometers. Each rough edge that I hone off (room temp, calibrating thermometers, time before fridge, to polish or not polish) have all upped my game little by little. But, I can still see a clear difference in Andrey's shine versus mine. Now, is that simply his photography skills or tempering...I think the latter. I think I can go even further with what he's teaching. Secondary comment - I'm not big on his fillings and quite frankly will stick to my preferred sources and my own arsenal.
-
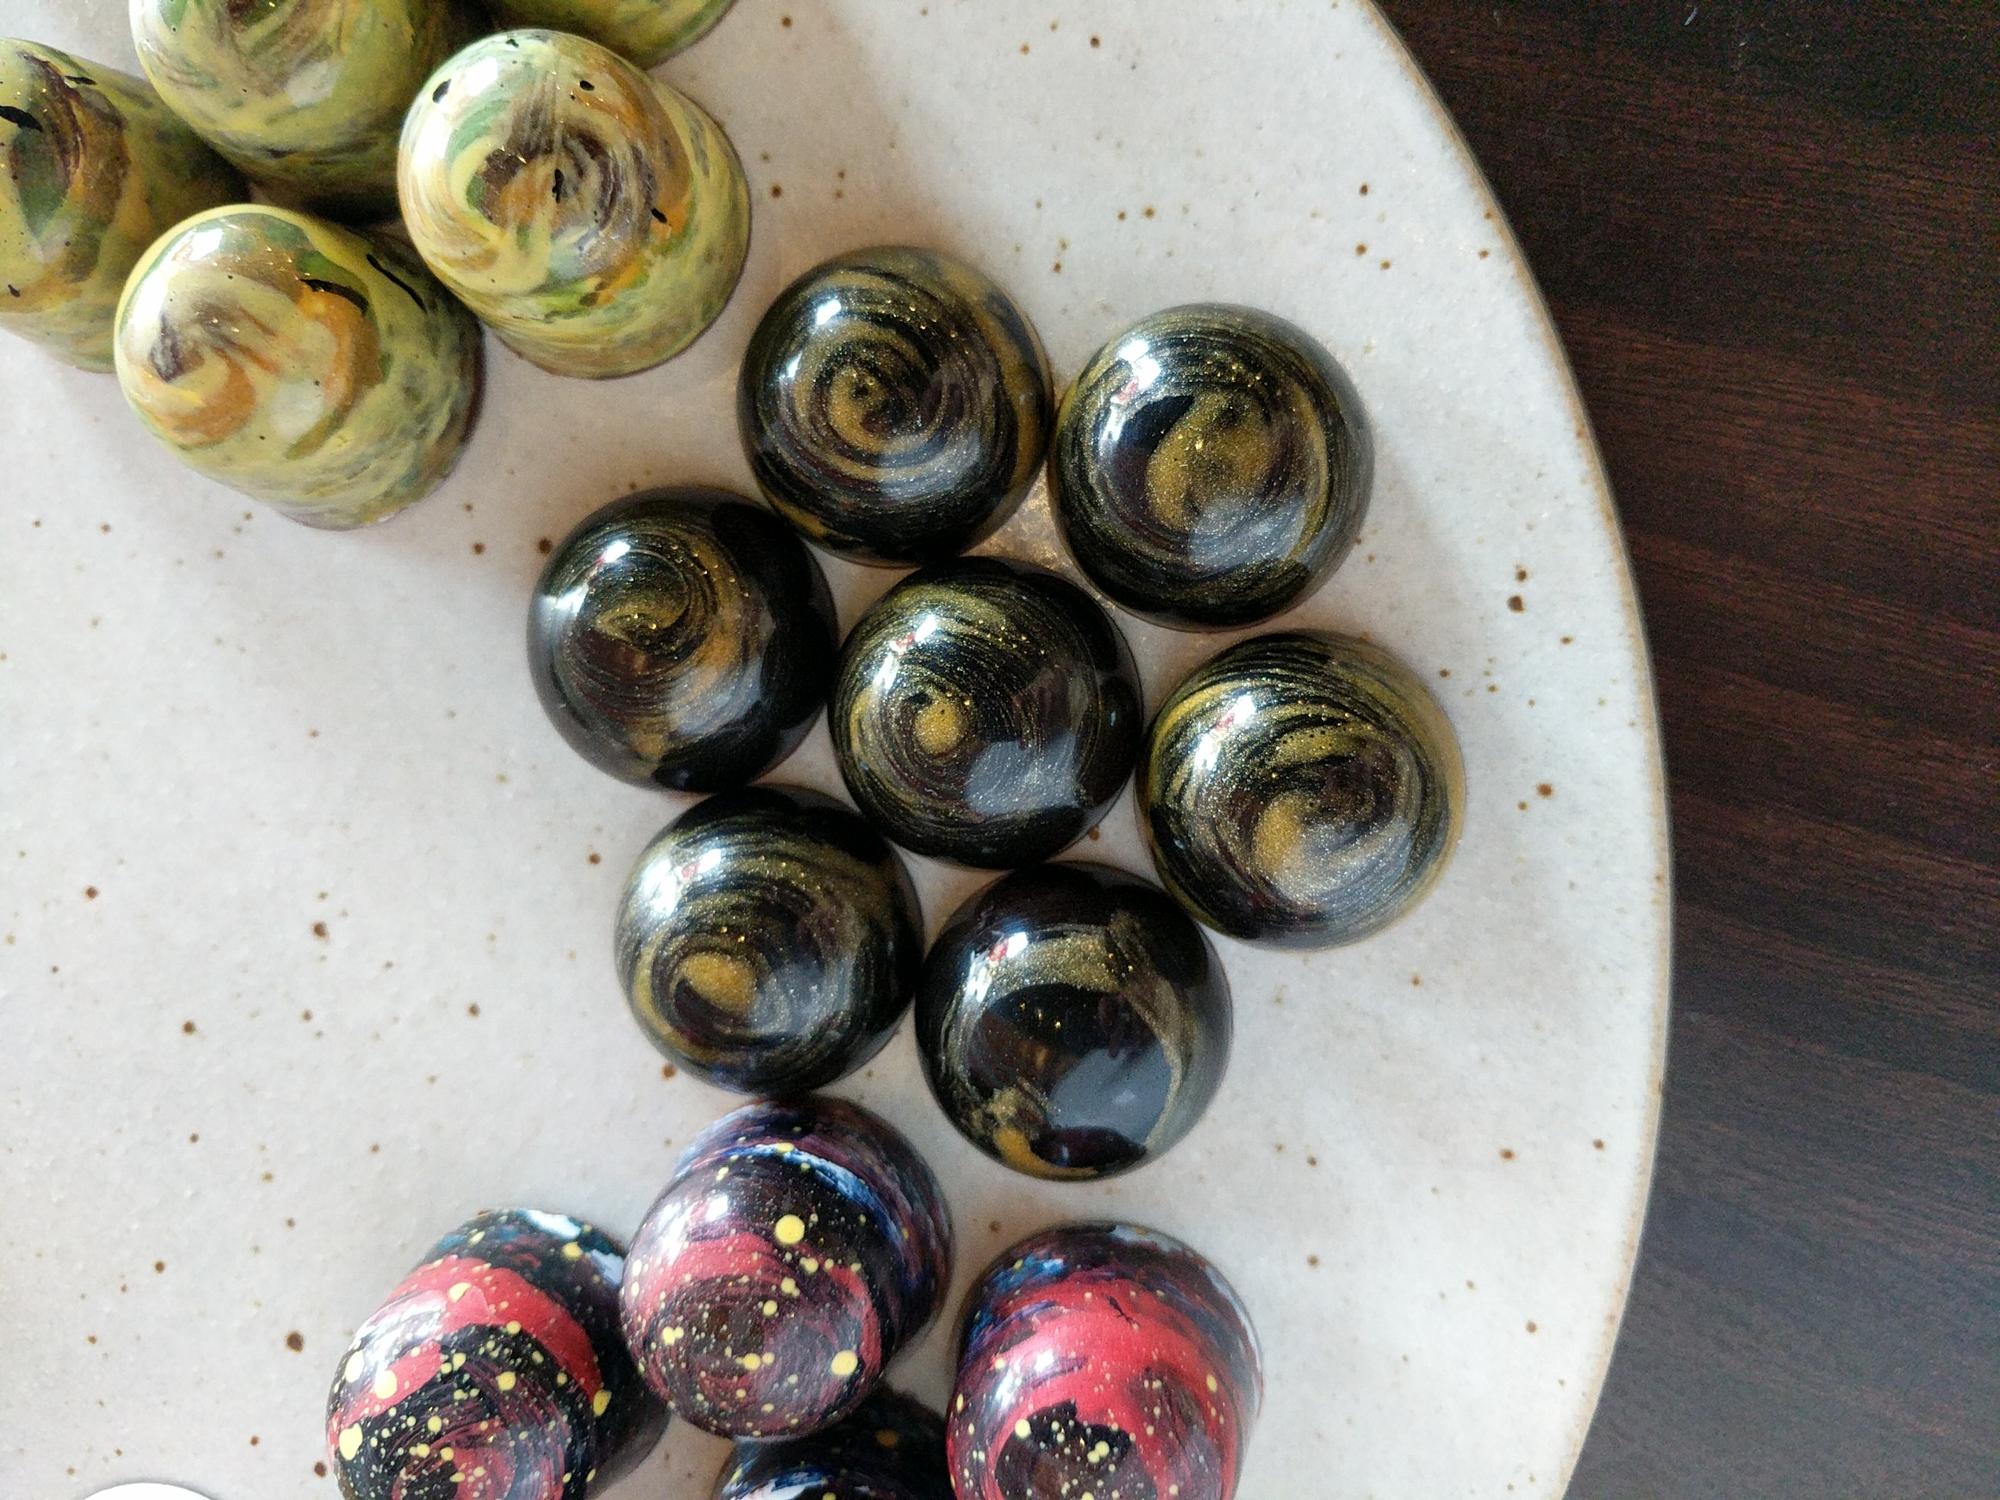
I suggest buying a Pantene color guide...or hell, you could just go get a paint guide at the home improvement store. You have to understand the very basics of primary colors plus the use of black and white to darken/lighten/pastel. For percentages @keychrisis right on the mark although I would say a range of 5-10% or even 15% in some cases. Andrey Dubovic's class is covering this quite a bit and all/most of the colors you're seeing those of us in the class are making ourselves according to his ratios. Here is a black currant/purple that I made this morning. Could have used a bit more red to get it to where I wanted it, but still pretty.
-
Those turned out great @Kerry Beal
-
Yeah, and as KeyChris said above, working on your tempering is much more important. I can say that in the workshop a few of us are taking right now, the biggest improvement I am seeing is from making my room 20ºC. I had no idea what a difference that would make. I generally use the EZTemper for my tempering (although in this workshop I am exclusively slab tempering), but my room was a little warmer. I would get good but not strunninfg shine. Now that I have chilled my room more each project has had stunning shine.
-
In his defense, he uses two different molds for the cacao and strawberry. Both are cacao but the one he uses for strawberry has wider sections so it pulls it off a little bit better. I was too cheap to buy the second mold.
-
I had tried that a number of years ago thinking it would add to the shine and I saw no effect.
-
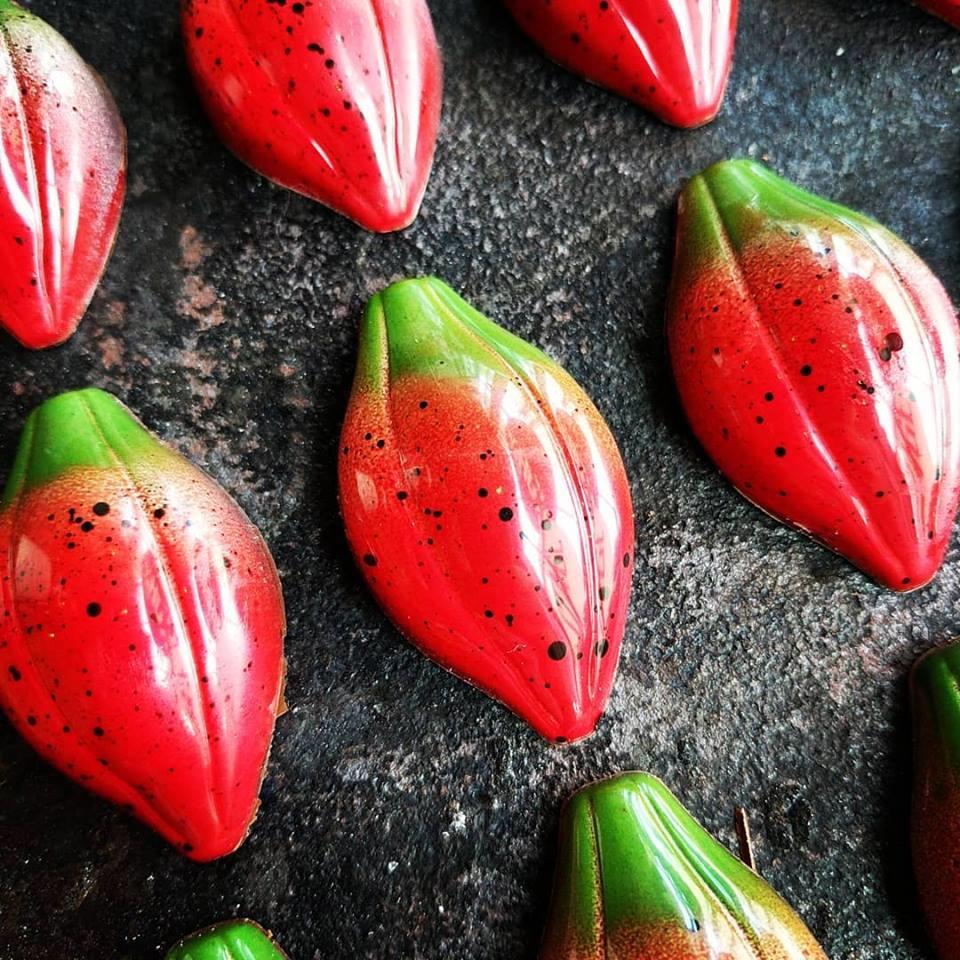
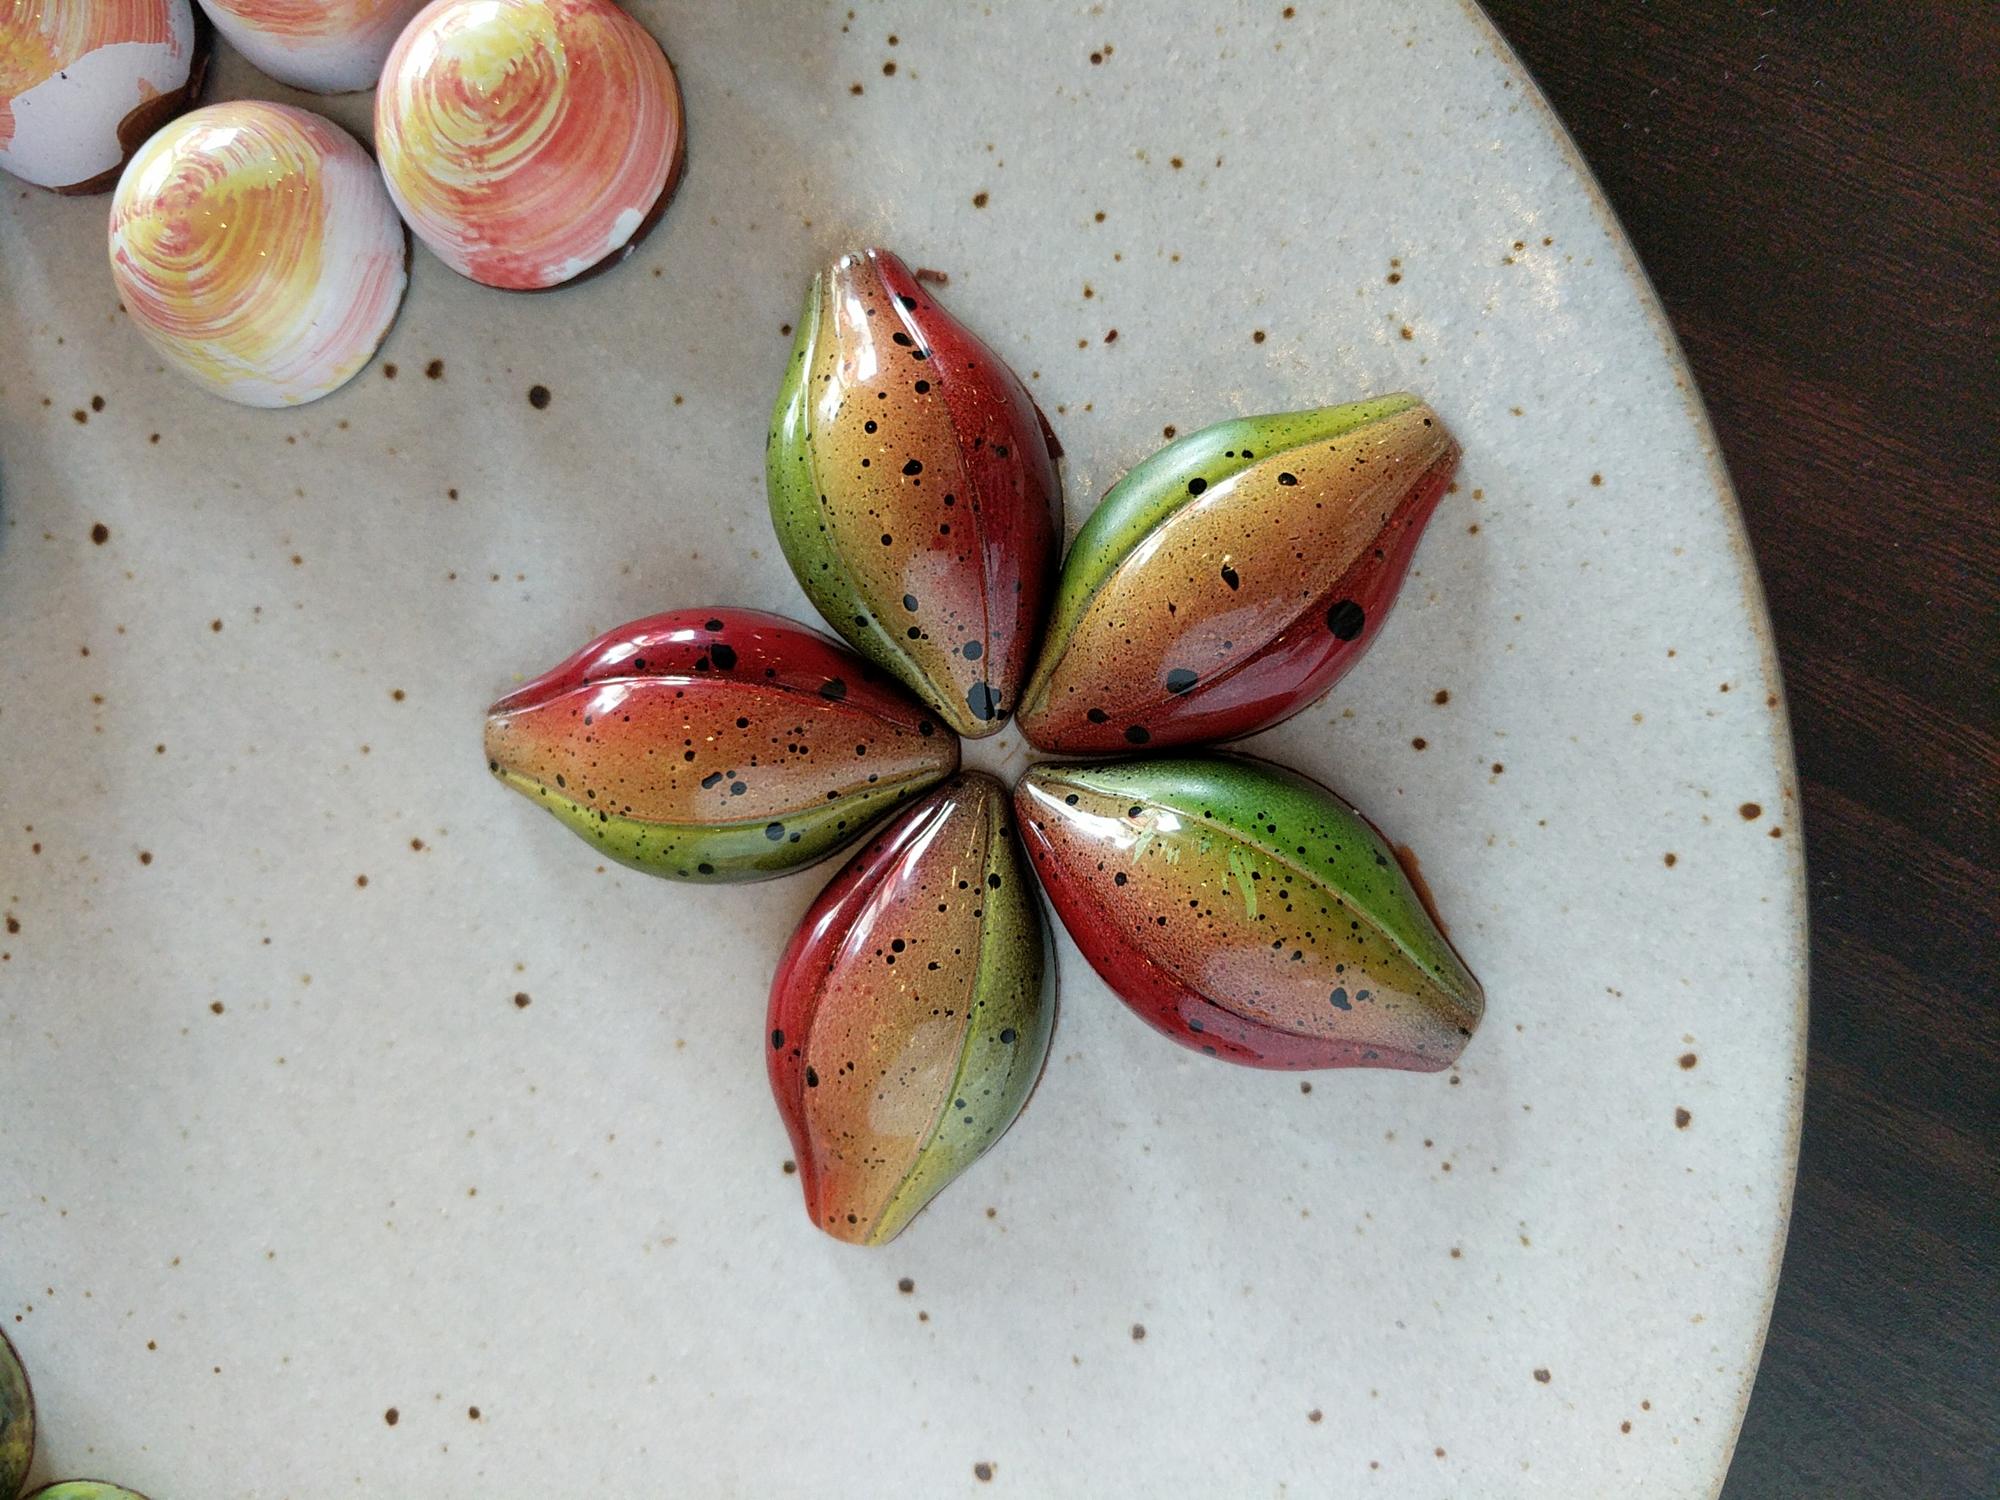
Here's my assignments. First is the cacao pod that I filled with a very basic fluid salted caramel. And then the strawberry that I filled with a strawberry balsamic caramel.

-
Nothing to take offense at. If you look at the course description you'll see what we are covering. I'm guessing that you are referring to the eyeball technique (not necessarily the black dot in the center but the cool marble-like glossy domes, and yes, those are coming soon for us. Without having watched those videos yet I have no doubt it is air-blasted cocoa butter understanding what we have already covered - translucent colors.
-
I remember having a conversation about sharing of info after our first Vegas workshop. Its tough because yes, I've paid a hefty amount of money to learn this material which I don't have that kind of cash laying around, but also, we as a forum community have always prided ourselves on sharing of knowledge. My attitude is that I will happily share anything with folks at the eG workshops because it shows that there's a commitment of resources (time and or money) to value the knowledge. Here in the forum, I'm always happy to share my work for inspiration knowing that many, many of us can dissect a picture and figure it out for ourselves; and share key learnings as we've already done. I mean really, how many times have Kerry, James and I (and countless others) explained the tempering process or how to spray cocoa butter? I doubt anyone who has been on the forum for more than a day would call us stingy with information. ETA: I was reminded that Andrey is trying to make a living off of sharing his knowledge through the workshops, so while sharing is always encouraged in the chocolate world, consideration for expertise is necessary.
-
Yes, that is exactly what I do.
-
Are you only spraying or also hand painting? Many of us believe that the process of blowing through the sprayer will put the cocoa butter into temper. I have always simply put my cocoa butters in the dehydrator at 40.5C and left them there for days on end. Rarely any troubles. Currently I'm in a workshop with a few others from this group and for that i am tempering each color each time, but have dropped my room temp to 18C and have had almost universal success, so after this workshop I'm going to try using my dehydrator to hold at the 40.5C but keep my room at 18 and see what happens. The reason I hold at 40.5 is that I found the next increment down is not warm enough to fully melt the cocoa butter. Hope that helps.
-
Thanks. I had to brush the gold since the sponge wasn't doing its job. But I figured whatever it takes to make it work. I'm looking forward to his answer on the opaque questions since that's what is related to my sticking issue.
-
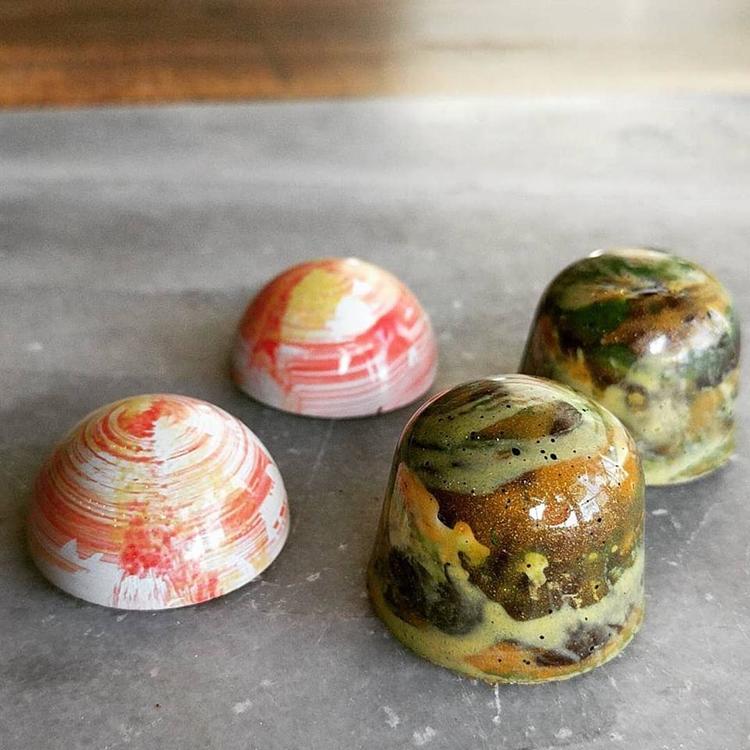
Here's my latest projects. I had a bit of trouble with colors sticking on the cacao pod which doesn't surprise me since I had to adjust my colors mid-spray when they seemed too translucent.


-
and we haven't even gotten to the fun stuff yet
-
As has been said - silicon won't serve you well. But you can pipe your ganache into them, freeze them, pop them out and then enrobe or dip them. Not ideal, but it would work.
-
Mine are all from Chef Rubber (although they severely pissed me off many years ago so I hadn't ordered from them in like 6 years). I believe the white is no different than the Titanium Dioxide that I already had in stock which I bought on Amazon a few years back. You don't need much. I bought the primaries plus black and white.
-
Thanks. I don't know my volume. The one on the right is Chocolate World 2116 and the one on the left is a half sphere so about half of the other. I filled them both with his coffee cardamom caramel. I'm out of season so I'm not selling these. I have a fundraiser that I'll donate a monster box of bonbons to next weekend.
-
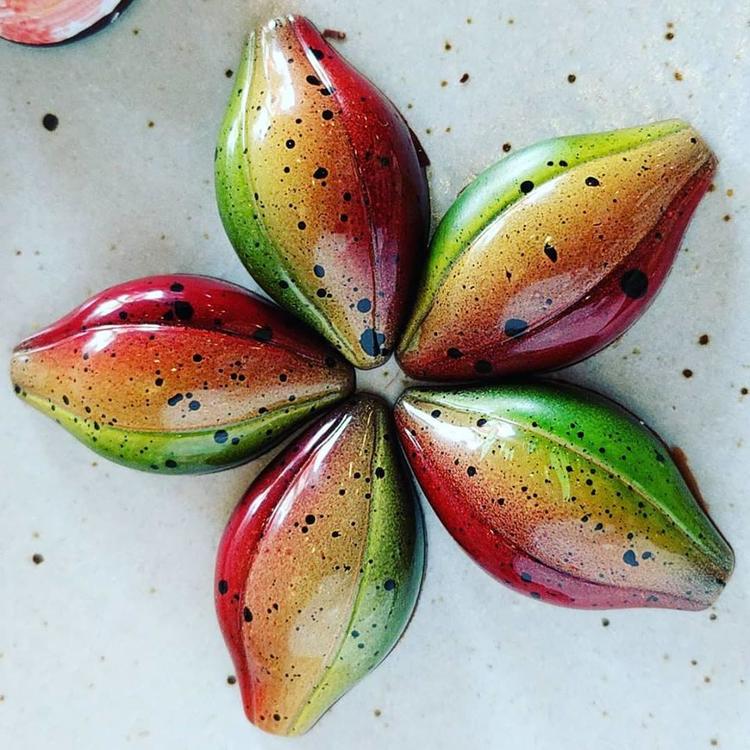
Here are my next two assignments. On one level I don't care what he thinks - these turned out really cool. Maybe not exactly what he had but my temper and shine are perfect and they're still beautiful. On the one on the right I added gold luster to the yellow because I thought it would look good.
-
So getting back to the class....I'm wrapping up the 3rd and 4th assignments and I'm realizing how much I appreciate mixing my own cocoa butter colors - yes, to create what I want, but today I realized how many of my old Chef Rubber ones were rancid. I am sure they were fresh once, but it has become crystal clear the fresh new ones versus the old rancid ones. For the extra 5 minutes it adds to make my own, I'll just stick to new from here on out. The one challenge that i haven't rectified yet is how to strain the solids out after the initial mixing. Andrey goes through what looks like a paper towel. I tried that and it blew out when I squeezed it. Then I tried a coffee filter and had the same problem. Right now I'm straining through my nut milk bag which works but ruins the bag no matter how I try to clean it.
-
There's a few of us taking a class with him right now. Get temps perfect including your room; he doesn't polish although occasionally he cleans with alcohol - he does NOT polish with cocoa butter. And he does a lot with opaque colors.