-
Posts
17 -
Joined
-
Last visited
Recent Profile Visitors
1,181 profile views
-
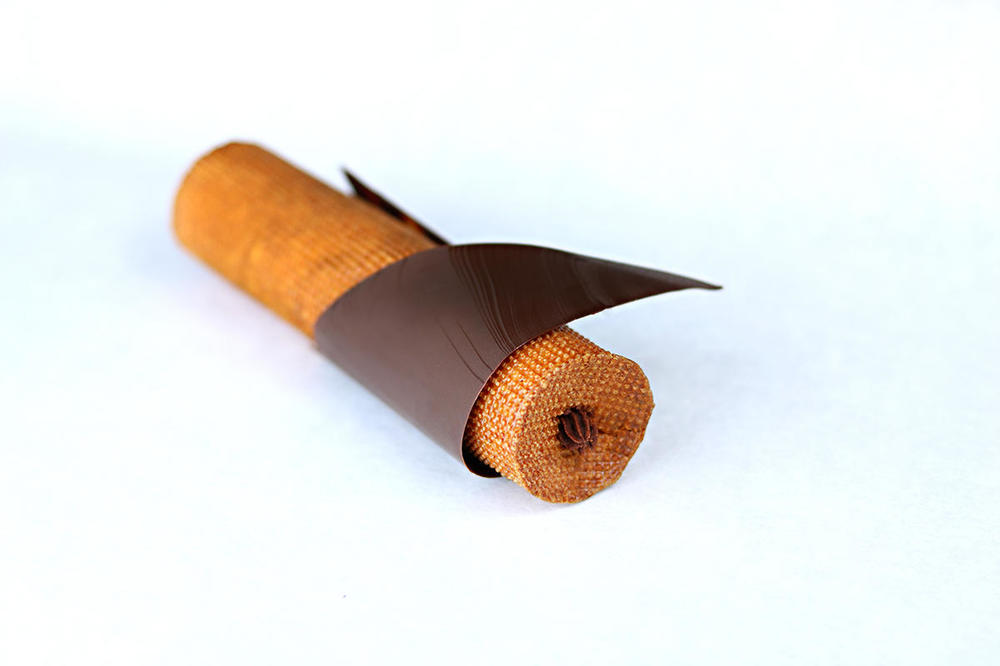
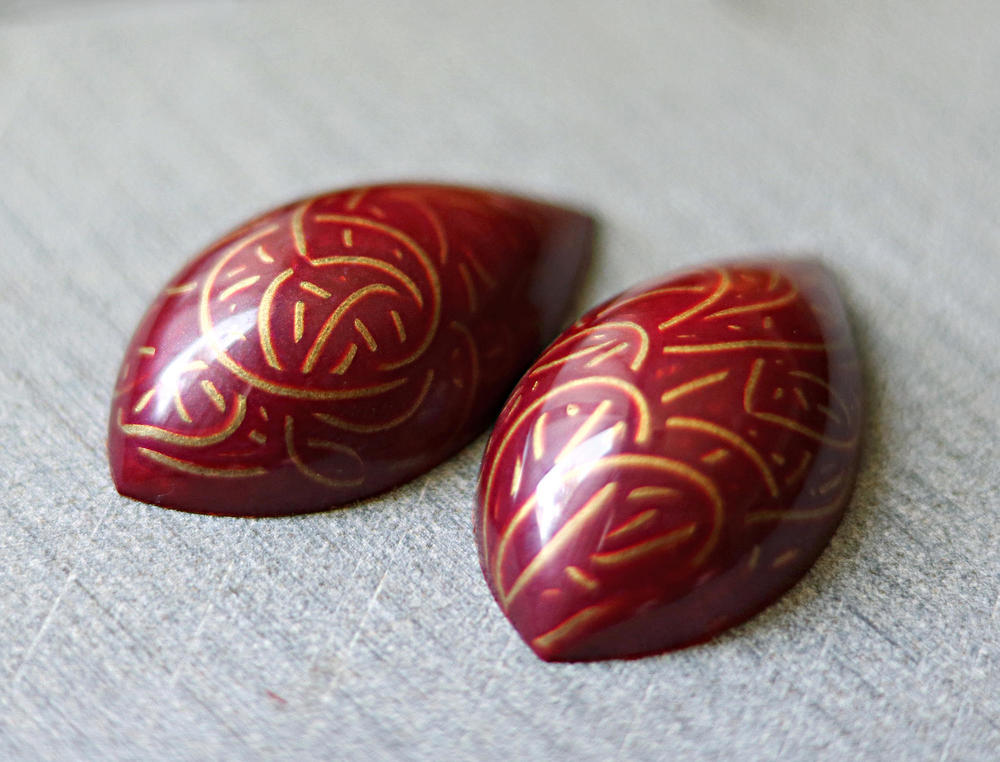
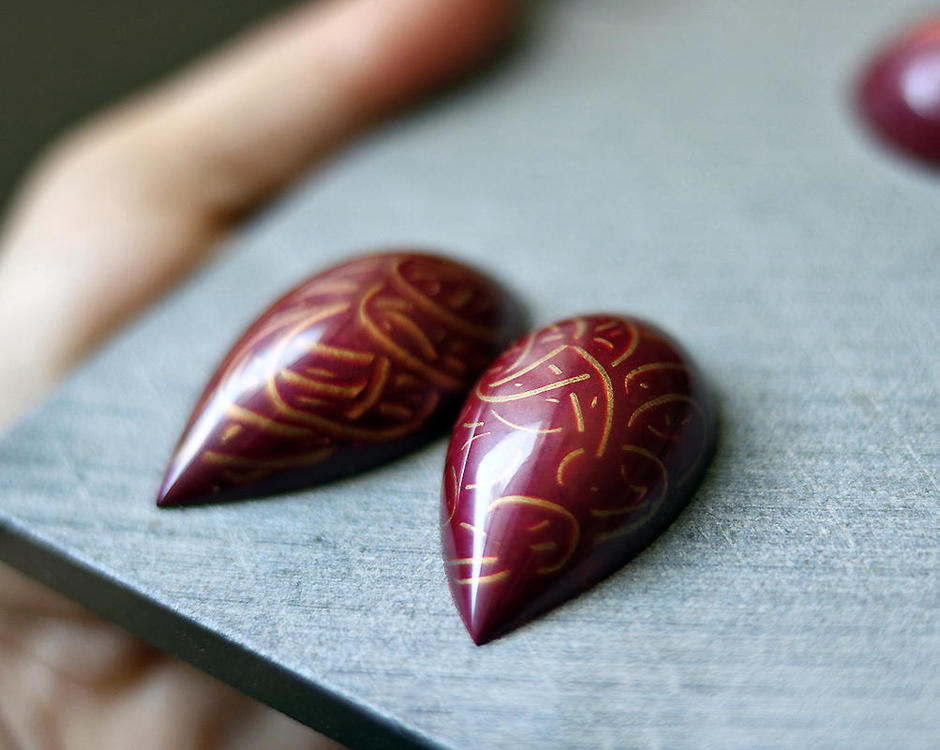
I know it's old news, but it's new to me, heh. I'm working with silpain cut to fit metal tubes for eclairs with a precise shape and pattern that comes from the silpain. Anyone else work with these? What did you use to mold yours with? Was it a silpain mold? It seems like a huge pain to do many of these this way, although I love the look.
-
- 2
-

-
@keychris when I was selling them I added "beer nuts" to the back side for Father's Day.
-
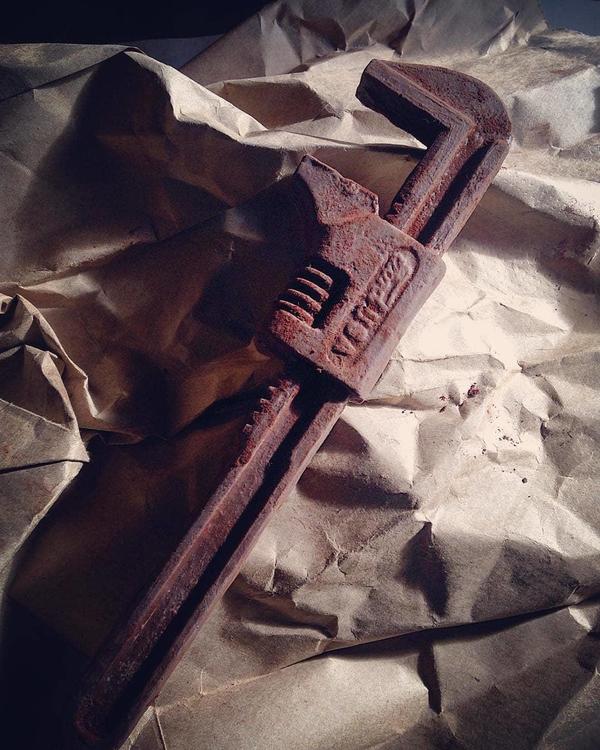
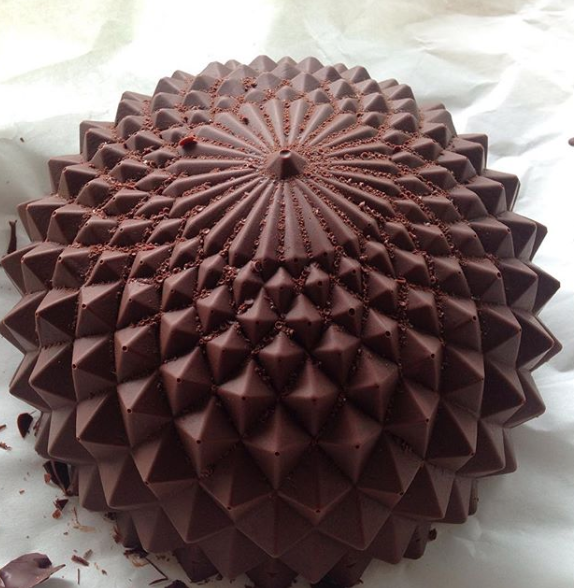
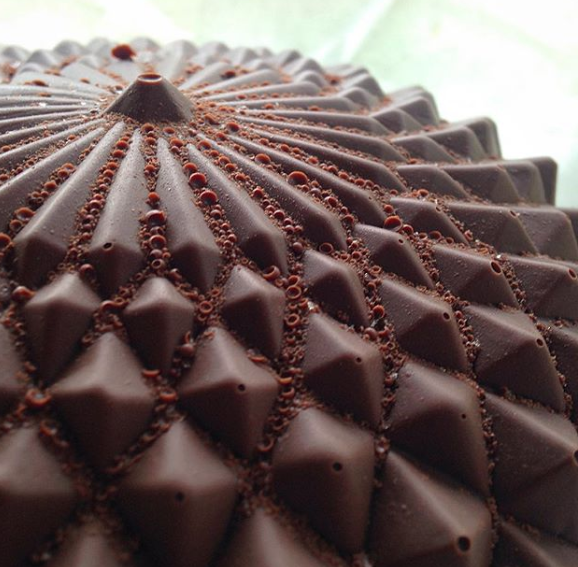
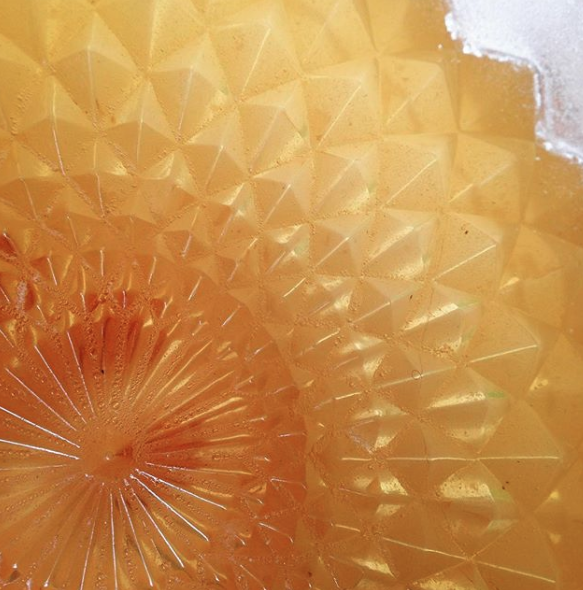
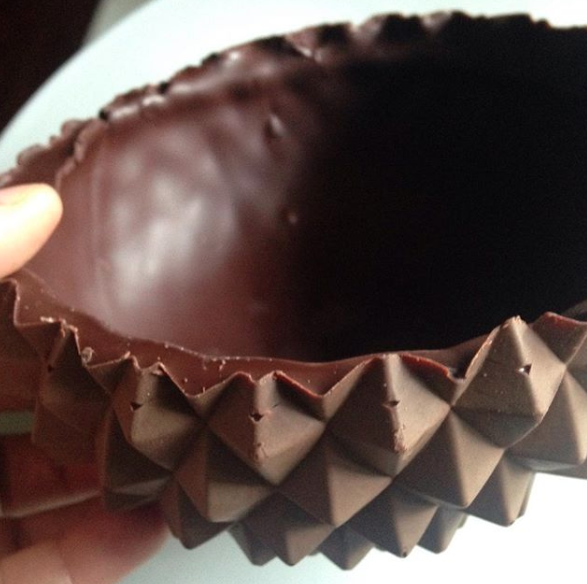
I like the gelatin molding material and I just use a sugar syrup instead of the expensive glycerin. I keep it wrapped up in the fridge andit doesn't spoil for months and you can reuse it over and over, but you lose some of the volume each time. For large things like a wine bottle or a sculpture it is the cheapest solution, although it usually comes out matte looking due to the moisture. I use it for things like this wrench that I brush cocoa powder on anyhow so the matte finish doesn't really matter. I also decided to make a mold of a light fixture I found interesting and you can see that the bubbles created little barnacles. I had so much fun with this!
-
the stepping in dog poop remarked made me laugh out loud. Chocolate can be so messy especially if in a small kitchen. If you wash the molds in just hot water, you can "dry" them with cotton makeup remover wipes or muslin and a little isopropyl alcohol which will evaporate and leave a nice shine.
-
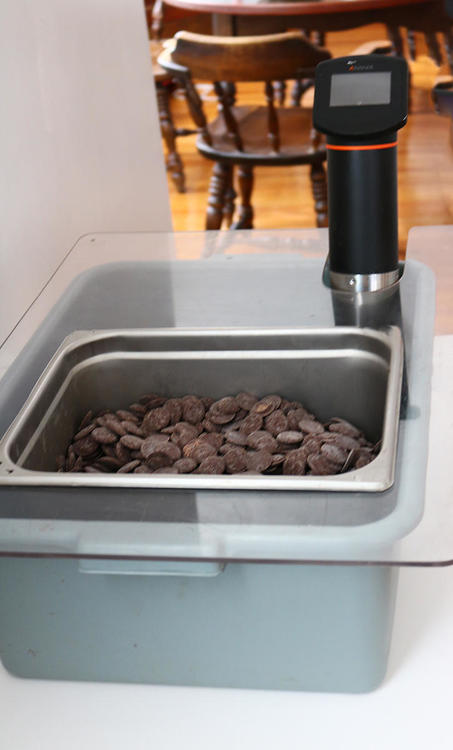
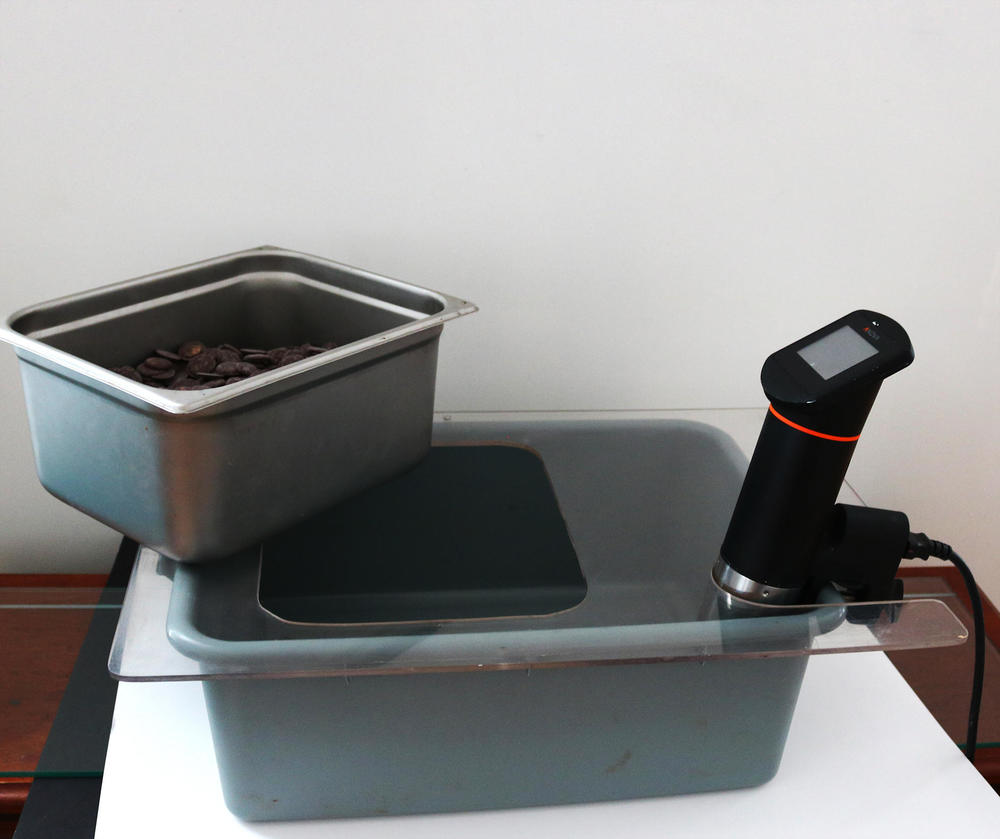
About 6 years ago I came up with an economical way to melt and keep large amounts of chocolate in temper using my sous vide machine. I now own three, because they're cheap, great when I'm holding chocolate workshops and for marbling, etc. and do the job so why not? You can use a cambro and cut the lid, or a cooler, or anything similar. This is the original setup (well, the original one I used foam core board to test it out with). I had a friend cut out a hole for the bowl and one for the sous vide and I can fill it almost to the top of the steel bowl. I put in 6-12lbs of chocolate (you could make a larger setup and fill it with more) and melt it at about 52C. I stir it now and then to help it along and once melted I remove the bowl (carefully, sitting it on a towel) and temper it with seed or cocoa butter silk. Remove some of the hot water and add ice or cool water to bring the temperature in the bin down to the holding temperature you need for your chocolate, mine being 32c for dark. If the chocolate starts to get used up the lower weight will make the bowl want to float up. So, sorry, not seen here, but you can use a bar or clamps to help keep it from moving. I have never had a problem with water or condensation messing with my chocolate. If you've used a bain marie with chocolate, you know how to be careful with it. I'll be making a video this weekend if anyone's interested in watching the process from start to finish.
-
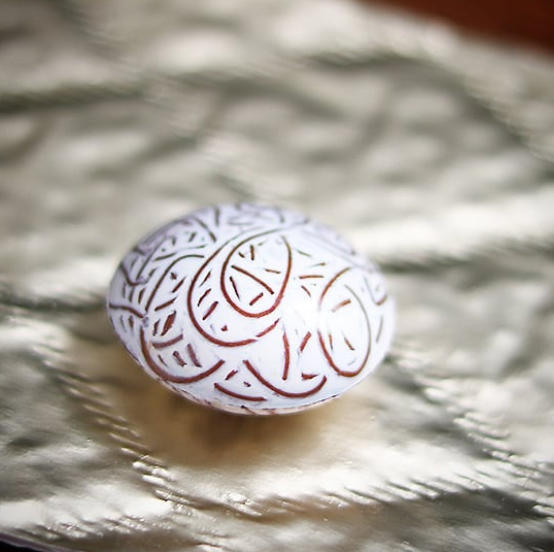
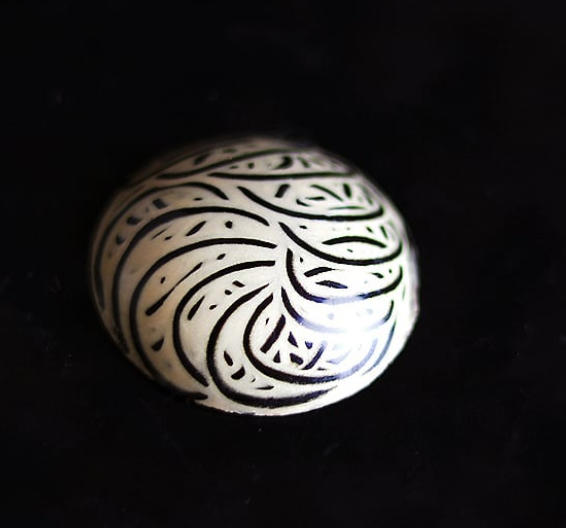
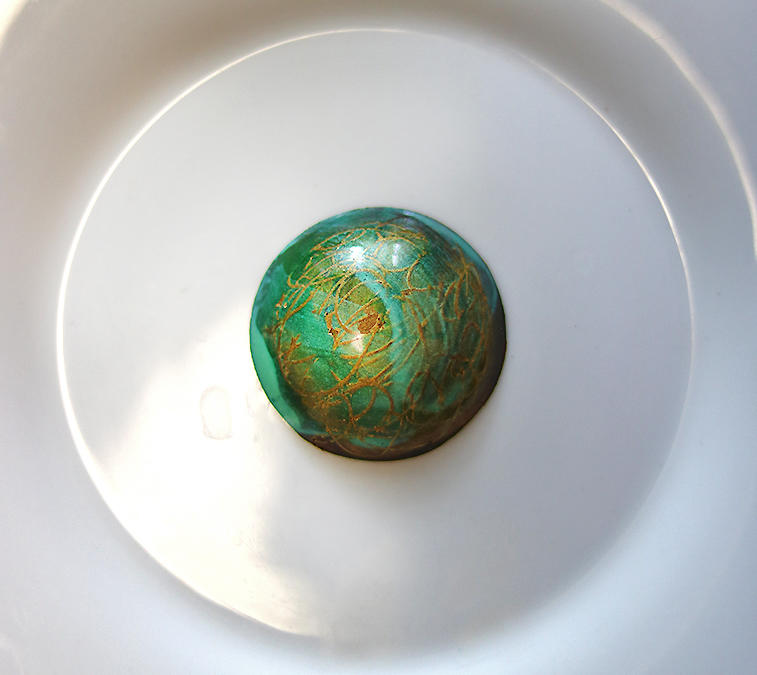
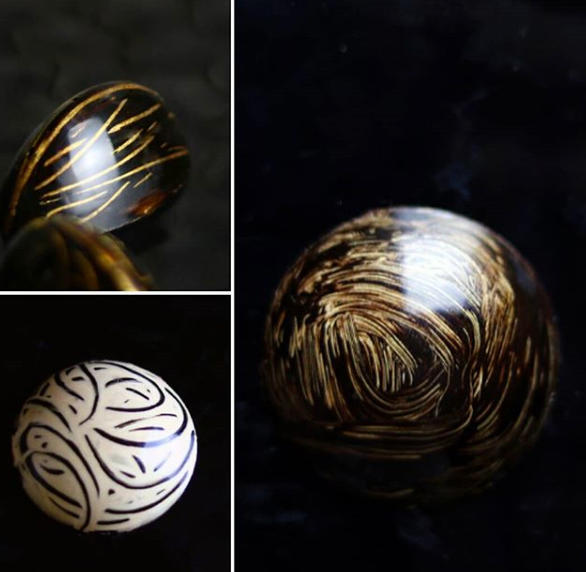
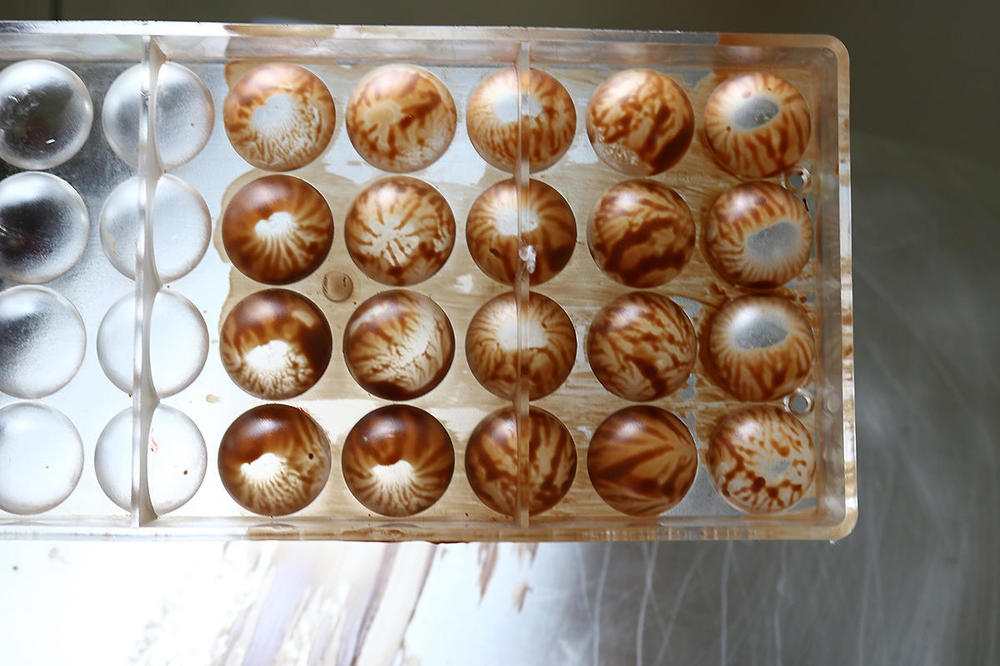
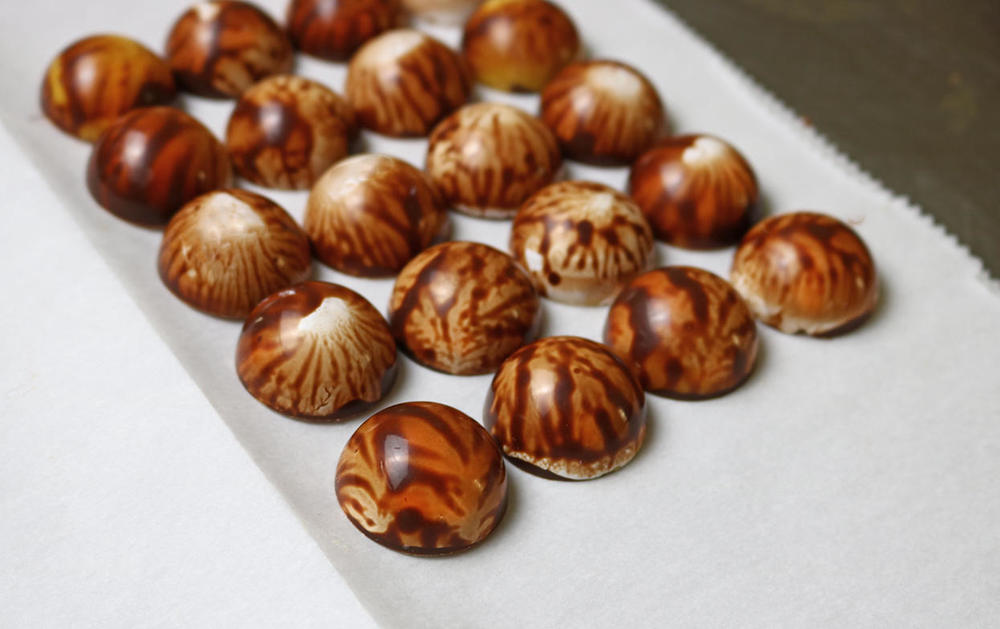
Philip, I can do it almost immediately depending on the cocoa butter. Within a minute or two of adding the first color. The main thing is if you start drawing some loops in the mold and the color pools up covering the lines then you just wait another minute. You want to have it remove easily leaving the nice lines. Depends on the color too, some cocoa butter colors (I use Chef Rubber) are thicker than others and will dry sooner than others. Jim, all I did was swirl it around kind of like a spirograph design. Depending on the color or shape of the mold you get different results. I'm not good with detail work and my handwriting is bad so it's very forgiving.
-
Thank you! I'm just amazed at how easy it is compared to some other things I've tried. I did the taping thing, never again. what a messy p.i.t.a and half the time the cocoa butter still bleeds through.
-
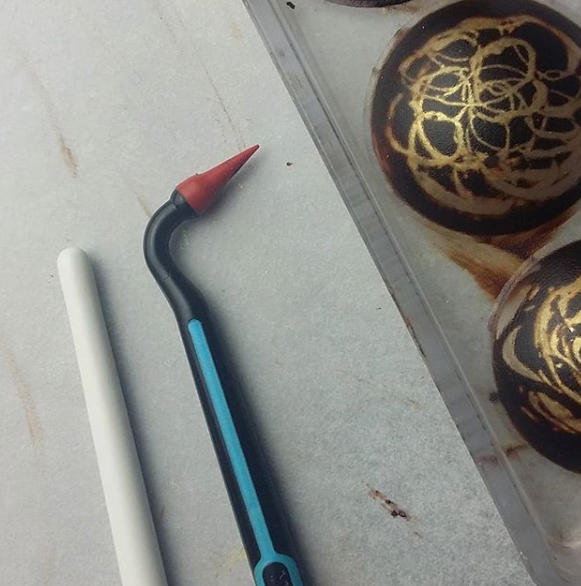
I had fun using a really simple technique that I'd used in the past, but usually just to make a few lines or words. I used the rounded edge of a brush (has to be totally smooth) and a gum stimulant. Anyone else want to try it?
-
Kerry I really like that shape with the designs, you can really see the "branches"
-
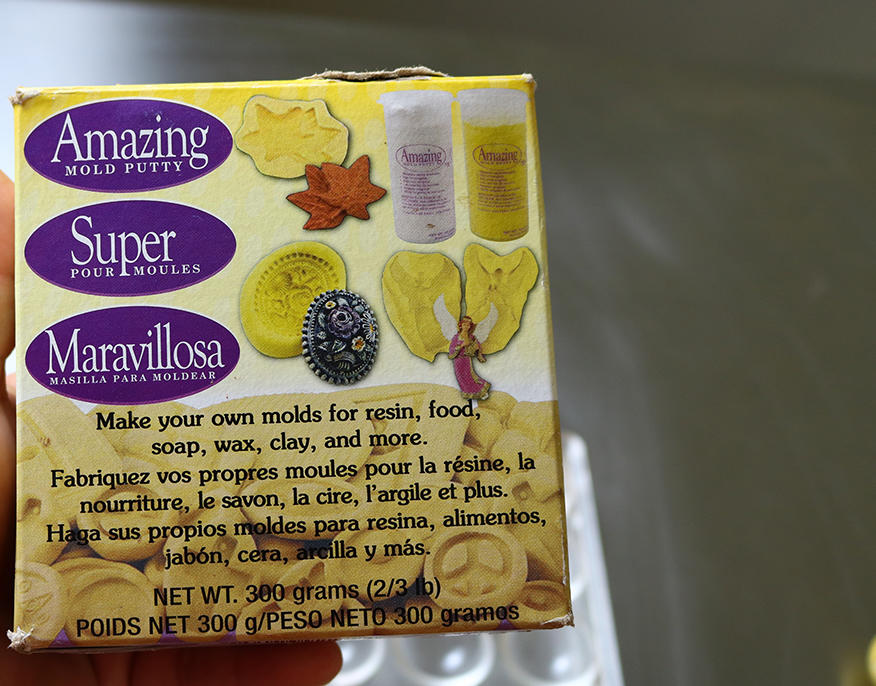
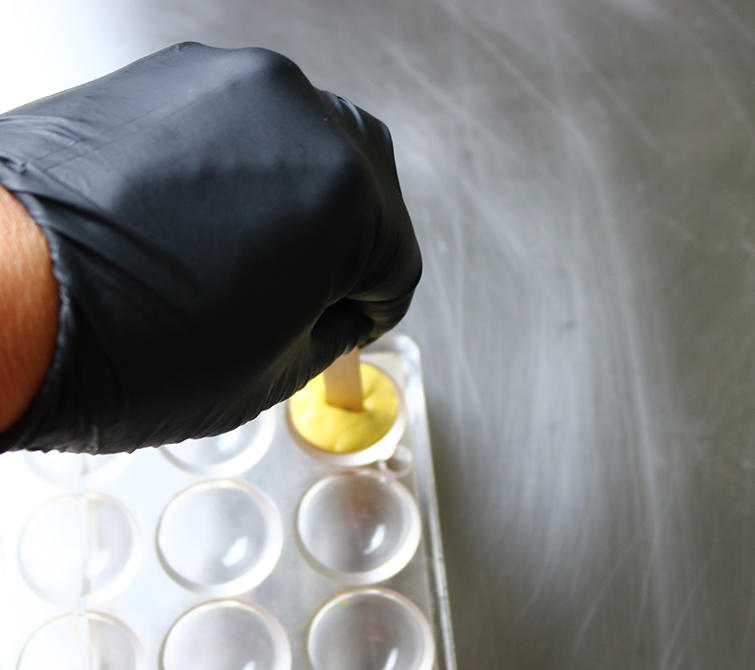
I just posted on the other thread (showroom finish) how I did it. I saw that Kerry used chocolate, I used molding putty, but I also made some with chocolate. I prefer the molding putty. It is kind of soft like silicone and seemed to be just perfect for getting that suction. Plus it sets up real fast too and I like to have it on hand for making mini molds on the fly.
-
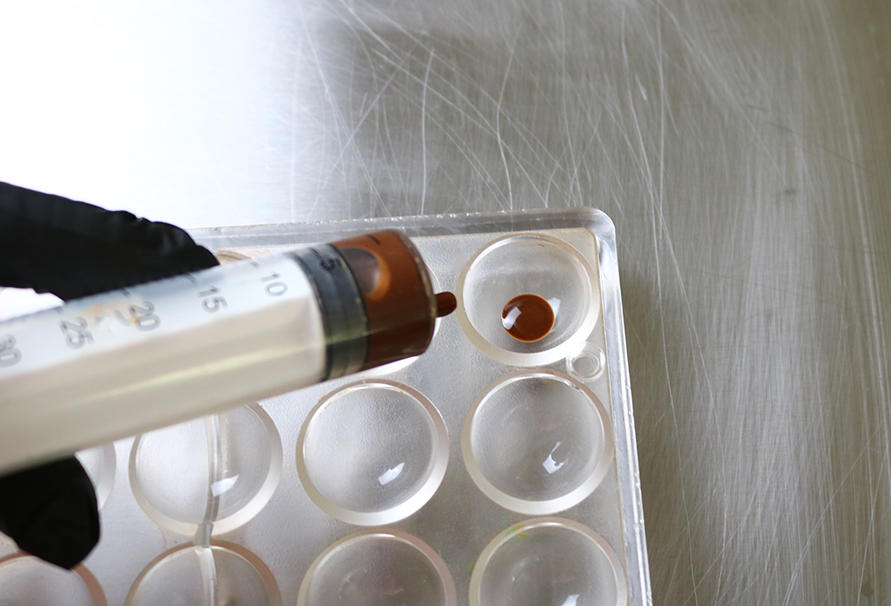
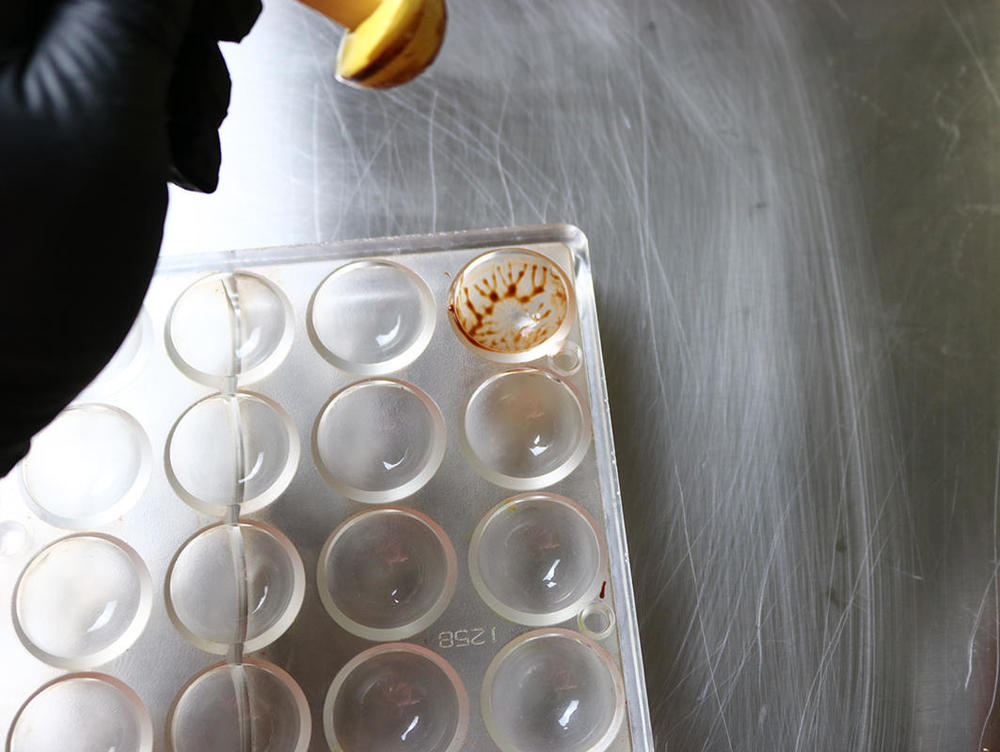
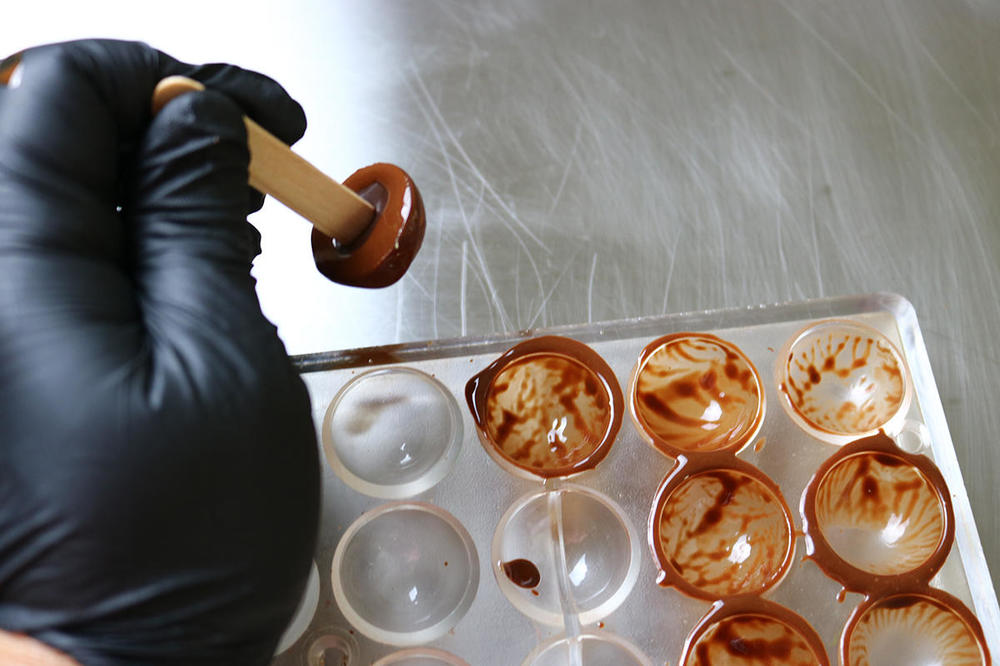
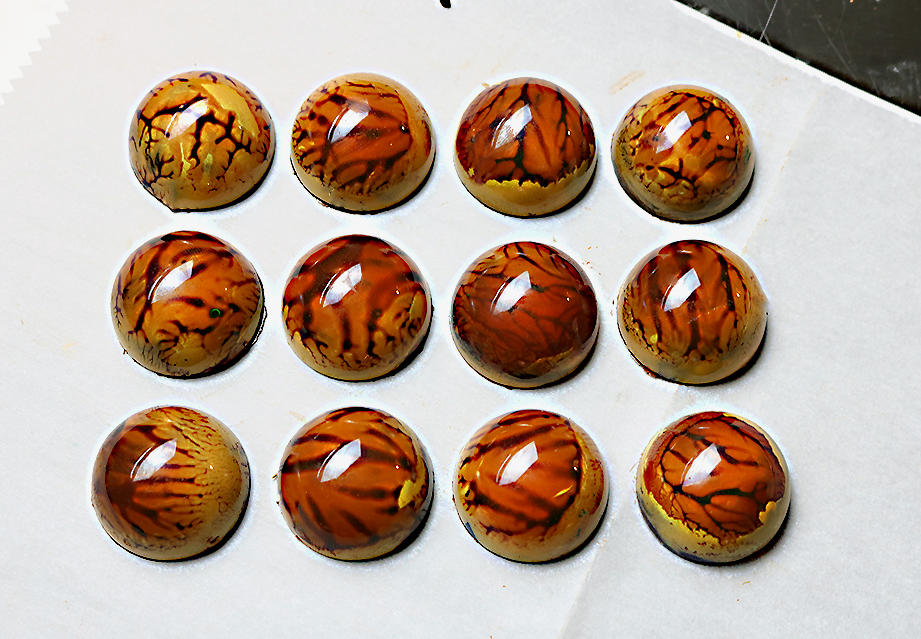
Here's how I did it. I already had this molding putty so I made a mold of the bonbon and stuck a mini popsicle stick in it to give me something to grip on to. I also made some up using tempered chocolate. I tempered some dark chocolate and cocoa butter together (about 50-50) and when about 32C I put some into the mold, then plunged the "dummy" into the hole. I pressed down hard, then pulled straight up and it left the impression. You have another chance to do it if you don't like it, but that's about it. Then when set, spray it with a lighter color and then proceed as normal. I'd like to test varying amounts of cocoa butter to chocolate and also white chocolate later, but I'm now busy till next week. I can't wait to see what others come up with.
-
Chocolate making: Things I learned in my early months
Artisanne replied to a topic in Pastry & Baking
I've used 4oz mason jars and also foodsaver bags, neither one has caused any condensation issues. I will try to get my sous vide set up photographed (I think I have it somewhere already in a picture). I had a friend take some acrylic and cut out a hole for the pan I use with clamps to keep it tight and not float when the chocolate gets low. Another hole for the sous vide and it keeps the water out, acts just like a melter. -

Chocolate making: Things I learned in my early months
Artisanne replied to a topic in Pastry & Baking
I'll add some things I haven't seen mentioned as being useful to working with chocolate as a chocolatier. Sous Vide Immersion Circulator. Not necessary, but I do create the silk that I can grate into chocolate to help temper it (mostly when I'm having difficulty due to humidity on location). I would prefer an EZ Temper for that, but I can't afford one yet. I also use the sous vide to caramelize white chocolate and I use it as a melter and to hold chocolate at temperature. Gelatin for mold making when I want to make a custom sculpture or item such as a wrench or mason jar. Another molding material I like is Mold Putty https://www.amazon.com/Alumilite-Amazing-Mold-Putty-0-66-Pound/dp/B0058VAG5A/ref=sr_1_3?ie=UTF8&qid=1534952712&sr=8-3&keywords=molding+putty Parchment paper, I use it to wrap caramels in the summer as the humidity makes it impossible to use cellophane (I'm in Michigan). I use parchment paper for spreading out chocolate, for baking and for making small piping bags. Packaging in different sizes for my chocolates, desserts, etc all in Tiffany blue that I purchase at brpboxshop.com They will send you samples in like 2 days if you want to check them out. I've learned a lot looking through this forum and from following chocolatiers on Instagram and watching videos on Youtube. -
Thank you, the right light helps a lot.
-
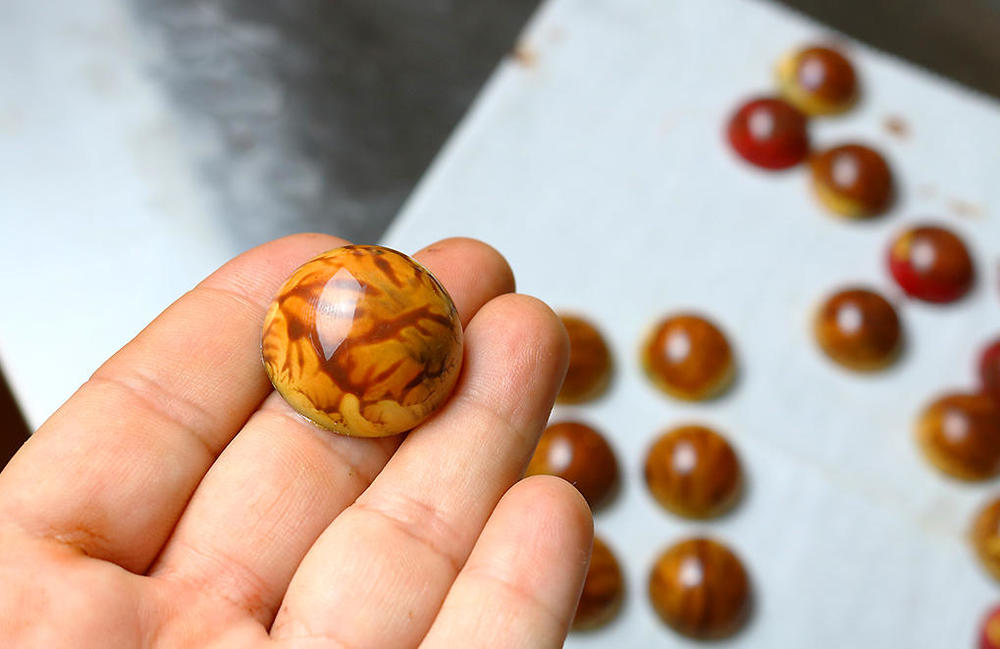
Here's how those turned out. I think I'd use better colors next time, but it was a test, they are just solid chocolate. I have no idea if I did this exactly as others have done it because I've been piecing together ideas from several places so I'll wait and see what Kerry says.


