Jenjcook
-
Posts
40 -
Joined
-
Last visited
Content Type
Profiles
Forums
Store
Help Articles
Everything posted by Jenjcook
-
Spraying Chocolate: Equipment, Materials, and Techniques
Jenjcook replied to a topic in Pastry & Baking
I have a Badger 250. Very cheap, about $30-40 on amazon. You have to get one where the paint does not shoot directly through the air feed, or it will cool the cocoa butter and clog. The badger is set up so that the cocoa butter comes up one tube and then is blasted by air to the target so no clogs. It is very easy to use as well. The more expensive part comes if you want and air compressor. The badger comes with a can of air, which is kinda difficult to control, and gets pricey if your using it regularly. I just bought a compressor on amazon for $46. We'll see how it works. I think that's about as cheap a setup as you can get. Probably doesn't have the superfine mist or control of a $1200 one, but it does the job. -
I think tabling would work. Never tried it because I'd rather temper than table. I agree it is a PITA!
-
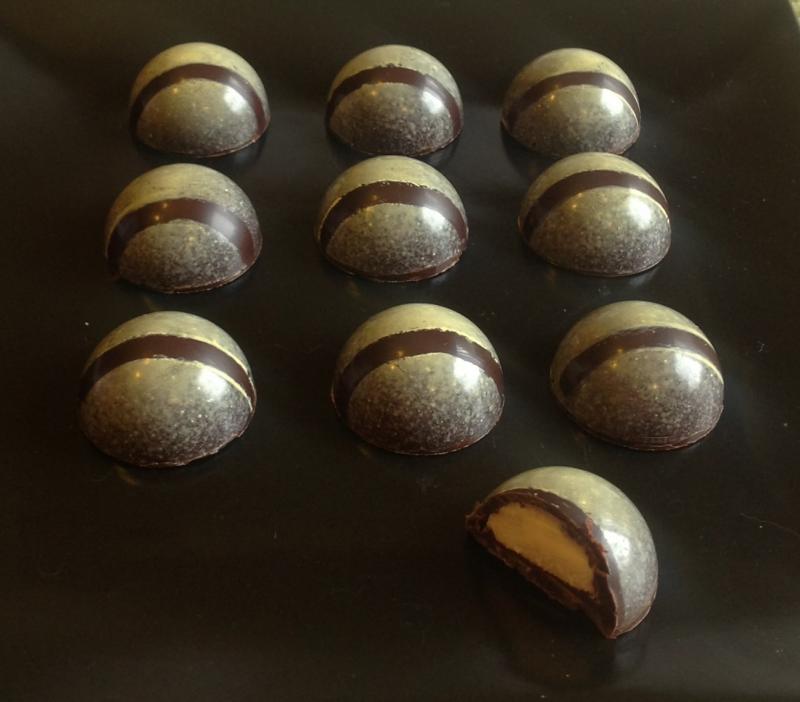
As a first experiment it went fairly well. Im made a second batch today and was able to get the titanium dioxide into solution with a bit of heat. This is the fist batch I airbrushed. Bananas Foster in Guittard French vanilla

-
It's food grade but not specifically for chocolate. I like the drying in the oven idea.
-
Since I don't live near an Albert ulster. Colored cocoa butter is nearly $35 a bottle with shipping....so I decided to try to make my own. The problem I'm running into is with the titanium dioxide (the white powder that makes it opaque) I can't seem to get it completely dissolved/suspended in the cocoa butter leaving little white lumps when I airbrush it. Anyone ever done this and have suggestions. I tried putting it through a blender and straining it in cheesecloth...still has teeny tiny lumps.
-
I'd like to know too!
-
Plan: 2014 Chocolate & Confectionery Workshop Las Vegas
Jenjcook replied to a topic in Pastry & Baking
Id love to do the masters class if you have enough for a second session. -
Pretty much the basic formula is 1:2 softened butter to chocolate (2.5 for white or milk) with some glucose (corn syrup) and whatever flavoring you are using. The key difference is it is a water in fat emulsion, instead of a fat in water emulsion like a cream ganache. And i think that is whats giving it the wonderful texture. It's a bit trickier to make which is why I had shied away from the in the past, but totally worth the extra effort if this batch is any indication. The big key is in order to get it to set properly you MUST temper the chocolate and add it to the room temp butter. Here I the recipe I used adapted from Peter Grewelings Chocolates and Confections. I swapped out the dark rum for actual eggnog, because I don't care much for the taste of alcohol, and I wanted a really "eggnoggy" taste. 170g butter (77F) 40g Glucose syrup 1tsp ground nutmeg 1vanilla bean split and scraped 500g white chocolate, melted tempered and at 86F 40g eggnog (or rum) at about 86F so not to shock the chocolate, I warmed it ahead of time and steeped with about five whole cloves to adda little extra kick then strained I also thru in 1/4 tsp lorann eggnog flavor oil... I know that's blasphemy to purists, but I love the flavor of eggnog I wasn't piping right away so I mixed the butter, glucose, nutmeg, and vanilla with a hand whisk. then added the tempered chocolate. Mixed til smooth and streamed in the eggnog. Set up beautifully and so silky to taste.
-
Greweling says 3 weeks for a cream ganache and 6 to 8 for a butter.
-
I just made my first butter ganache tonight, a variant of Grewelings spiked egg nog, and WOW! It makes me want to abandon cream ganaches forever! The texture is so creamy satin perfect! I'd love to find more recipes, the list in Grewelings book is mostly flavorings I'm not a fan of other than the eggnog and raspberry. I might have to start adapting some new ones.
-
What brand colored cocoa butter are you using. The colors are so vivid!