Jim D.
-
Posts
2,415 -
Joined
-
Last visited
Content Type
Profiles
Forums
Store
Help Articles
Everything posted by Jim D.
-

Spraying Chocolate: Equipment, Materials, and Techniques
Jim D. replied to a topic in Pastry & Baking
With the metallics, I add melted plain cocoa butter, stirring the whole time, until the result has more or less the consistency of the non-metallic colors. For some reason I don't understand, although the metallics are thicker, they seem to come out of the Fuji faster. It takes a lot of gold, for example, to cover molds properly. -
Spraying Chocolate: Equipment, Materials, and Techniques
Jim D. replied to a topic in Pastry & Baking
Sorry, I wasn't clear. The air control valve (it's not a knob) is attached to the quick connect coupling, so it is essentially part of the flexible hose, not the gun itself. The knob with the numbers (directly above the blue handle) is to control the amount of "paint" going through the gun. When you are spraying you can release the trigger a bit, then tighten that knob, and it will keep you from pulling the trigger all the way back (which would be the natural thing to do) and spraying the paint full-blast. Or at least I think that's what it is for. That's part of my learning quest for the future. I believe we have the same setup if you followed Kerry's advice (it's never wise to ignore Kerry's advice). -
Best Spray gun for commercial use , spraying chocolate mounds
Jim D. replied to a topic in Pastry & Baking
The dehydrator I ended it getting is the Avantco CFD10 Dehydrator, which I got from webstaurantstore.com. It's the only one I found that was large enough for my purposes and has stainless steel shelves. The temperature control also goes lower than many others and is reasonably reliable. -
Best Spray gun for commercial use , spraying chocolate mounds
Jim D. replied to a topic in Pastry & Baking
I found a fairly large (and surprisingly inexpensive) dehydrator. I put the bottles of cocoa butter in the night before along with the Fuji gun (empty). Then the next morning I temper the color I am using, then take the Fuji out and blow out any color remaining from the previous use. I then fill it with the new color, and it is ready to go. When I finish with that color, I put the Fuji back in the dehydrator (if you followed orders and bought the flexible hose, it's easy to detach the spray gun). Starting from scratch with a cold Fuji does not make for a happy spraying experience! -
Spraying Chocolate: Equipment, Materials, and Techniques
Jim D. replied to a topic in Pastry & Baking
@BottleRocket, as you are new to eGullet, I can assure you that you will find extremely patient people on this forum who will do all they can to assist you (and learn from you at the same time). As one member of the forum put it, "all the thanks I need is knowing I helped someone! I live for that." To answer your specific question, yes, the Fuji gets hot. I too was alarmed by that, but it's just the way it is. Fuji advises users to turn off the machine whenever not in use. So even during the short time when I am filling the container, I turn off the Fuji. The remote switch makes that easy. As far as starting a new thread, I thought about that a long time, but concluded that there are so few Fuji users on eG that the forum hosts might not think that was a good idea. I have learned that the principal control is the air control at the bottom of the gun. Adjusted properly, it allows you to splatter, and I keep it turned somewhat lower than fully open to control the cocoa butter usage. Too low, however, and you will get the "orange peel" effect. In the beginning I found it useful to spray with just water against a background that will allow me to see what was happening. Using water takes away that urgent thought you get, "You are wasting expensive cocoa butter at a frightening rate." Of course, you have to completely dry out the spray gun after this experimentation. I must confess that although I finally (more or less) mastered splattering (which is achieved solely by adjusting the air flow), the effect differs so much from one cocoa butter color to another (something Chocolot told me about) and tends to be too much splatter for my taste that I have gone back to using a toothbrush against a dough scraper. I decided on this only after I finally found that a toothbrush labeled "firm" is the one that works best. It may sound as if I regret getting the Fuji, but I don't. When I am spraying a large number of molds with a deadline for orders, nothing can compare with the speed of the Fuji--and, maybe most of all, the fact that it can spray for a long, long time before the cocoa butter gets too thick. At those times, I just count the cocoa butter usage as part of "the cost of doing business." -
Spraying Chocolate: Equipment, Materials, and Techniques
Jim D. replied to a topic in Pastry & Baking
I also have a Fuji with the setup you mention. There is another thread where spraying has been discussed, and in that thread I mentioned how useful it would be to have a place where Fuji owners could discuss issues. We may as well use this thread, which is a more comprehensive spraying discussion. When you write "without wasting half a bottle," that struck a chord. That is my chief complaint about the Fuji. Especially the Chef Rubber Jewel colors come out in huge quantities when using it. For my most recent batch (a smaller one), I went back to my Grex airbrush and was amazed at how little cocoa butter I used. I must say, on the other hand, that the coverage of molds is much better with the Fuji. And its speed cannot be denied. For Christmas production, I would still be spraying if I had used an airbrush. I am also interested in learning more about controlling the spray and what the various knobs do and intend to look for some Fuji videos dealing with that. I can't believe that those who use the Fuji for painting don't have occasion when they need a better-targeted and less-intense spray. I hope to find the answer to these questions. -
It would be interesting to know the results of your attempts. And photos (if they are presentable--most of mine were not).
-
I am pleased to report the result of some experimentation: With the molds at room temp (approx. 70F/21C) and the warming tray heated thoroughly (but with heat mitigated by a Silpat and several layers of shop towels), I rubbed several molds on the towels for several seconds. The temp rose to around 72-73F/22-23C) as measured by an IR thermometer. I rubbed a couple of molds for about 10 seconds (probably the most I would ever rub one), and the temp was closer to 80F/27C. So, as far as I can judge, there was no danger of causing the cocoa butter to go out of temper. If I had a substantial buildup of cocoa butter (as happens with the Fuji spray gun), just to be safe I would probably rub for a while, wait a few seconds, then continue.
-
@Kerry Beal, do you think the heat from the tray might throw the cocoa butter out of temper? I ask because I am using this method of cleaning molds, and it is very quick and effective. But I am having more difficulty lately with cocoa butter sticking to the molds. For a while I was completing all airbrushing on all molds (which sometimes meant several colors), then, at the end of the day, rubbing the molds, but that meant the tray had to be very warm and took quite a bit of time, since the c.b. had crystallized thoroughly by then. So I returned to rubbing each mold after airbrushing it with a single color (or splattering it or swirling a color in it). And I let the shop towels pile up on the tray to mitigate the heat, since even on a low setting, the warming tray is quite warm. But the issue continues. Of course, there are dozens of possible reasons the c.b. might be sticking. I know you said your tray is quite warm, so was wondering if you had noticed this issue.
-
Try holding the airbrush farther away from the mold and/or reducing the air pressure. But, for those of us who took Andrey's online course, this proved to be a very difficult technique. I was so frustrated by it that I had someone film me while I made multiple attempts, then sent the video to Andrey, who critiqued it and made suggestions, but all to no avail. I had a few successes but definitely not enough to make the technique something I could use in actual production. It takes a lot of practice and maybe luck (having the two cocoa butters at the right consistency and temperature). You can read much more about this issue in this thread about the Dubovik course. For perspective on such issues, it may be useful to know that Andrey does not produce chocolates; he creates decorative designs, one mold at a time. In response to a question from a student who asked about pricing issues, Andrey replied that he didn't really know as he had never sold a chocolate!
-
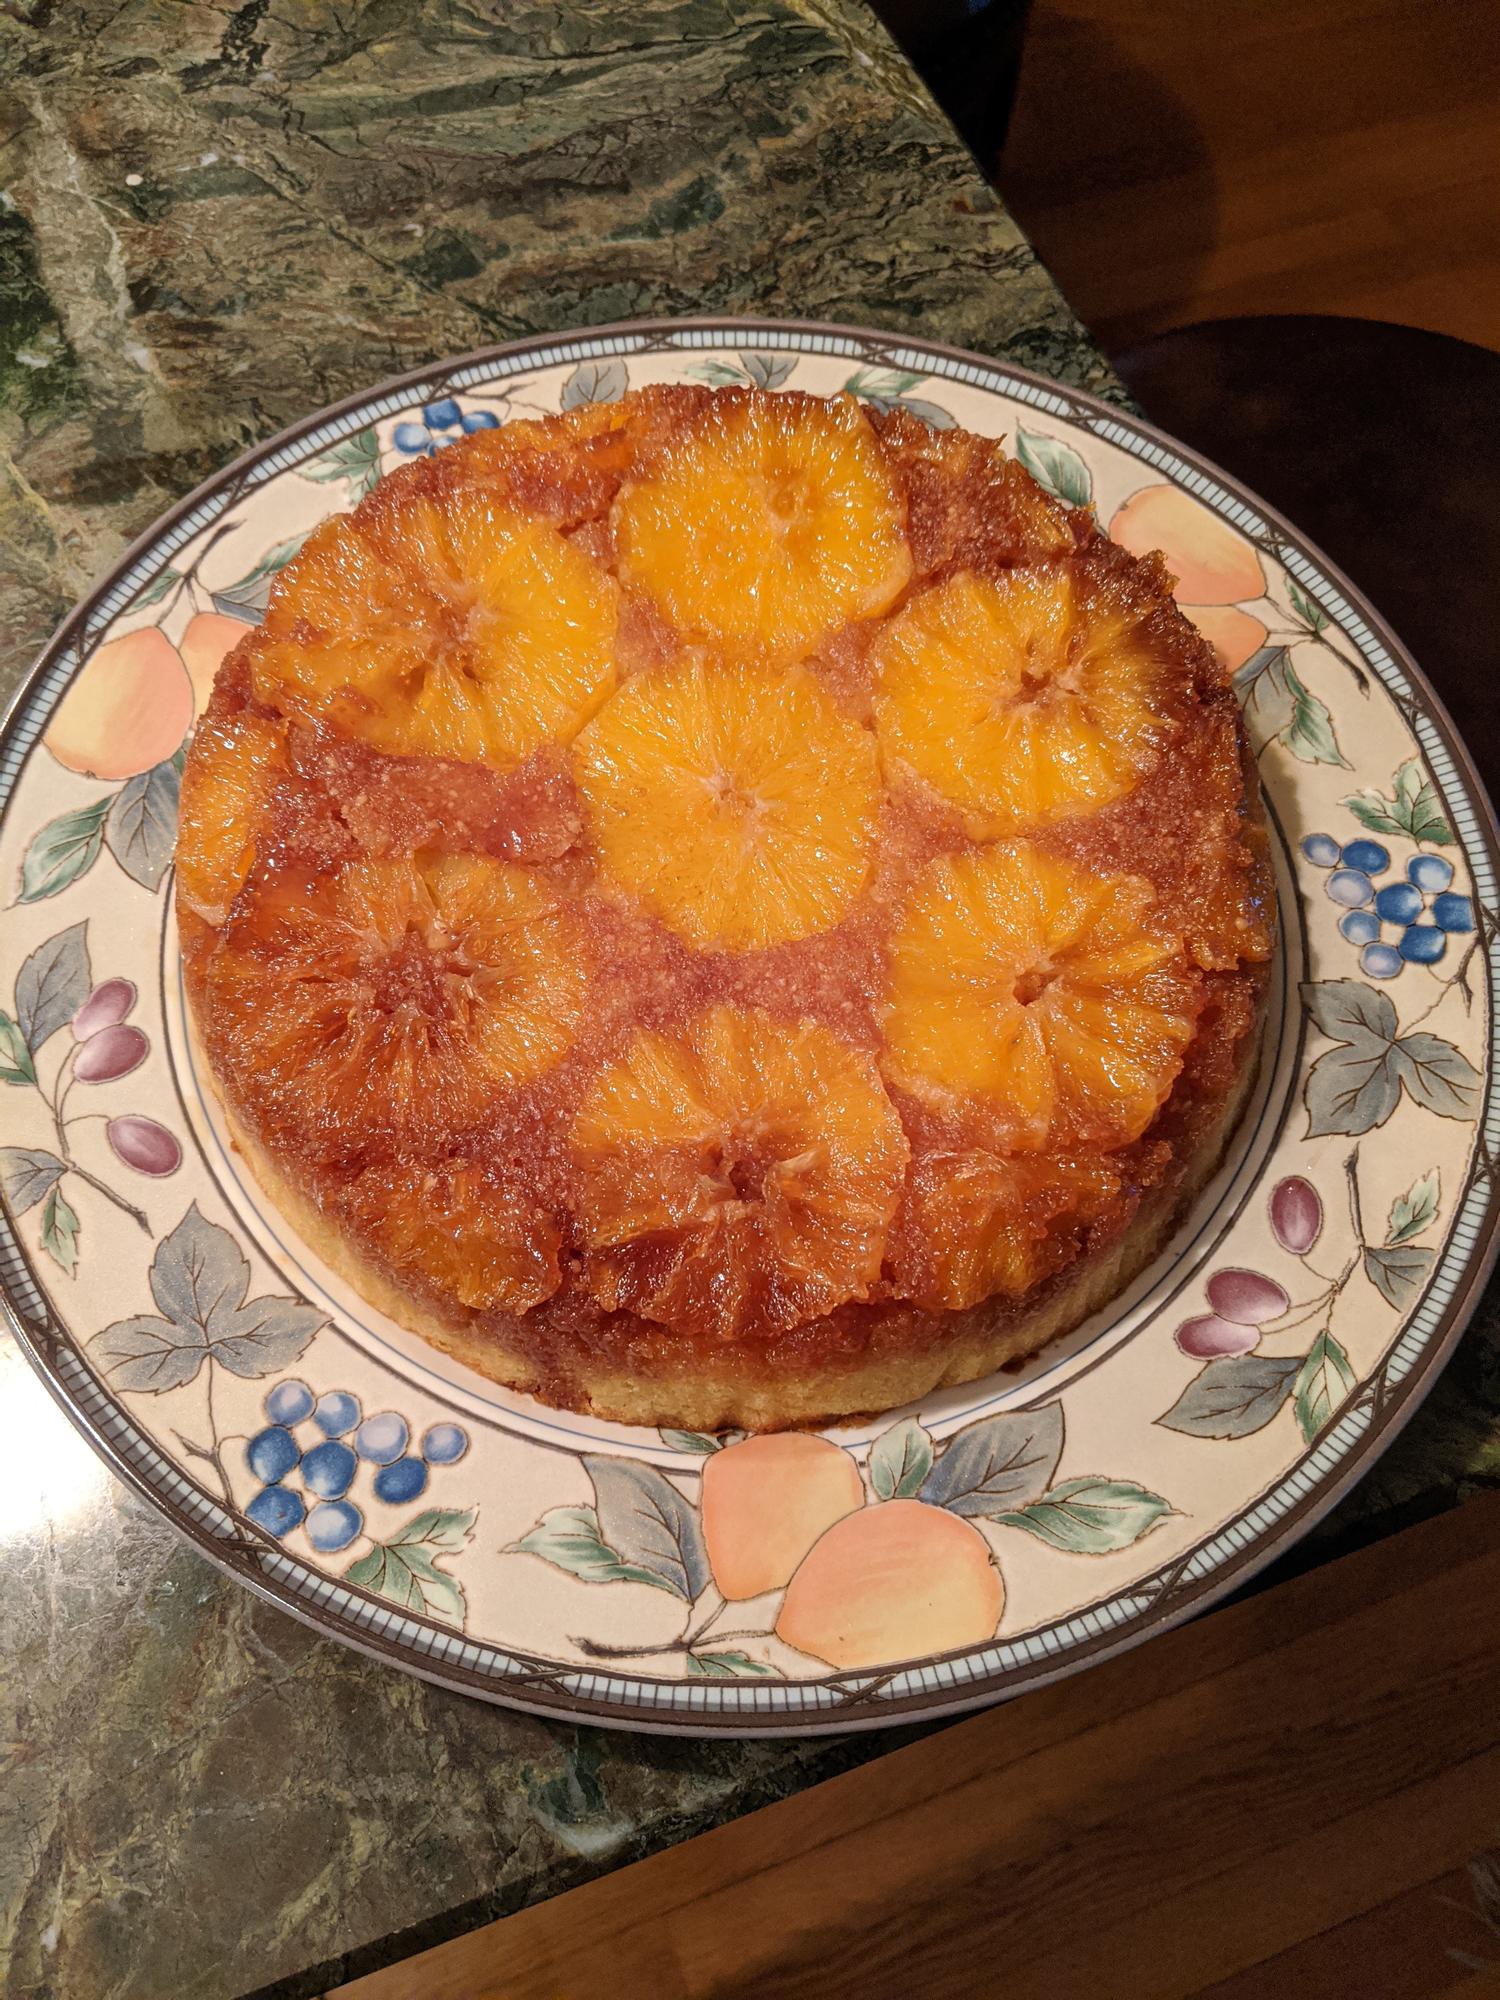
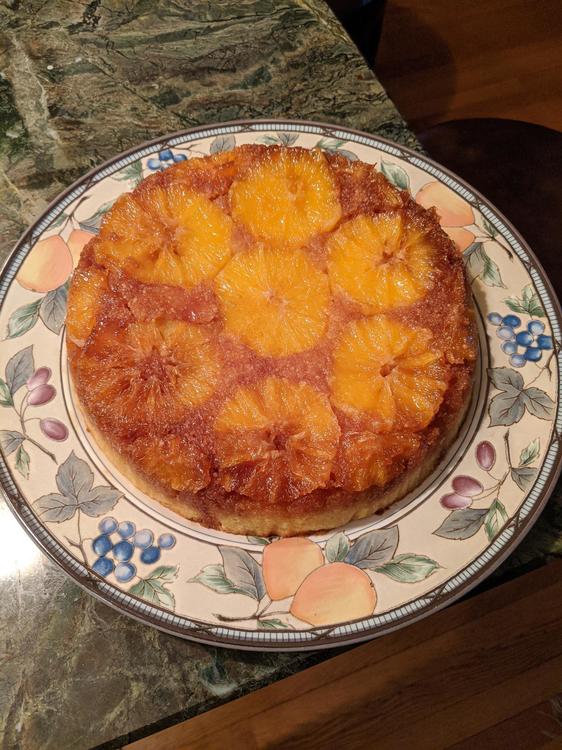
I don't spend every waking moment working with chocolate. Once the Christmas chocolates were done, I turned to desserts for Christmas dinner. This is one of three, a caramelized orange polenta cake:
-
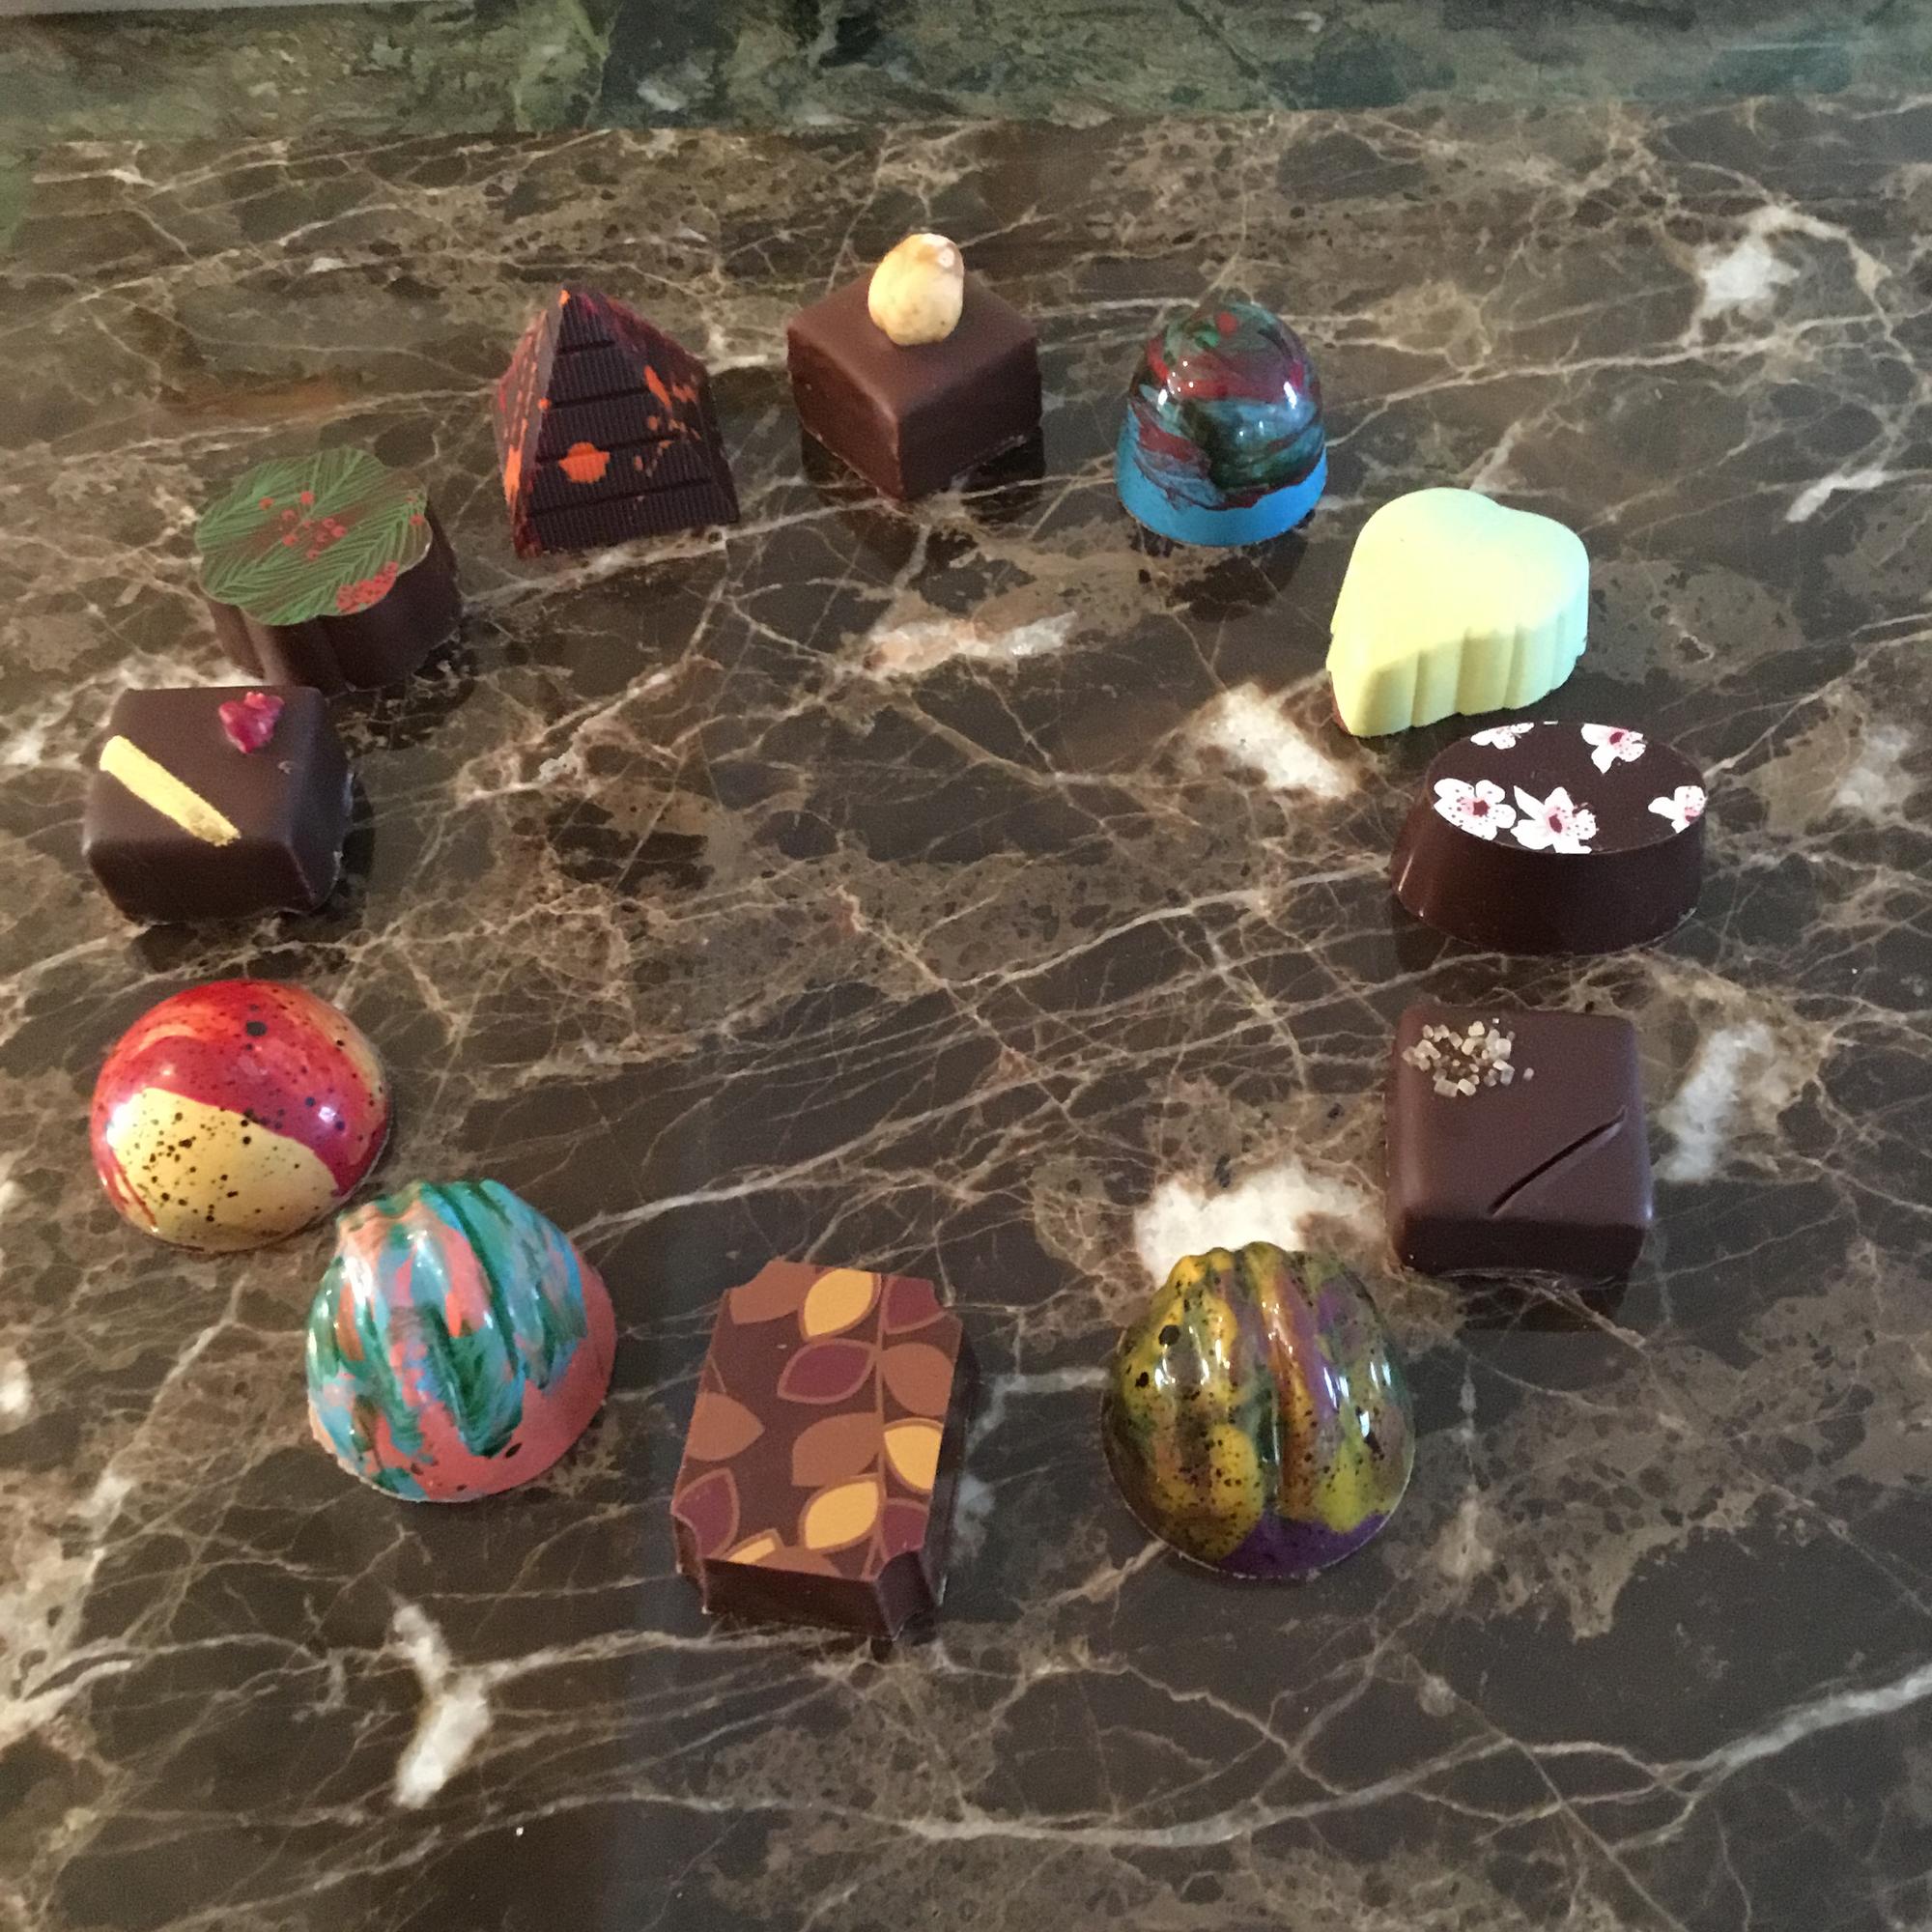
A photo of the second of my Christmas 2019 assortments. Beginning at the top with the item topped by a hazelnut: Coffee ganache & hazelnut gianduja, cherry pâte de fruit & pistachio gianduja, pear pâte de fruit & almond cream, spiced plum ganache, gingerbread, sesame crunch, maple walnut ganache, apricot pâte de fruit & almond gianduja with spiced shortbread, cherry with kirschwasser, raspberry cream, eggnog ganache, dark caramel with sea salt. I am aware that many people (usually including me) are a bit scornful of using transfer sheets vs. original decorations, but I can attest that, in a very busy December, those transfer sheets help take the pressure off creating designs from scratch for so many different fillings (24 in all for the month). The sobering reality is that customers loved the transfer sheet designs. Quite a few asked me how I managed to paint all those intricate designs on each piece. And yes, I told the truth.

-
It's very striking in appearance. Can you tell us what the three fillings are?
-
That experience would be very disturbing. When I sell wholesale, I insist that the shop selling the chocolates retail have refrigeration, so keeping them around 40F (or for long-term storage, a freezer plus information on how to move chocolates from freezer to cooler). Do you know the Aw of that raspberry filling? The information would be especially useful in this case. And is your recipe a published one or something you came up with?
-
If a major concern is not gouging the marble, then what about buying a quartz slab? The price is lower than marble, and it's more durable (though not good for the cutting instrument, but no stone is). You could transfer the candy to the quartz and hack away with more power.
-
Beautiful--and congratulations on your new business, with the wonderful name "Bliss."
-
That's what I was guessing since (as I said) they mostly conform to the "fleur" theme. You are bolder than I am about asking them, so I thank you.
-
On reading Greweling more closely, I found: "The shelf life clock effectively stops when the confections are frozen." Then later: "Freezing confections greatly slows, but does not stop, the deterioration of quality." I'm not sure those statements can be reconciled. The decision has to be yours, of course, but I would probably use the frozen truffles in a situation where they would be consumed fairly soon--if that is possible, given the impossibility (discussed previously in various threads) of controlling consumer behavior. A temperature between -12 and -18F is really low, as is the Aw reading.
-
Greweling says that vacuum-sealed chocolates can be kept frozen for 4 months without loss of quality. You have a very low temp in your freezer, so that should help. Depending on what the ingredients are, you might stretch that some, but a year might be too much. I can't imagine there is anything harmful about them, but there is the quality issue.
-
Best Spray gun for commercial use , spraying chocolate mounds
Jim D. replied to a topic in Pastry & Baking
The Fuji has many great qualities--speed being the best from my point of view--but if you think your LVLP gun had overspray, I suspect the Fuji puts that to shame. I am using a lot of cocoa butter. I'm not sure if there is something I can do about that. I tried lowering the amount of "paint" coming into the gun with the knob at the back (I think all spray guns have this), but it didn't help. I tried lowering the air pressure (the adjustment at the bottom of the gun), and that produced too much "orange peel" effect. I am going to continue my research on this subject after Christmas, watching all the Fuji videos I can find. Surely in actually painting with a Fuji, there are occasions when the painter wants less paint coming out of the gun. I just don't know how that is accomplished. Fuji could really improve their outreach to chocolatiers; I suppose there just isn't enough business in that field. -
This is not the main point of your post, but how do you know your cream ganaches last only a week or two? And under what conditons/temperature? That is a very short period of time.
-
Best Spray gun for commercial use , spraying chocolate mounds
Jim D. replied to a topic in Pastry & Baking
I do not use the filter in the mini-HVLP gun I have. With cocoa butter, you need as few obstacles to the flow of the material as possible. From time to time, as the cocoa butter crystallizes, you will need to warm up the gun and cocoa butter in the cup (using a heat gun is the easiest way). -
Just for the record: here is where gfron1's comment on matcha can be found.
-
Take a look at this thread, which includes my adaptation of the strawberry marshmallow recipe posted previously on eGullet. Keeping it pipeable depends on temperatures and the time you beat the marshmallow before piping it. If you beat it to the regular consistency for standalone marshmallow, you will go crazy trying to get it into a pastry bag. A recent trick I have learned to get the temperature down to the point that the marshmallow can be piped without melting the chocolate shell (and keep it from getting too thick as you wait for it to cool) is to put some ice in a bag and hold it against the side of the stand mixer as you beat the marshmallow. All that being said, piping marshmallow into a chocolate shell is a messy job.
-
How true. Just outside the city where I live is one of the largest Hershey factories in the U.S. The big excitement is that they are going to start making Reese's Cups there! I recently raised my prices to the point where they almost cover my expenses, and, as I predicted but knowledgeable customers assured me would not happen, sales have diminished.