Jim D.
-
Posts
2,417 -
Joined
-
Last visited
Content Type
Profiles
Forums
Store
Help Articles
Everything posted by Jim D.
-
Excellent idea. I will report back on how it turns out.
-
Another melanger question: I have a batch of almond praline paste I made in the food processor. Of course it retained a certain crunchiness because the caramel doesn't grind up thoroughly. Over time, however, the crunchiness has turned to an unpleasant gumminess. I would like to make a completely new batch using the melanger and then, toward the end of the process, add the gummy batch. The goal is to make everything completely smooth (or as smooth as a tabletop melanger can). Do you think there is any danger of ruining the whole batch with the bad amount, or will the melanger be able to handle everything?
-
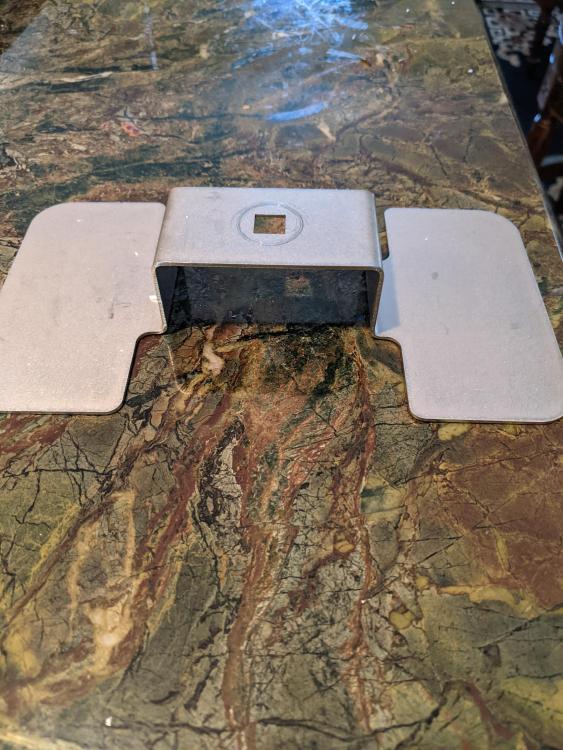
But I can't get the knob with the spring to engage--it seems the spindle is not quite long enough. Without the new splash guards, it's fine, but not with the three layers of stainless (splash guard + holder of the stirring devices + stone holder). Perhaps the longer spindle I mentioned from the video is necessary after all. I guess I will find out when I get a call back.
-
I suspected you would have one of the new models. Thanks for the photos. It seems the splash guard fits under the roller holder as well as over it. Do you think the order of installation matters? Either way I can't get the bolt (or whatever it's called) to make contact, even with pressing it down quite hard. Did you have difficulty with this? Any idea as to the purpose of the holes near the red dots? At first I was thinking the lid had to be "bolted down," which would mean adding ingredients would be a pain, but it appears the hole in the middle of the lid is large enough to remove it during operation.
-
That's exactly what I think it is. And knowing from your remark that a splash guard is needed, it seems all the more likely. It also fits perfectly on the spindle and the stainless device that holds the rollers. I am not usually the kind of person who says, "What the heck, let's give it a try and see what happens," but I'm thinking I may go that route tomorrow. I'm also very annoyed that the instructions aren't up to date. It's like a chocolatier including a guide to a box's contents and saying to customers, "It's the list from a previous batch, but you can figure it out." And I'm not charging $450 for a box of chocolates.
-
Here's a link to the setup video: https://www.melangers.com/pages/quick-start-guide (it's the video numbered 3 on the page). It begins with replacing the spindle in the middle of the bowl with a longer one. Again, after much puzzling, I determined that the machine no longer ships with the short spindle, so no replacing is necessary. Below is the part not accounted for. I think it fits directly under the lid. The lid is another issue: does it have to be in place at all times? I don't think so since there are lots of occasions when one is adding ingredients as the melanger does its work.
-
I finally broke down and got a Premier melanger--mostly to make almond praline paste to my liking (see above in this thread for the tale of the very dark Valrhona product I tried). I was excited to assemble the machine and clean it with some sugar, then make some paste. But I quickly realized that reading the brief instruction manual and watching all the videos to which the manual directed me would be of no help. I knew that the melanger had been updated, but I would think manufacturers would update their manuals, especially with such drastic changes. Example: There is a video dedicated solely to the great care needed to adjust the scrapers so that they will do their job but not touch the walls of the melanger, but I looked in vain for the scrapers in my box. Turns out (so I am assuming) that the scrapers don't exist in the new machine. I spent a lot of time looking for several other parts that turned out not to be in the box--and are no longer used. So I called the company, but no one answered and my message has not been returned. It felt like Christmas--opening the new toy but not having the batteries to make it work and all the stores were closed. So I searched the melangers.com site some more and finally located a video showing the revised machine and how to assemble it--except that I was left with one large part not identified and not used anywhere in the video! So even the video was out of date. I think I figured it out, but I don't want to wreck the machine and so will have to wait--unless someone has the new version of the melanger and can explain it to me.
-
Yes, gianduja bars were fine.
-
My first decoration was to place relatively small pieces of candied orange peel onto the chocolate, then add candied rose petals, then sea salt flakes. I immediately noticed that the orange peel sank quickly and almost disappeared. So I waited some more and tried again. Just when the chocolate is crystallizing at the edges is the moment. The rose petals weren't an issue since they were so light. The salt is also tricky in that it melts into the chocolate unless the perfect moment is found. And that perfect moment will allow all inclusions to stick as the mold is turned upside down later on. I can't have 3 or more molds with chocolate in them and get the timing right. I'm sure I will get better as I do this more often. The consolation was that the tablets were very popular at the market, the biggest seller being the caramelized almonds and sour cherries on top of almond gianduja. The rose petals are insanely expensive but they looked really good.
-
@Kerry BealI had heard the term "butter oil" but must confess I had to search to see what it is. Yes, I would consider that ("butter" as an ingredient sounds so much more acceptable than "coconut oil"). Do you have a brand you would recommend? In spite of living in a dairy area, I doubt that any farmer around me produces it. How does it compare to ghee (which I can find in local grocery stores)? @pastrygirl Your suggestion would definitely involve using a pastry bag to pipe the chocolate neatly enough not to involve scraping the mold. The issue would be that my method is to fill one mold, wait for the chocolate to crystallize enough to support the inclusions, then fill another mold, etc. As I do this more often, I might learn to pipe more molds at one time, but I discovered that the window of opportunity to add the inclusions is a narrow one. The wait time would be a real issue for chocolate sitting in a piping bag.
-
I agree with the pairing statement. One of my favorite fillings is to pair pistachio gianduja with cherry pâte de fruit (I use Morello cherry purée). I think pistachio gianduja profits from a substantial amount of sea salt. The pistachio paste I get from Fiddyment Farms has a good pistachio flavor, but it is definitely not smooth. That does not bother me because I often add some slightly toasted pistachios to the gianduja for the added crunch.
-
The tablet mold is CW1936, and it is 9mm thick. Before I bought it, I tested a piece of chocolate and found that 10mm is about the maximum that is comfortable to eat, so it should have been fine. But it doesn't have any indentations for easy breaking. I tried breaking it, and it was very difficult. Why are your opposed to coconut oil? My objection is mainly that I would have to list it as an ingredient, and that looks bad (and raises allergen issues for some people). But it would soften the chocolate somewhat. I'll have to do some experimenting with very small amounts of the oil. Speaking of ingredient labels (which my state requires that I include with chocolates): Why do chocolates require labels, but bakeries don't have to list ingredients?
-
My first sale of chocolate tablets with inclusions was very successful. I just ate a leftover piece and discovered that it is quite difficult to bite--a knife is really essential. I would not want to lose that wonderful bite that tempered dark chocolate has but also do not wish to endanger my customers' teeth. The first idea that spring to mind is to add some coconut oil. What percentage would you recommend? 10%? as much as 25%? Obviously I will give it a try before the next batch, but am looking for some advice or other ideas.
-
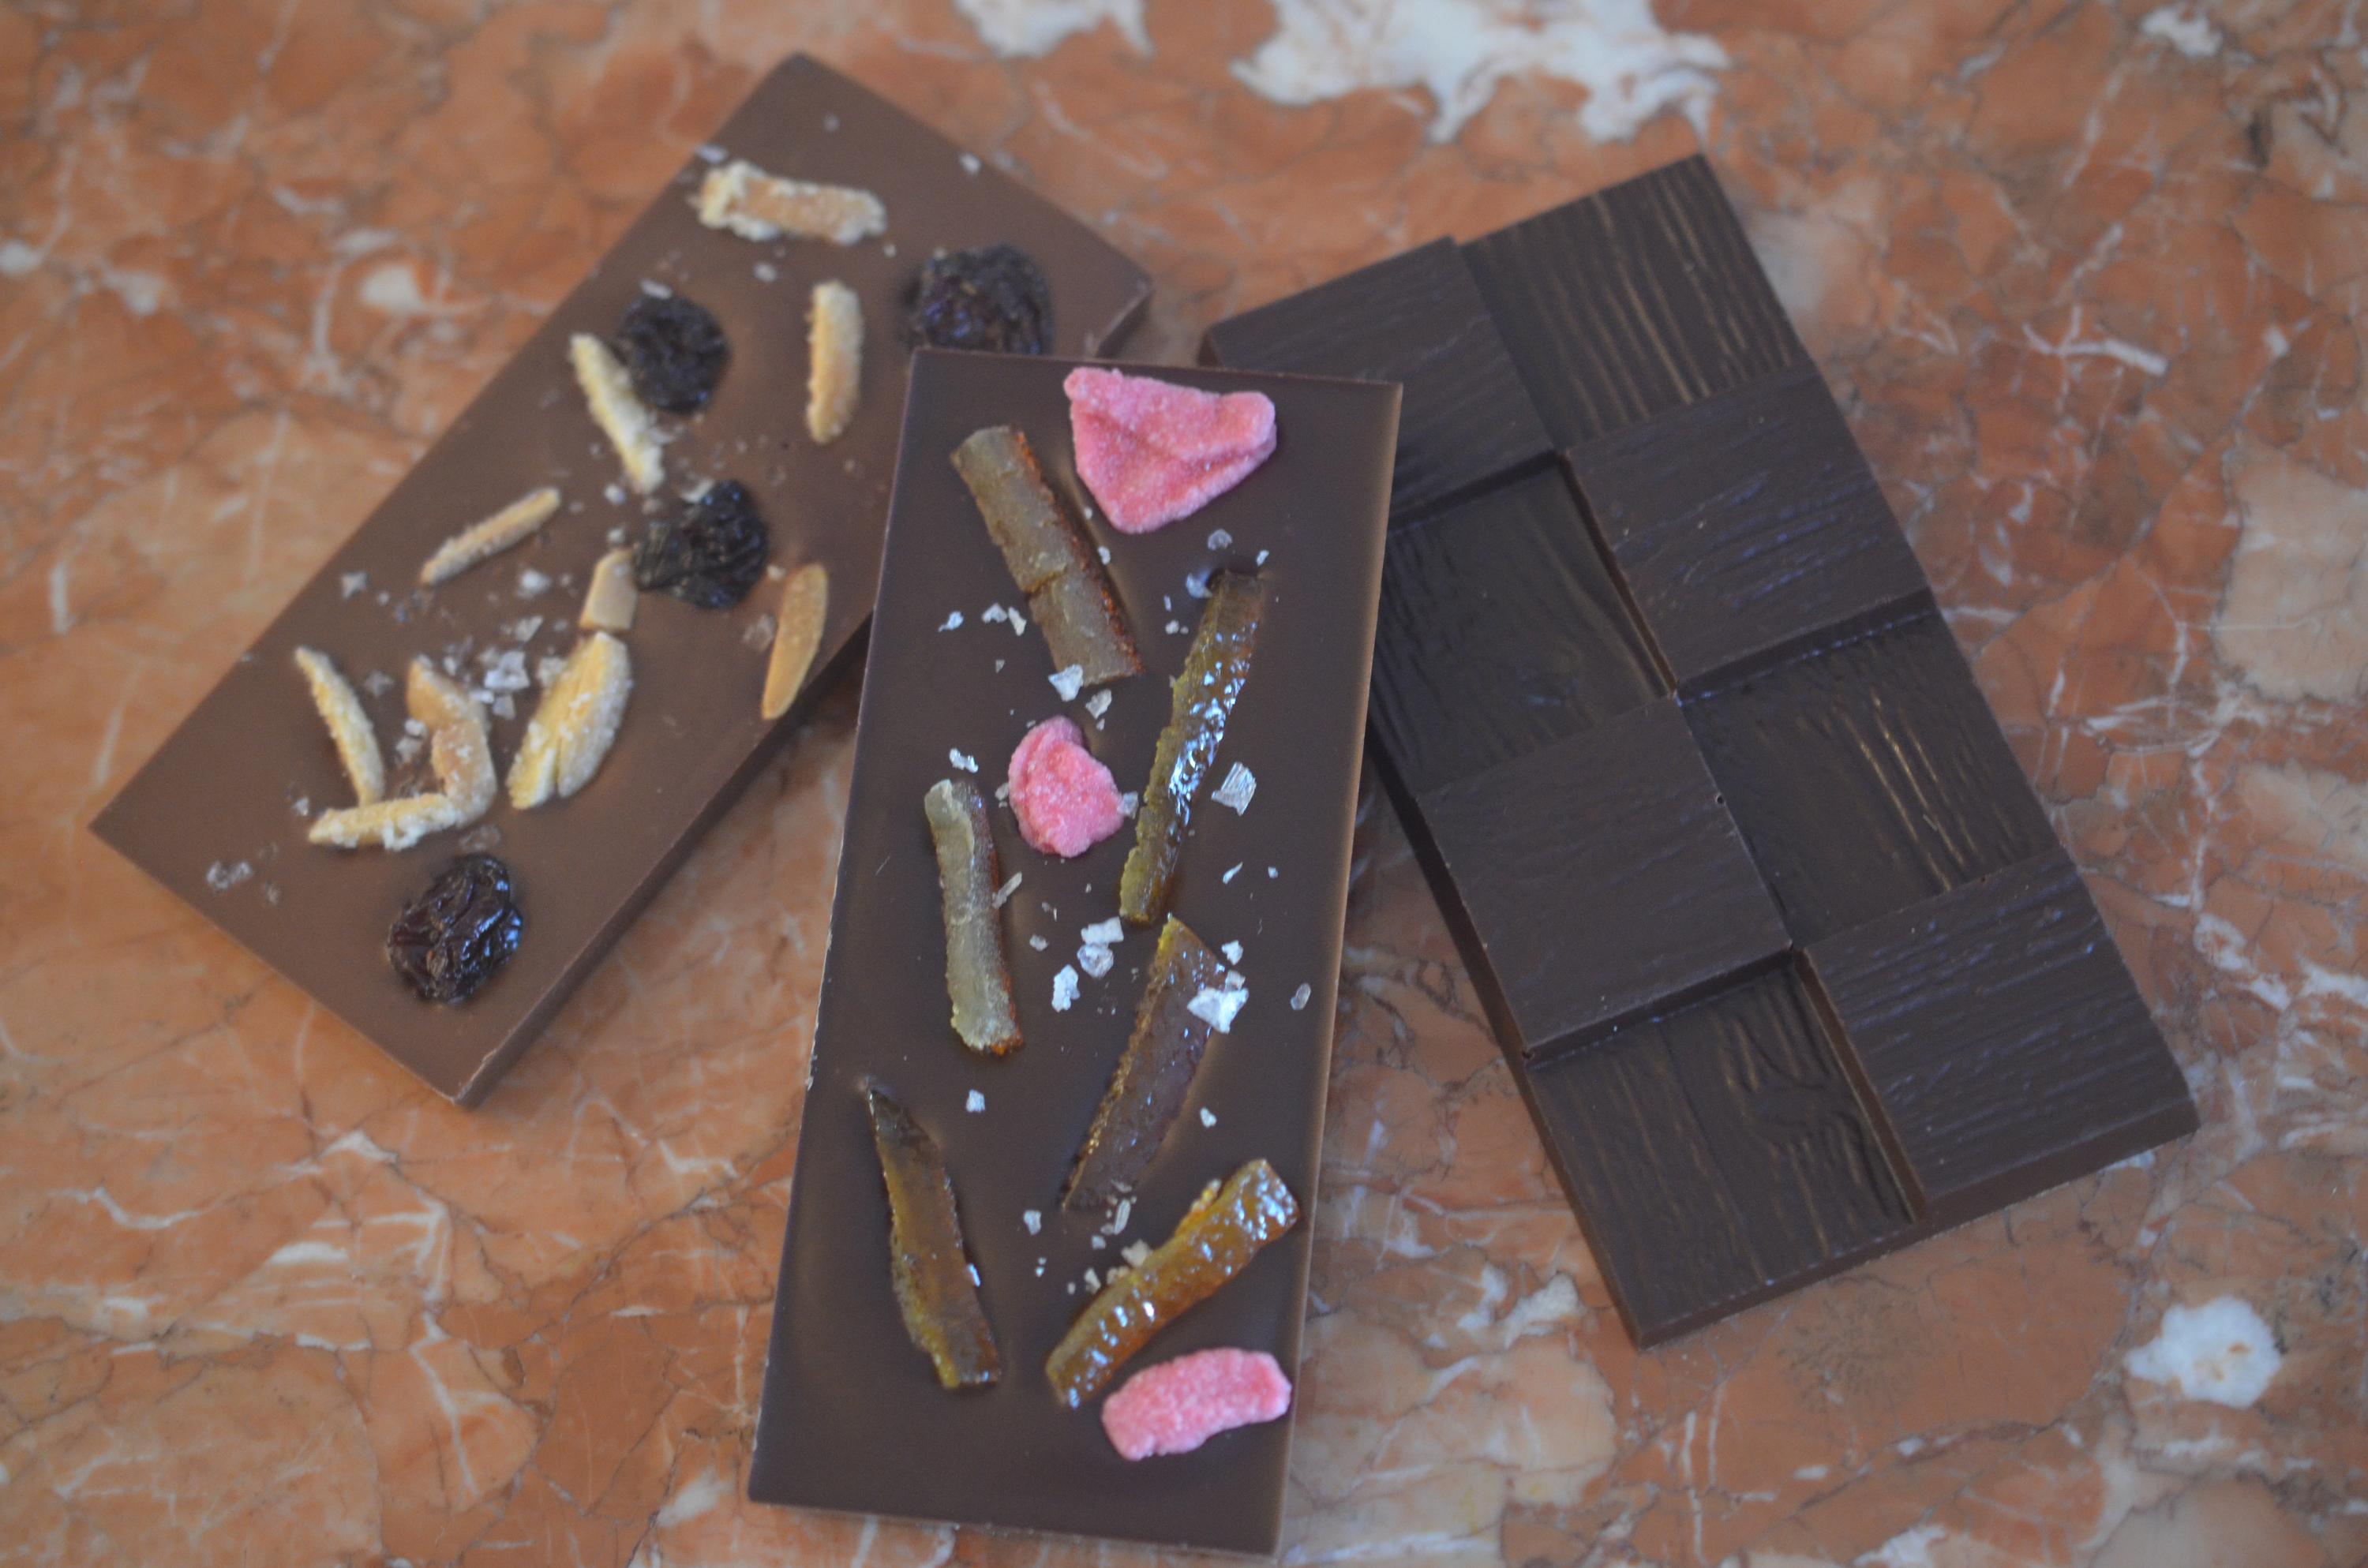
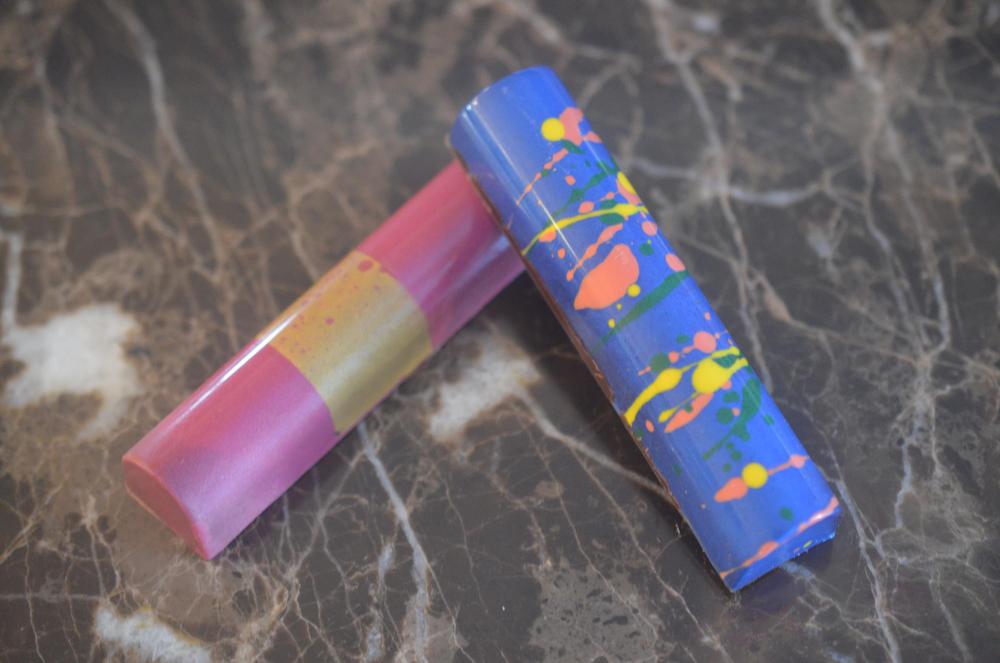
My first attempt at snacking bars and tablets, made for a new indoor winter market opening January 14, 2023: The bar on the left is strawberry pâte de fruit and crispy peanut butter gianduja, on the right is coffee-flavored marshmallow and hazelnut praline gianduja: The tablet on the left is almond praline gianduja topped with caramelized almonds, sour cherries, and sea salt. In the middle is dark chocolate with glacéed oranges, candied rose petals, and sea salt. On the right is a plain 72% cacao (Felchlin's Arriba) tablet made especially for dark chocolate fanatics and in a mold that I really like.

-
I am looking for sources for various candied fruits of high quality. Nuts.com has them, but I have not tried their product. I got some good orange peel from l'epicerie.com, but they have a limited vaiety. Any suggestions would be welcome.
-
Very useful information on chestnuts (that is, I was wise to abandon the idea). I finally gave the Corsiglia paste to someone who likes to experiment with unusual food combinations, and I think she is working on a chestnut + thinly sliced Italian or Spanish ham dish. Sorry to report that the chestnut aroma was a complete failure. I tasted it again and again, and never got the slightest hint of chestnut. Vanilla yes, maybe rum, but no chestnut. It was not unpleasant, but I have no use for it. Another $23 down the drain of experimentation. Especially disappointing since the same company's apricot, apple, and pear are wonderful.
-
Every time I tried to order the Corsiglia pistachio, it was out of stock, so I gave up and got my usual one from Fiddyment Farms in California. I used to get Agrimontana pure pistachio from L'Epicérie, but now they have just the one with almonds (what's the point of that, I ask myself). Have you tried the Corsiglia? What I really want is the Cacao Barry pistachio praline paste. I got one jar, and I loved the caramel flavor. But now it seems impossible to get in the U.S. Twice Chocosphere (in Oregon) had an order in to their Barry Callebaut provider, and twice it was cancelled. And this was when I was willing to buy an entire case of it. It almost made me get a melanger and make the stuff myself. You are fortunate in living close to L'Epicérie. They don't advertise, as far as I can tell, but they are a wonderful source for small quantities of all sorts of ingredients. Your mention of a raspberry/pistachio combination bonbon sounds similar to what @MikanPotatos described in this thread. I am taking that person's advice and am about to try a black currant/pistachio bonbon.
-
Sorry about your pain. You kept it hidden from me when you were at my house. After seeing these photos, I realize I should have ignored my chocolate duties and gone with you to Charlottesville.
-
You have some very interesting flavor combinations in your assortment (I would never have thought of combining pistachio with cassis). But the corn ganache is especially intriguing. Are you able/willing to share your recipe?
-
As Kerry Beal likes to say: There's only one way to find out. I'm thinking these bars need to be prepared very close to market day. In the video I mentioned, Paul Young reminded me of the transformation sea salt brings to chocolate. A few flakes of Maldon does amazing things.
-
Good idea. I've ordered from them previously and will check again. Do you think non-dried fruits will work? I'm thinking of some of the delicious glacéed apricots I have had. I suppose they would need to be dried on paper towels thoroughly and maybe prepared just before I go to the market. Nuts.com also has some good "half-dried" apricots that are supposedly dried but remain supple.
-
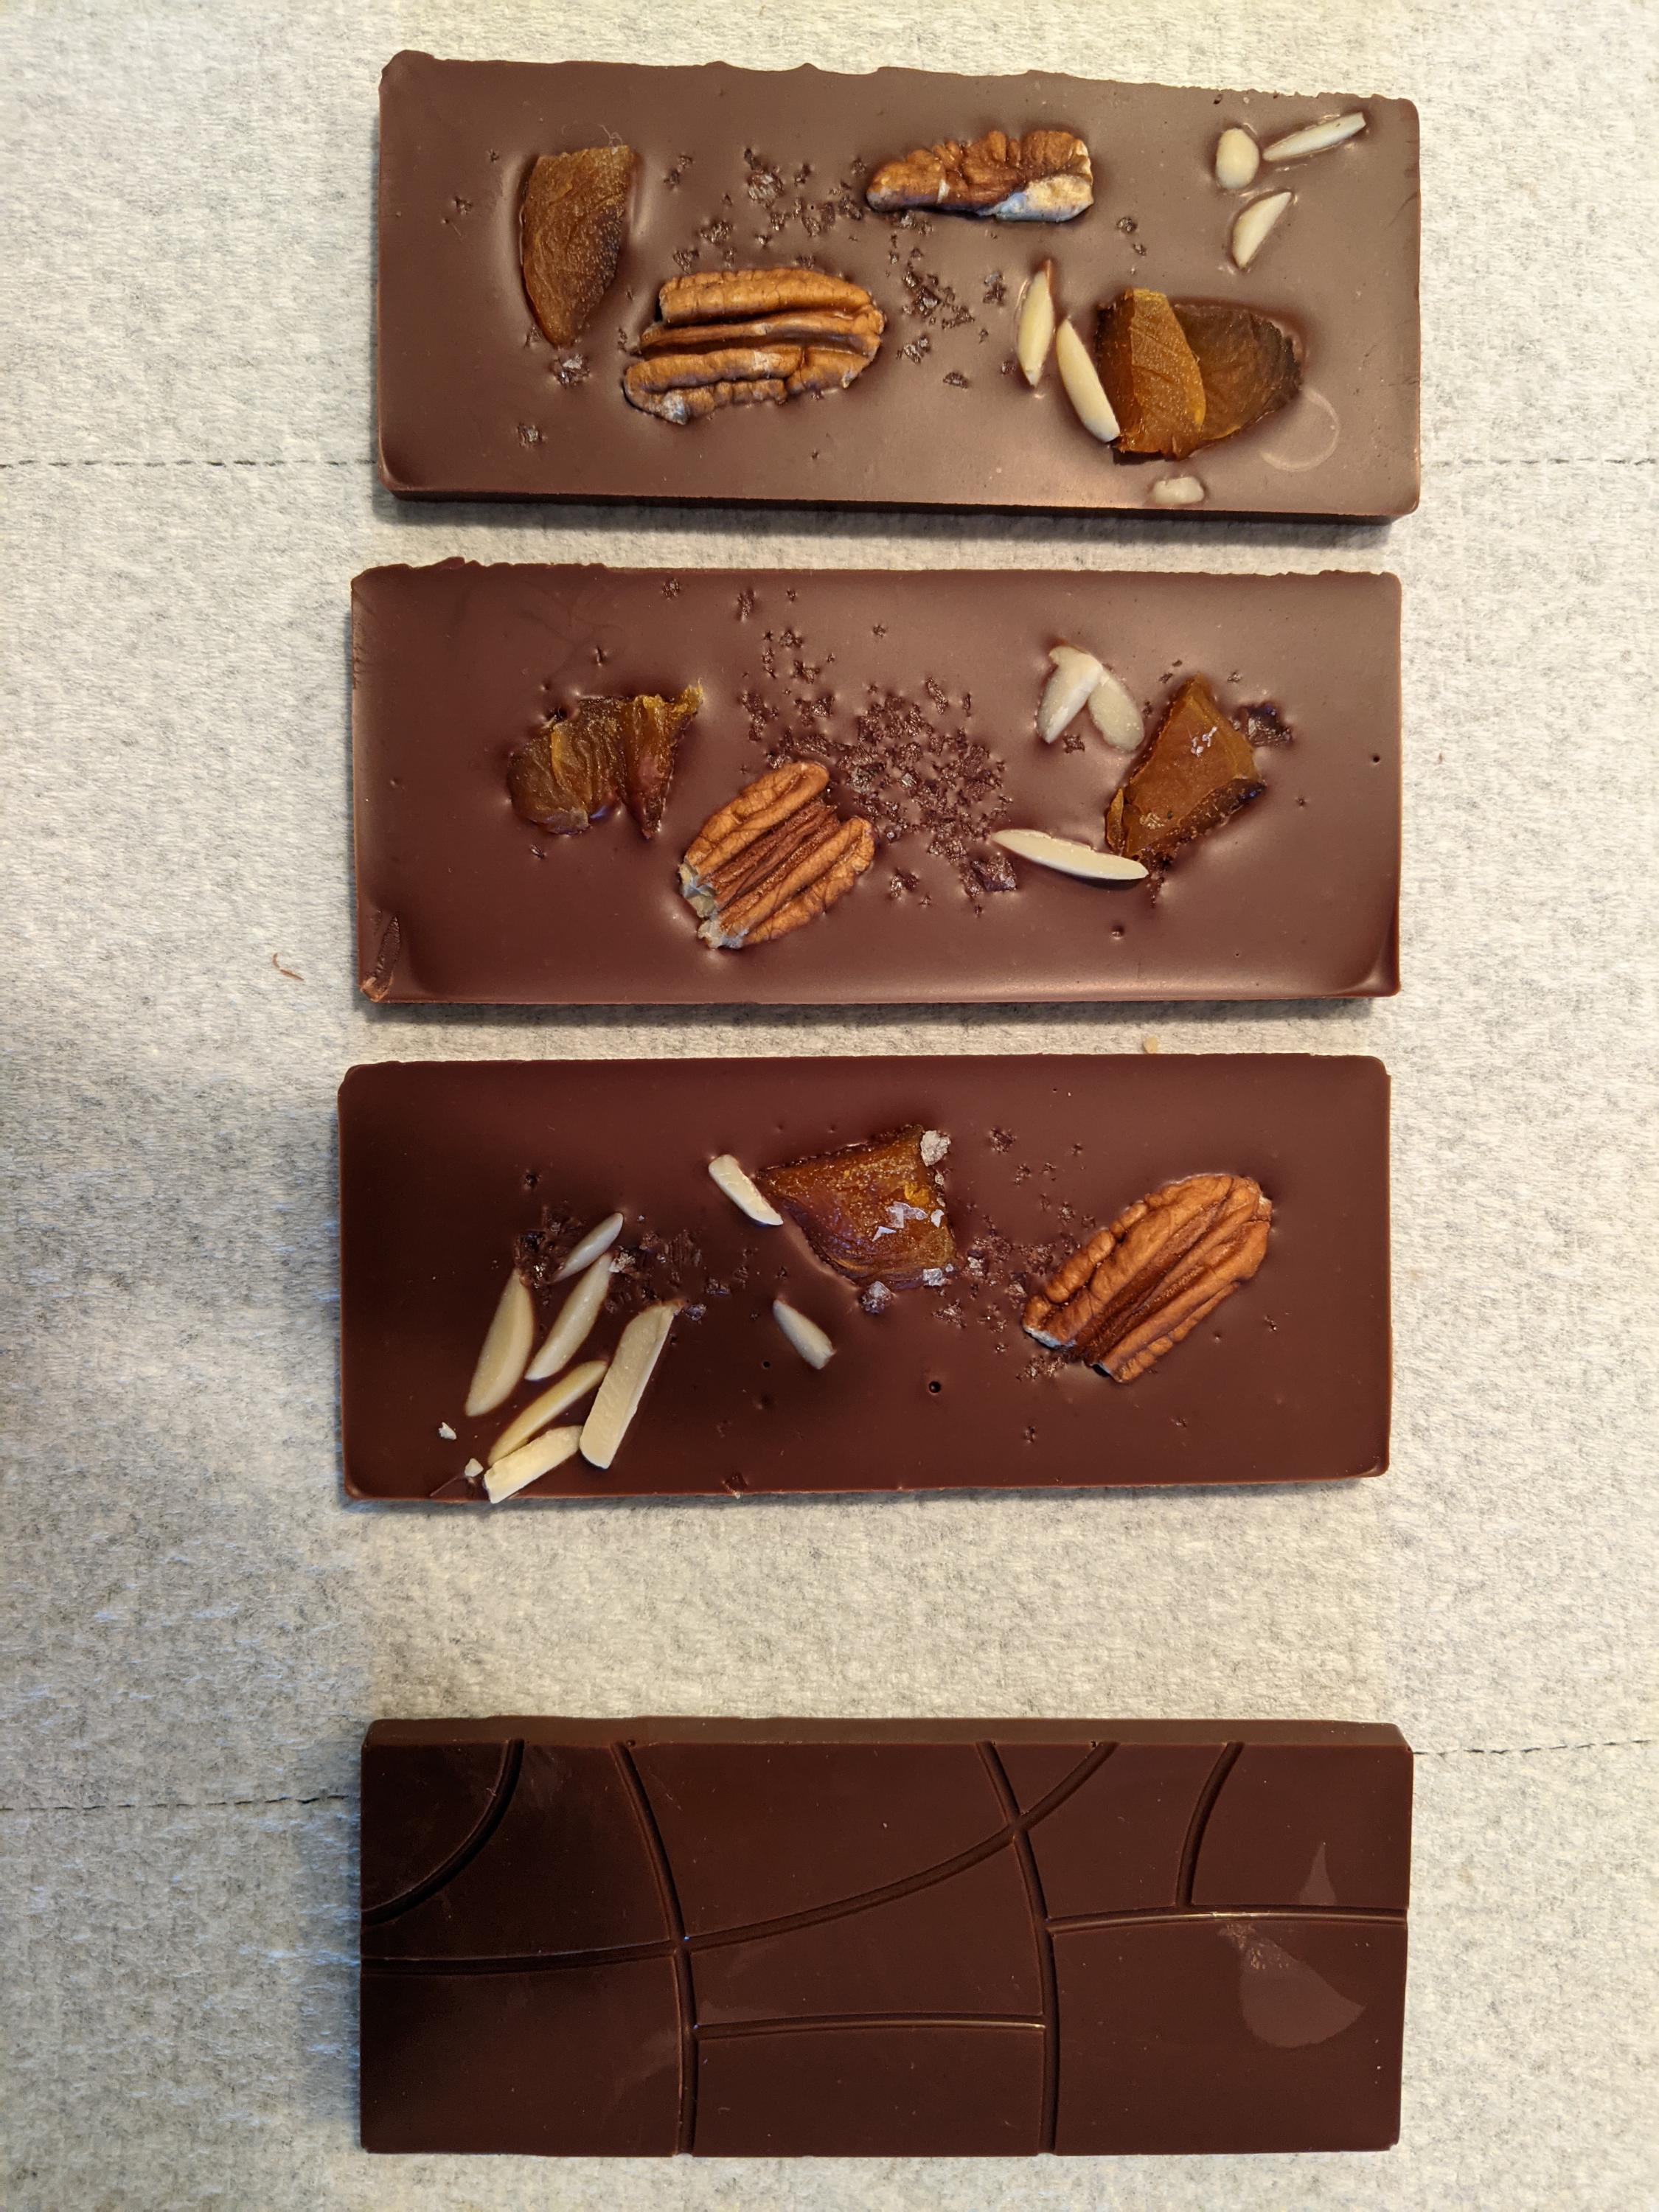
I got two different models of the inexpensive molds from China (via Amazon) and tried them out: The inclusions (toppings really) are what I had handy to test the molds and the process. The ragged edges of several examples are the result of my poor scraping. The molds are less sturdy than similar ones from the usual vendors, so more difficult to handle--I will probably place them on the counter for scraping next time. To my surprise, the adding of the toppings doesn't make the molds overflow significantly. I found an excellent video from chocolatier Paul Young that showed the procedure in detail. The finished tablets are 5mm thick, obviously not so thick as to make biting a hazard but thick enough to support the toppings. The bottom tablet in the photo shows what was intended to be the top of the finished tablet--completely acceptable in appearance, I would say. Conclusion: If I weren't trying to save money on equipment for this (perhaps short-term) project, I would probably look for similar molds from Chocolate World, Pavoni, Martellato, etc., that would be sturdier, but for my purposes, I think these will do nicely--at half the price. Now I need to look for the best freeze-dried fruits that are out there--a daunting task, I fear.

-
I had thought about that. I would like something more "interesting" for the plain bars, but will certainly take a look when the molds arrive. I'll experiment with the molds both with and without inclusions. One practical concern: Plain bars are more likely to show release marks, whereas a design would cover up some of those.
-
We have a very successful summer farmers' market plus a December market, and some vendors have decided to add a January-March market indoors and invited me to join. For obvious reasons (this is Virginia) I reluctantly decided against the summer market, and I'm too busy in December. I suspect the indoor version will be popular, but no one has any idea whether it will continue beyond 2023. Here are the Amazon bar molds. Reviews say they are not really heavy polycarbonate, but customers have found them satisfactory. And they are half the price of CW molds. I once bought a cocoa pod mold of this type, and I can't tell it from the ones from CW. I hadn't thought of the overflow from inclusions, but of course that would happen even with the heaviest, most expensive mold. I am going to experiment when the Amazon molds arrive. I'll probably end up underfilling the molds to allow for what is to be added. Thanks for all the hints.
-
It's the cost of the plain molds vs. the interesting more ornate ones. As I stated, the first are half the cost. And this market gig may last only this winter, so I don't want to go into huge expense for equipment that may be used only 12 times. As I'm trying to make this a profitable venture (which my bonbons aren't to any great extent), I plan to use clear cello/plastic bags to hold the bars, not nice packaging as you and many others use. For the non-decorated tablets, I just fill each with chocolate, scrape it, let it set a bit, refrigerate it, turn it upside down, and out they come. For the decorated ones, I have to stop to distribute the decorative bits and then use more care to unmold them. I saw somewhere that you let them crystallize for a while, then turn them upside down onto baking sheets for finish crystallizing. All that takes more time than the simpler version. I have made little square caraques for Valentine's before, and they take barely any time at all. I'm thinking of using those to make a little packet of "mint squares" (which I think will sell quite well--mint doesn't scare people the way something described as "hazelnut praline gianduja with feuilletine" might).