Jim D.
-
Posts
2,418 -
Joined
-
Last visited


-

Cheesecake/Cream Cheese Bon Bon Filling - sourcing yoghurt powder
Jim D. replied to a topic in Pastry & Baking
For cheesecake ganache, I use sour cream and cream cheese. For a similar yogurt ganache, the recipe I use has Greek yogurt and cream cheese. And I also add this yogurt powder: https://www.judeesfromscratch.com/products/judees-greek-yogurt-powder?srsltid=AfmBOorG2E4xknV4zdRdu7fDTlceaV0v1kBygVQsNyhWUlf-vRwn6SOX For the yogurt ganache I also add a little citric acid (powdered form) to increase the tang. Another possibility is to add a little white distilled vinegar. I think cheesecake ganache is best when flavored with lemon, lime, or other citrus flavor. -
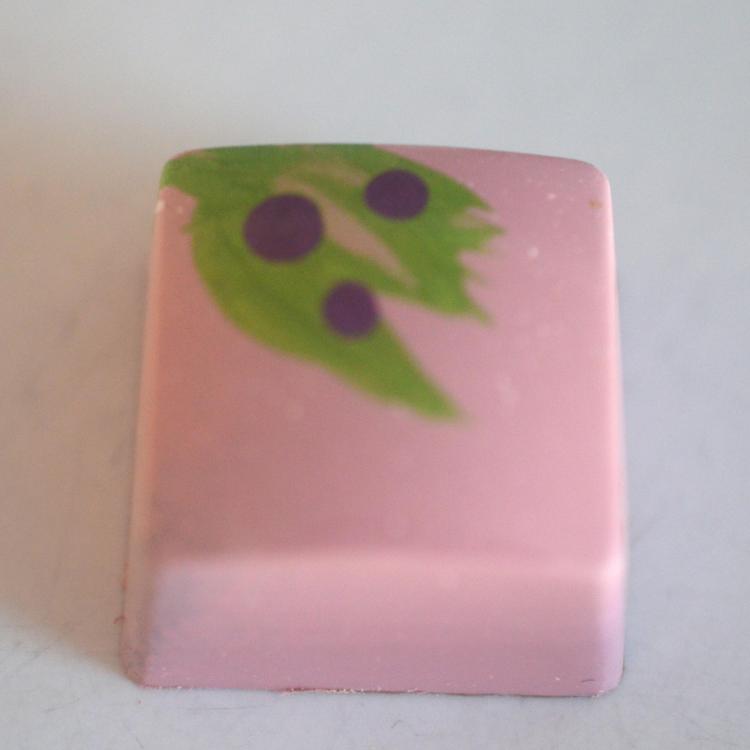
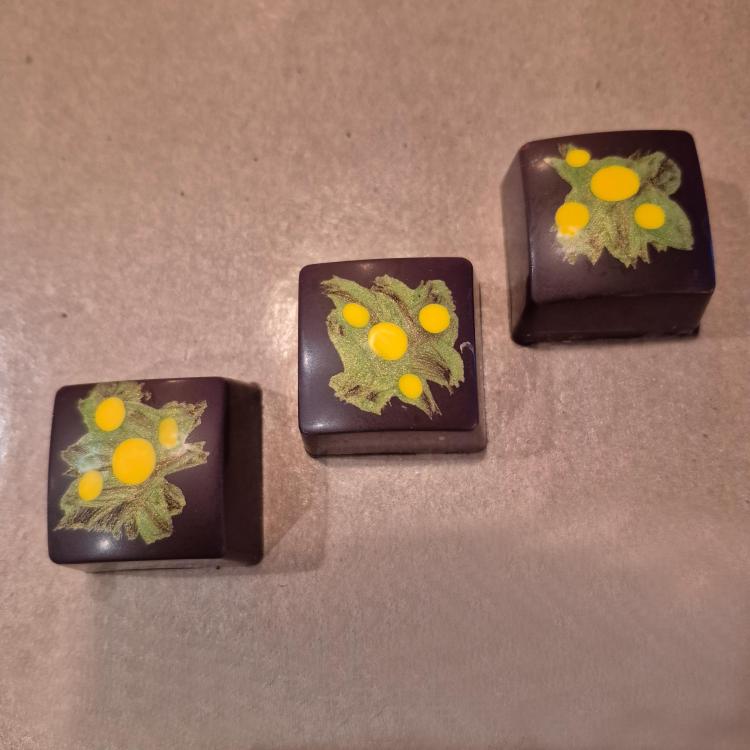
Yes, it is not one of the two standard sizes. Greyas calls the size "Series 4000." The mold is 322mm x 203mm, each cavity is 30mm x 30mm, and weight is 16g. So the capacity is about the same as the large dome from CW that I use a lot. In comparison, the mold size for CW's Series 2000 is 175mm x 275mm. Greyas makes a Series 2000 version that has the same cavity dimensions except it's not as tall; I got those from Chef Rubber. For some odd reason, the smaller version does not have the "chocolate creeping up the outside and spoiling the color" that many shallow molds are prone to, but the larger version does. The first time I used the mold at least one third of the bonbons were spoiled by that problem. I scraped off a few, but that doesn't always work. So--long story short--that's why the lemon bonbons have not been sprayed with CCB, it's just dark chocolate you see. I think it's fine, and it does have a nice shine (some of which I edited out because the reflected lights ruined the yellow flowers).
-
I received my new square molds and have been enjoying the shape and the decorating possibilities. This is a lemon square (lemon butter ganache and shortbread crisp) molded in dark Felchlin Maracaibo chocolate: The catch is the size of the molds. I knew it before purchasing, of course, but I didn't realize how heavy the molds would be when filled with chocolate. I am assuming they were designed for use with machinery. Imagine filling it with melted chocolate, turning it upside down, and scraping it. I need some heavy wrist exercises in the gym.
-
Thanks for your suggestion about the ladyfingers. I more or less settled on a method that is like yours, but with less work. I use whole eggs and beat the mixture, but not over heat (it doesn't rise much). Then I spread it on Silpats and bake it until it begins to brown, and then grind it into powder. It is the taste I want, so the rise is not important. I could not tell the difference in taste between this version and the traditional method. My recipe for tiramisu bonbons is one I developed based on the ideas of others (and my own experience of tasting tiramisu). I first tried Kalle Jungstedt's recipe, but tiramisu must be different in Sweden because it had an almond flavor. So I use a typical coffee ganache, with cream (steeping coffee beans in it beforehand) and a mixture of extra-dark chocolate, white chocolate. and a little extra cocoa butter. To that I add mascarpone and Kahlua. This combination gives a noticeable coffee flavor, but it's diluted enough (with white chocolate and cocoa butter) so that the coffee doesn't totally dominate and the mascarpone and ladyfinger flavors show up. I pipe this ganache into a mold, filling the cavities about 2/3. Later I mix the ground "ladyfingers" with caramelized white chocolate, cocoa butter, and sea salt and pipe that on top of the coffee ganache. I haven't tried Madeira or marsala; I don't think I would want to add additional flavors, but it is an idea worth pursuing. The aW reading of my ganache is 0.83. According to Melissa Coppel, that translates to 3-6 weeks. First, I think a span of 3-6 weeks isn't a terribly useful guide. Second, 0.83 is higher than I like to go. I think that if I replace some of the glucose added to the ganache with sorbitol, I could lower the water content, but haven't had time to try that yet.
-
About using the stamp: There is a very precise method for using stamps (posted by the people who make them). It involves heating the stamp to a high temp, then pressing it into the cavities (previously sprayed with CCB) for a very brief time (just a few seconds). It sounds as if you may be pressing the stamp for a longer period of time. You are probably overtempering the CCB (all that movement does it). I have had this happen (with the same results as yours) when I used a finger to mix several colors in a cavity to get a marbled effect or when I use a sponge to deposit color. It's always difficult to determine what causes a particular defect in a bonbon--any mistake along the way can do it, and the result isn't always logical. Your results are often attributable to humidity . I live in Virginia, and making chocolates in the summer months is very difficult, even with my space air conditioned. You mentioned recent rains in your area. 50% humidity inside will work, but it's not ideal. This probably isn't the cause of your issues, but I'm just trying to cover all the possibilities. I tried using silk to temper CCB for a while, but when working with small amounts, it probed to be too easy to overtemper the CCB, and so I returned to the raise/lower/raise temperature method. If you use silk to temper larger amounts of CCB, I would use less than 1%. In the online course I took with Andrey Dubovik, he always checked the temper of his CCB before using it. On the advice of people on this forum who know far more than I do (especially Kerry Beal and pastrygirl), I don't worry so much about the temper when spraying CCB (with spray gun or airbrush) because the movement involved in spraying contributes to tempering.
-
As a start, could you say more about what you mean by using a stamp to get the colored cocoa butter into the cavity? What sort of stamp? Are you referring to the hugely popular silicone stamps that make a pattern in the cavity or something else (a sponge perhaps?). I know it's a nuisance, but another check would be to test the cocoa butter before using it. Spread a little on stone or parchment or just waxed paper and wait to see if it firms up and turns from shiny to matte. If it does, then it's tempered regardless of which method you are using for tempering. The traditional method for tempering includes the third step of raising the temperature back up to working temperature (the theory being that all types of crystals formed as you cooled the cocoa butter, so you have to melt the I-IV crystals, leaving type V). Kriss Harvey's method (also used by James Parsons) is not typical, but it seems to work--although I don't quite understand the science behind it.
-
If I recall correctly, Kate Weiser uses the method of shipping her chocolates when frozen and uses special packaging to protect them. Especially during the upcoming holiday season, there is no guarantee as to how long a package may sit around, so some sort of serious protection needs to be used.
-
Molded and Filled Chocolates: Troubleshooting and Techniques
Jim D. replied to a topic in Pastry & Baking
I have tried using the heat gun for all chocolates and noticed no difference. I have tried it for just caramels to avoid leaking, and I wasn't sure it made a difference. I tried it with half-spheres (which often show the chocolate line), and I probably overdid it because the bonbons stuck in the mold and needed more than a little pounding on the counter (they usually pop right out). I'll give it a try with this difficult square mold. With using silk to temper, I keep the chocolate a full degree above the norm so as to get as much heat as possible to join the bottom to the rest of the shell. -
Molded and Filled Chocolates: Troubleshooting and Techniques
Jim D. replied to a topic in Pastry & Baking
I have had cocoa butter separate into plain CB and the color, but never with the CB liquid. -
Molded and Filled Chocolates: Troubleshooting and Techniques
Jim D. replied to a topic in Pastry & Baking
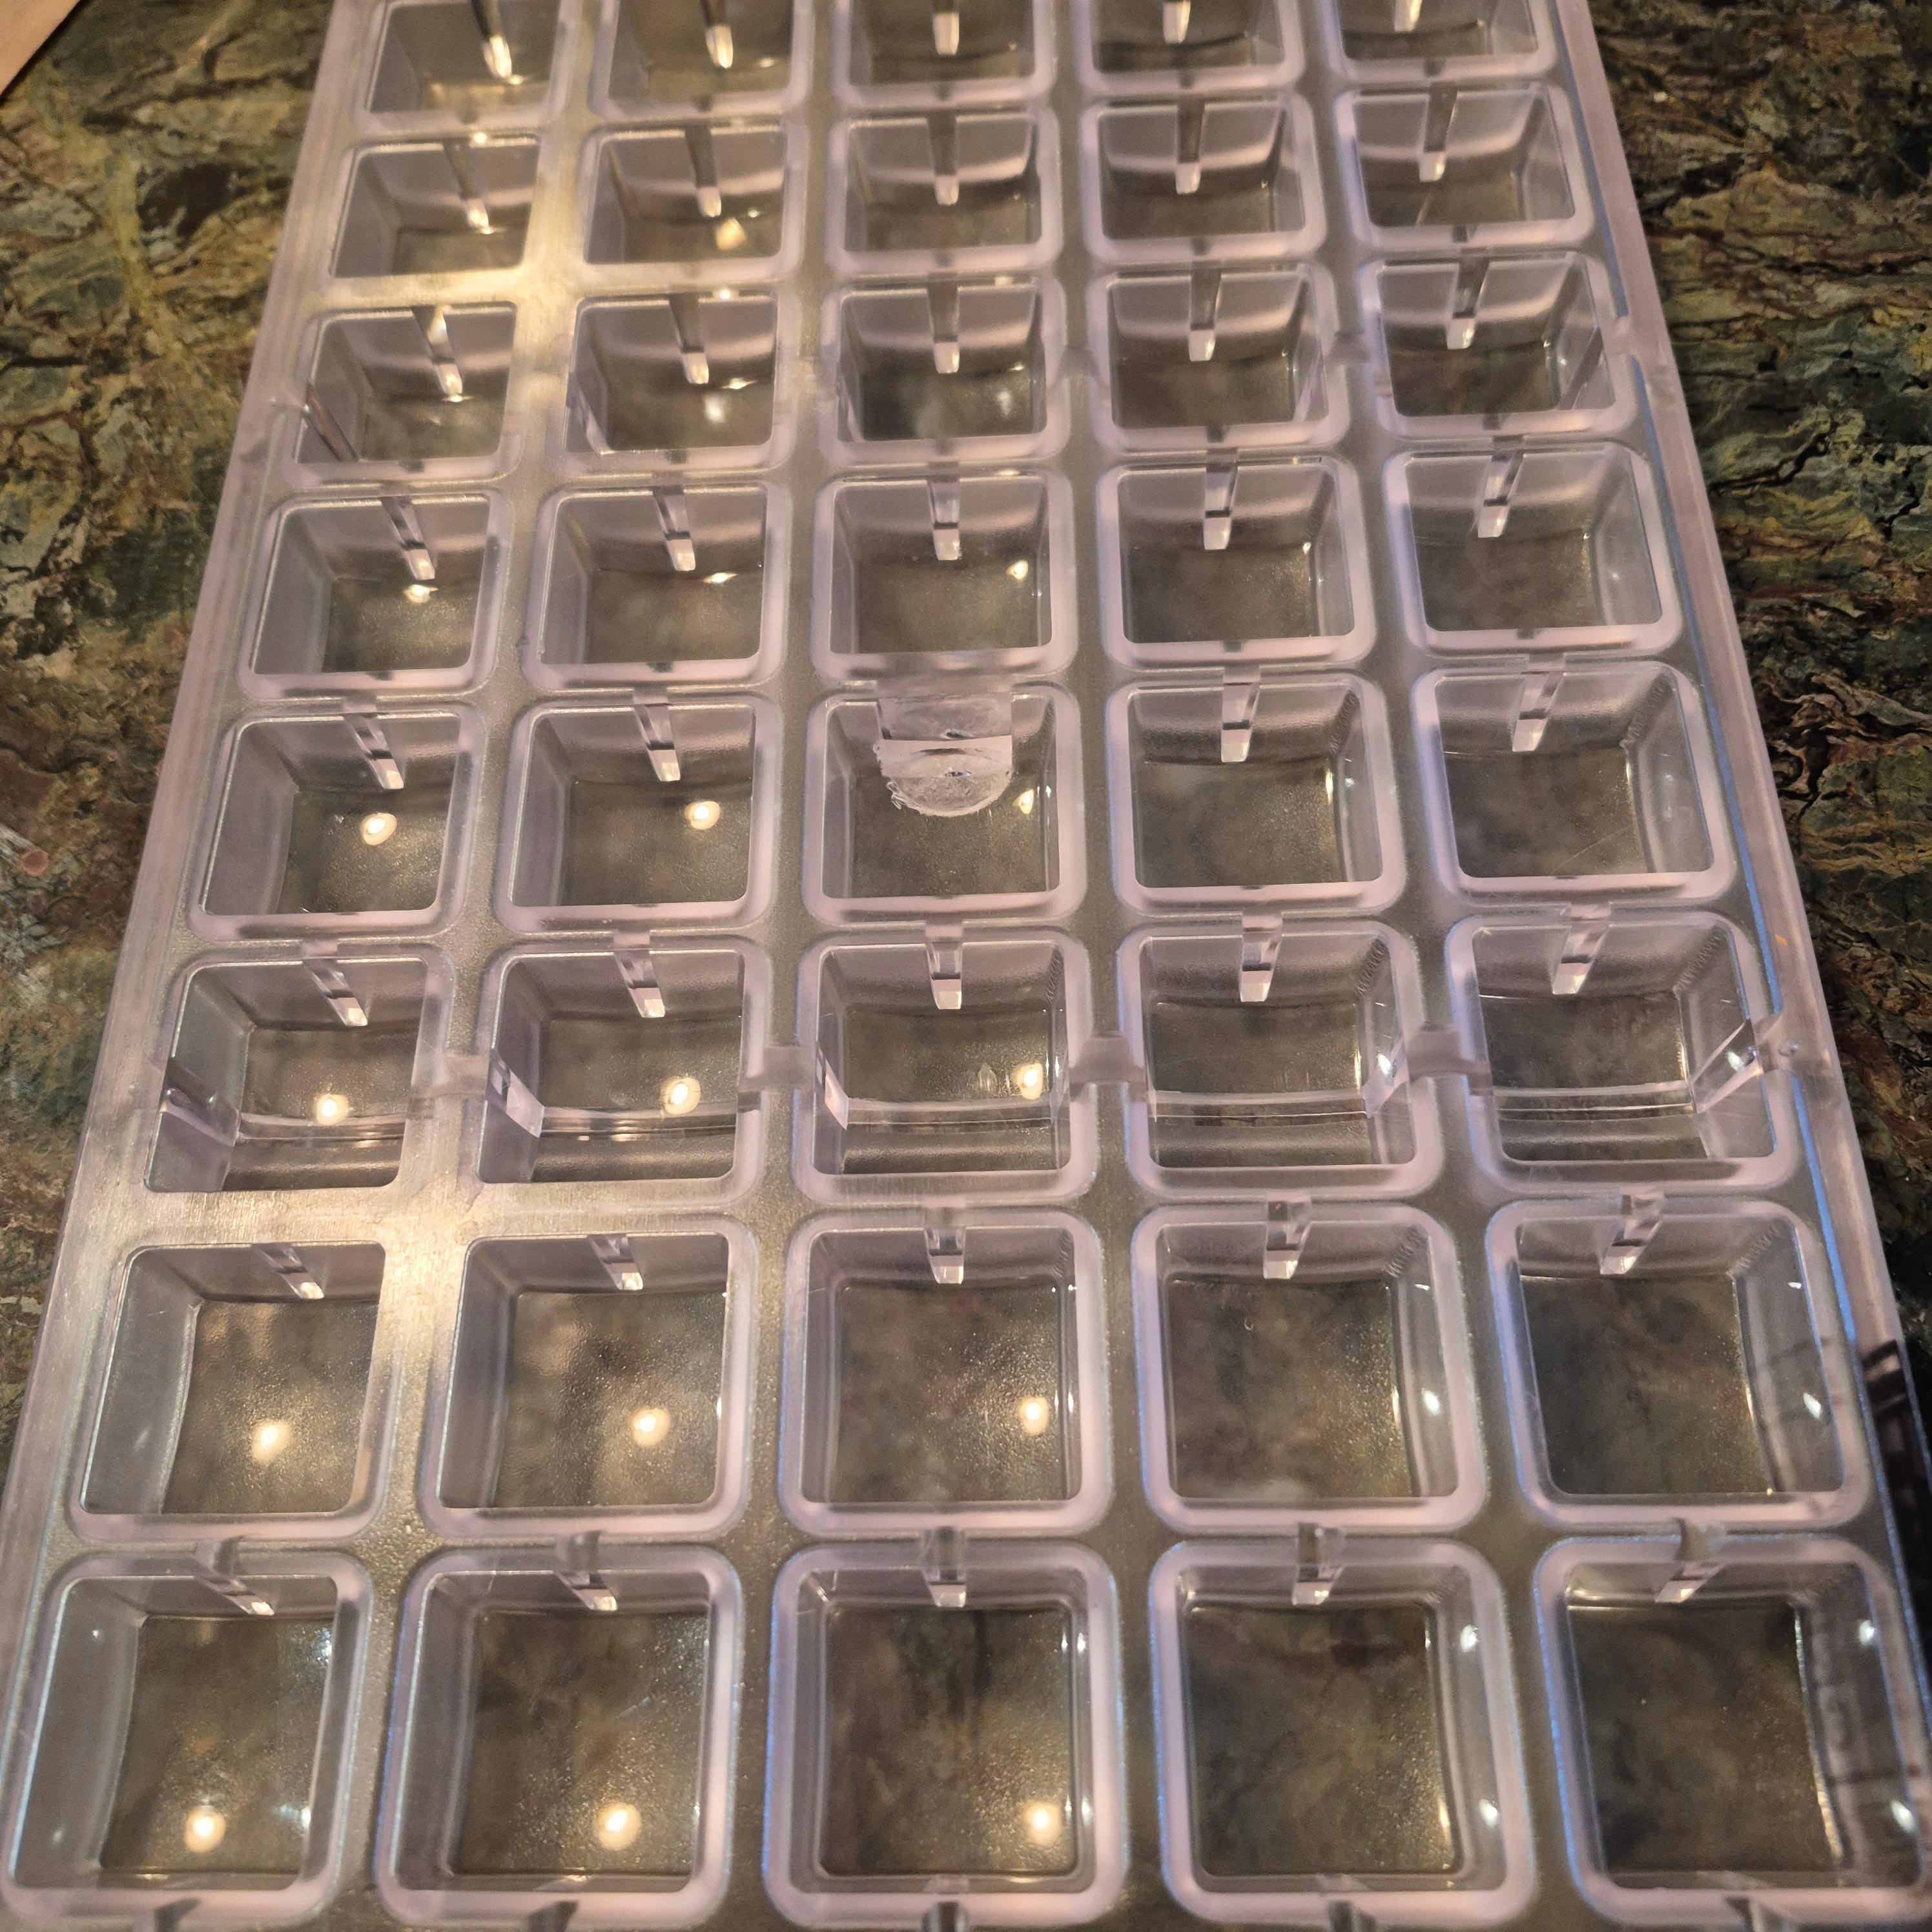
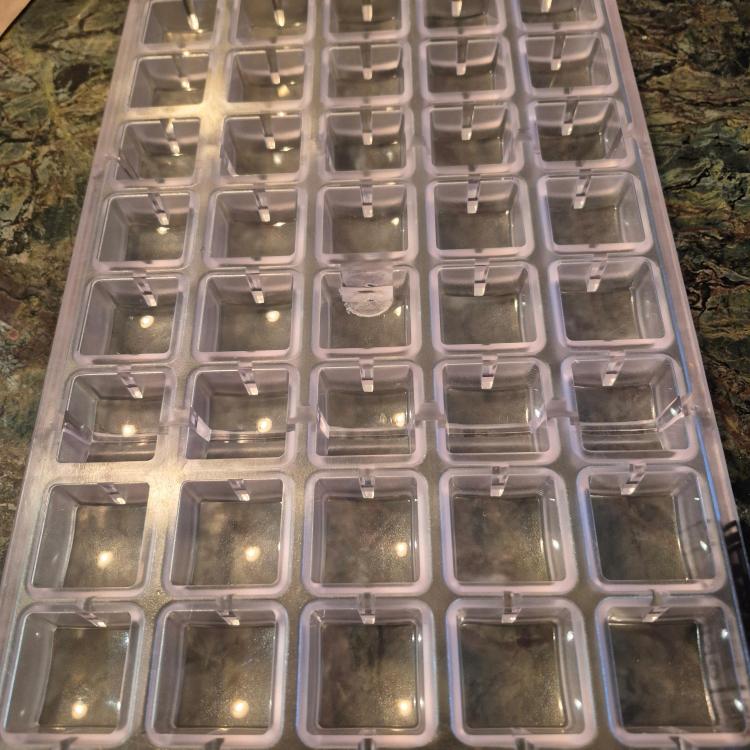
If the bonbon has a dark color, the seepage doesn't show so much, but with the rose color in the photo, the chocolate was really obvious. I scraped it off for a few of them. Fortunately these molds make 40 bonbons per mold, so I had lots of extras. But for Christmas production, this is not acceptable. My "solution" for Christmas: I'm painting flowers similar to the ones shown and then shelling in Dulcey--no airbrushing involved, thus seepage will be invisible. Strangely, the shallower version of this same mold had no seepage at all. Work flow: Since I work alone in a very limited space, I have to color all the molds, then shell, fill, and seal the dark chocolate ones, follow the same process with the milk. I think the problem occurs between shelling and sealing, and I don't see a solution to the time it takes to make the fillings (depending on the recipe, I can do 3-4 per day). So I think my "Dulcey solution" is the only thing I can do. As you suggest, if I could shell, fill, and seal in a short period of time, the seepage probably would not occur. I can't do the fade trick with color as I ordinarily use the Fuji sprayer, which does not allow for such subtlety. What I lose with the Fuji I gain in speed--and, most importantly, with the lack of clogging of the gun. If I preheat it in a heating pad and keep it warm with a heat gun, it does not clog. I have frequent clogging with my Grex. With your much larger production, I think you would love the Fuji. No, I don't use cups. I bought trays so that I could stop using cups. Separating cups is a job I need to avoid for sanity's sake. -
I should have added that the e-book showing the stripes design (and others as well) is available at https://www.tinepreferschocolate.dk/item/no-airbrush-needed-beautiful-designs-english-version. It's just US $22.
-
No, one color at a time is used. You can see more of the designs on Tine's Instagram page: https://www.instagram.com/p/DRAgznvDc_4/
-
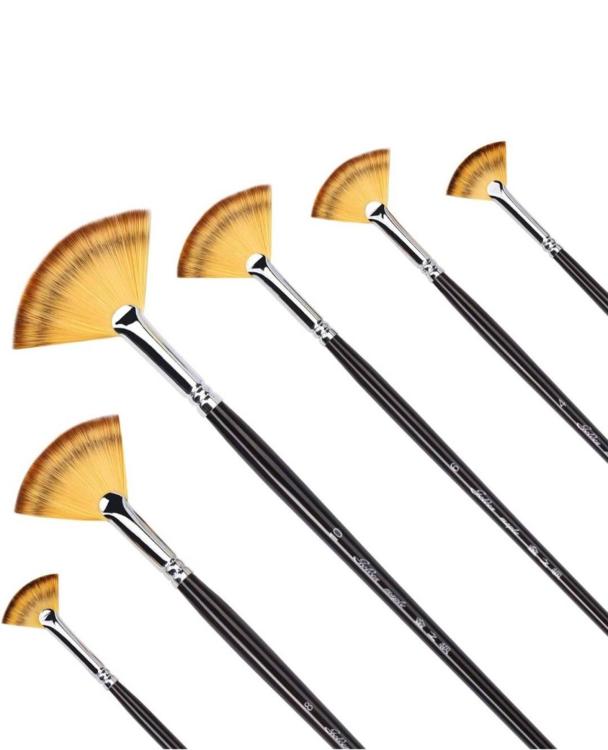
Tine Forst has a keen eye for complementary colors. I wish she would produce a video (rather than just the ebook) showing this technique. I think it's all in the texture of the brush and the force used in moving the brush. Almost worth a trip to Denmark to watch the process. Ordering the fan brushes online is not terribly useful; purchasing them in an art store would be much better--if only one could find an art store these days.
-
-
Molded and Filled Chocolates: Troubleshooting and Techniques
Jim D. replied to a topic in Pastry & Baking
And, to follow up yet again, on my Turkish mold saga, here is the bonbon I made using the mold: And, for the plus and minus factors: I love the square shape. Decorating it has so many possibilities that don't work in a dome. And the bonbons come out of the mold very easily; I am assuming this is because the square is not completely flat but has a slight curve to it (Chef Rubber sells a smaller version, from the same manufacturer, and calls it a "slumped square"). The negative: Too many of the bonbons have that irritating line of chocolate that shows along the bottom of the finished item. The explanation that makes the most sense is that the chocolate contracts as it crystallizes and so allows the chocolate used to seal the mold to seep down the side, thus showing up on the finished product. It can be scraped off with a tiny knife, but what a pain! A question for the scientists among us: why would the creepage happen in this shape? Or why would it happen in some cavities and not all of them? These molds are not particularly shallow (the usual issue). I know it happens in half-spheres (and even a very famous U.S. chocolatier posts photos that show the problem). Kalle Jungstedt says the "solution" is to use white chocolate and a light-colored cocoa butter. These molds are also very large (8 rows x 5 rows), much larger than any other mold I have seen. They require a lot of wrist strength to hold when they are full. I suppose the advantage of having so many bonbons is that when the "chocolate creepage" happens, those bonbons can be put aside and not used. So, one of my "ideas that come in the night to the chocolatier": For Christmas I will cast the molds in Duicey and fill them with perhaps passion fruit ganache or perhaps apricot PDF plus almond giandiuja or ... ?