
Becky R
-
Posts
31 -
Joined
-
Last visited
-
With inspiration from the Zeoto Pen, I discovered that a Chicago hot knife (Harbor Freight, $29) is a great way to deal with blocks of chocolate if you prefer to have more uniform chunks than you get by pounding it on your walkway. That specific brand lets you set the temp from 0 to blazing. What I would LOVE to find now is a spoon that you could set the temperature to help keep chocolate in temper... wouldn't that be cool? Anyone ever see such a thing?
-
Would this be it, or close? https://www.bakersauthority.com/products/peters-milk-chocolate?variant=7011221569595&gad_source=1&gclid=Cj0KCQiAz8GuBhCxARIsAOpzk8zs-ojoY-UjEcD93sWMJw3gf8bgu87bEr4FQ8PbnLP4FCwTOhUNljcaAmT-EALw_wcB
-
Well, as predicted, no luck finding it. Do you have others that would be next in line? I think I ran across a Callebaut 800 series NV... would that be anything similar at all?
-
Thank you Kerry!
-
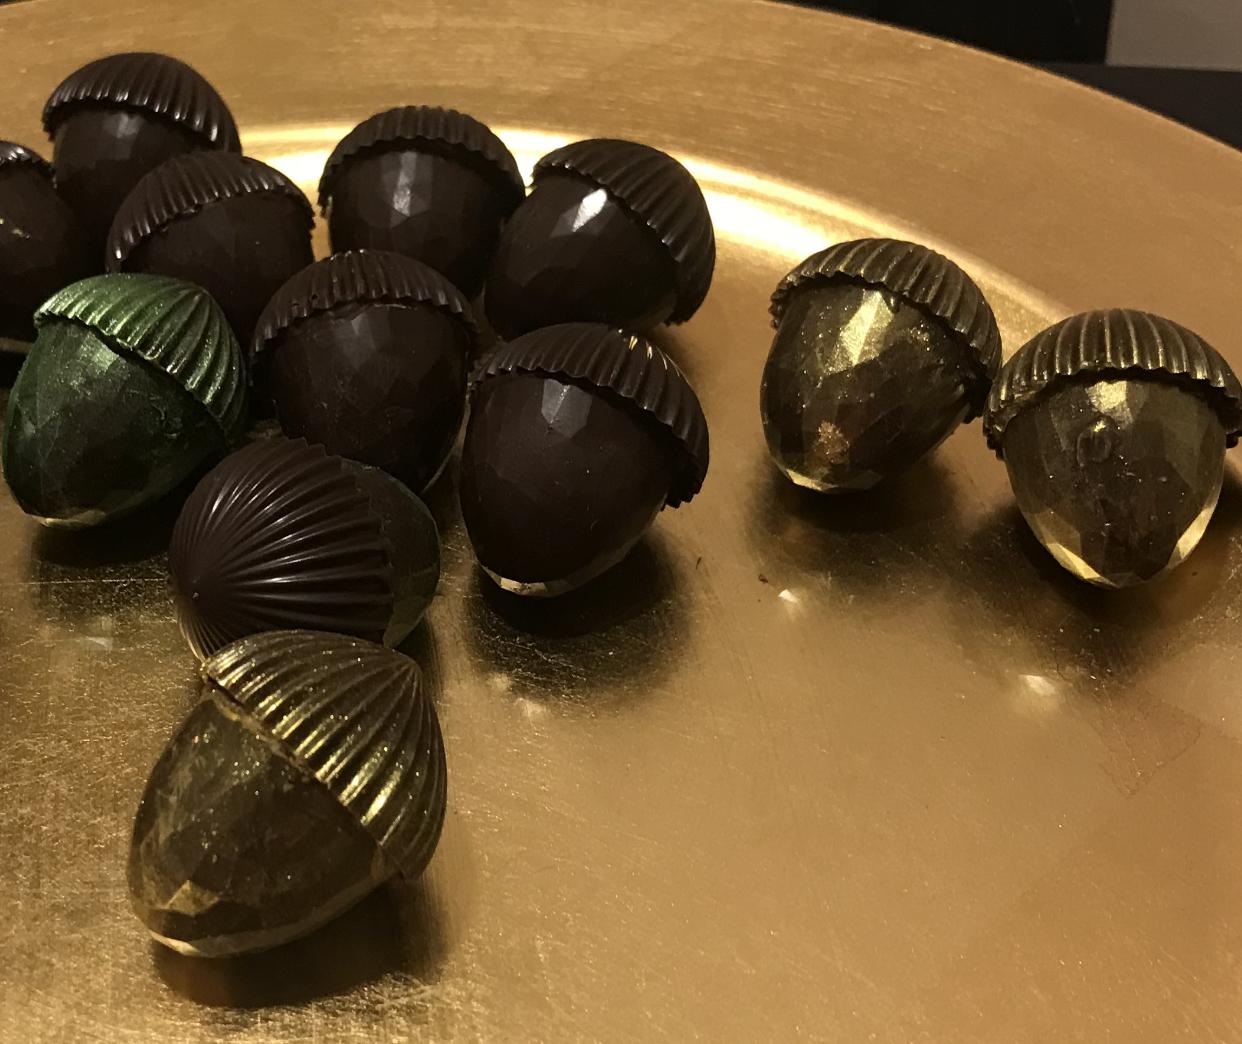
Maybe a little off topic but what brand of couverture chocolate would be closest to Cadbury? I've been playing with my panner and really want to try to make a version of the Cadbury eggs... only mine will be round bullets because that's the only mold I could find! So far I've done 2 cups of coffee dark chocolate macadamia nuts, and 2 cups of nuts coated in white chocolate/espresso/vanilla sugar. Fun, but messy project! I don't think these will last long enough to bother putting a hard candy shell on them, but if anyone has tips for that, it'll be necessary in my Cadbury type bullets attempt!
-
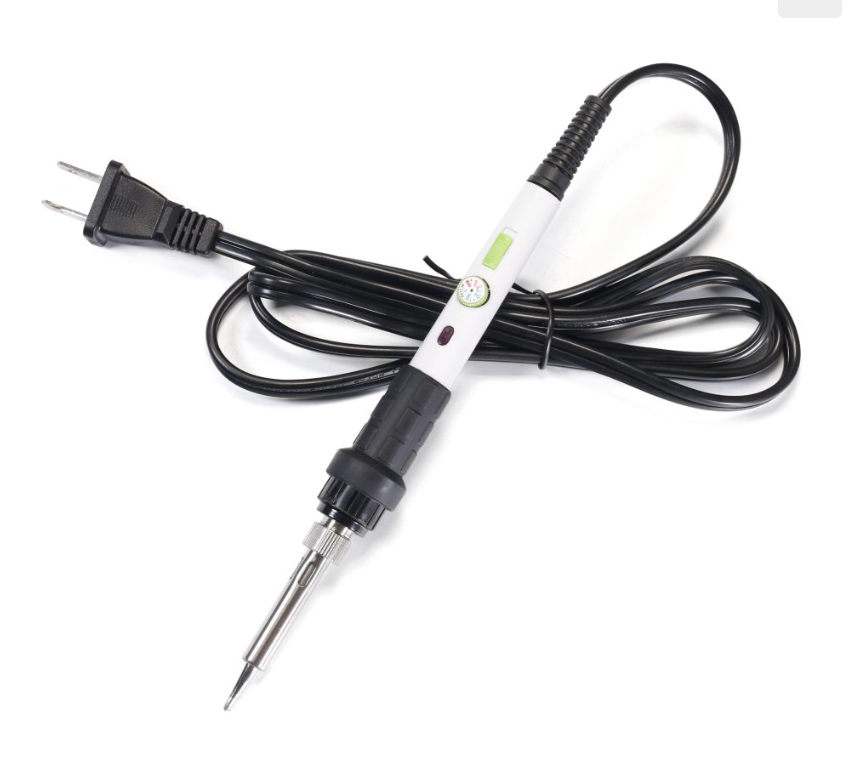
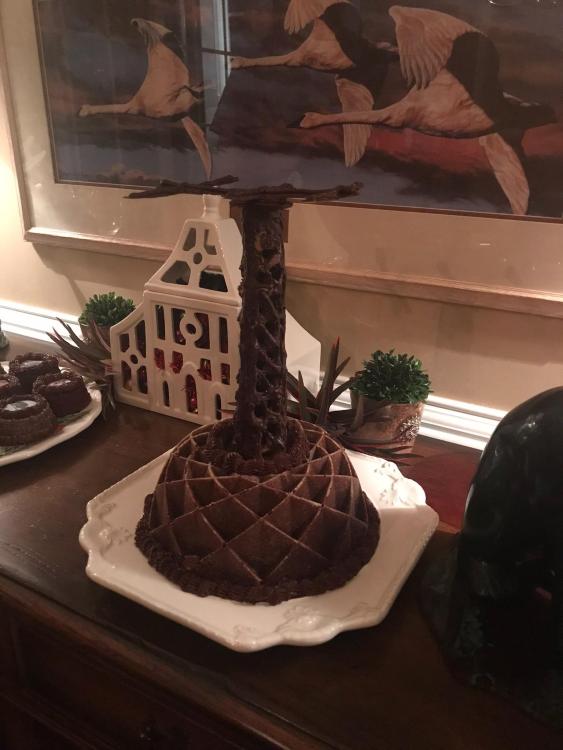
LOL. I should've taken pics along the way. What a project. I had a drawing of the three sides of the tower and piped each side. Trouble is, as they dried, they didn't stay perfectly flat. When I went to put it together the top was bowing badly and I couldn't hold them in place easily enough to attach them. I then decided to stick the three parts in rice to help hold them upright, and force them into place as much as I could, and this is where the tool came in. First, I added reinforcement pieces, using it like a soldering iron, and used a bakers putty knife to support various pieces while they set up. Then I evened up the top and bottom pieces and smoothed the whole thing out with the knife tip of this tool. After a LOT of fiddling at least it was somewhat straight. I then expanded the 'stairs' with the tool as once I got it attached it was much too thick in the corners. Once the entire thing was reasonably sturdy I put more tempered chocolate in a cookie cutter and set the three leveled feet in to harden into a nice flat base. This was perfect to set into the hole of the bundt cake so I lucked out! Where there's a will there's a way. It's funny how creative we must become in the kitchen to accomplish certain things!
-
I have a feeling a dremel or ultrasonic might just crack tempered chocolate but who knows?
-
Yup! I guess this one is made with food safe, lead free tips, but its the same basic idea! There are a variety of tips to create various patterns in isomalt, chocolate, cookies, cakes... pretty interesting.
-
This little device is so cool! My goal was to create a dark chocolate amateur radio tower cake topper for my HAM hubby's birthday. I ended up with some bloom, but at least it was structurally solid and resembled his beloved tower! He's been bugging me to make him his very favorite candy, Nonpareils, so we will eventually melt this back down to repurpose the chocolate. Interesting project that I never would've accomplished without this carving tool. It'll be fun to figure out what else to do with it!

-
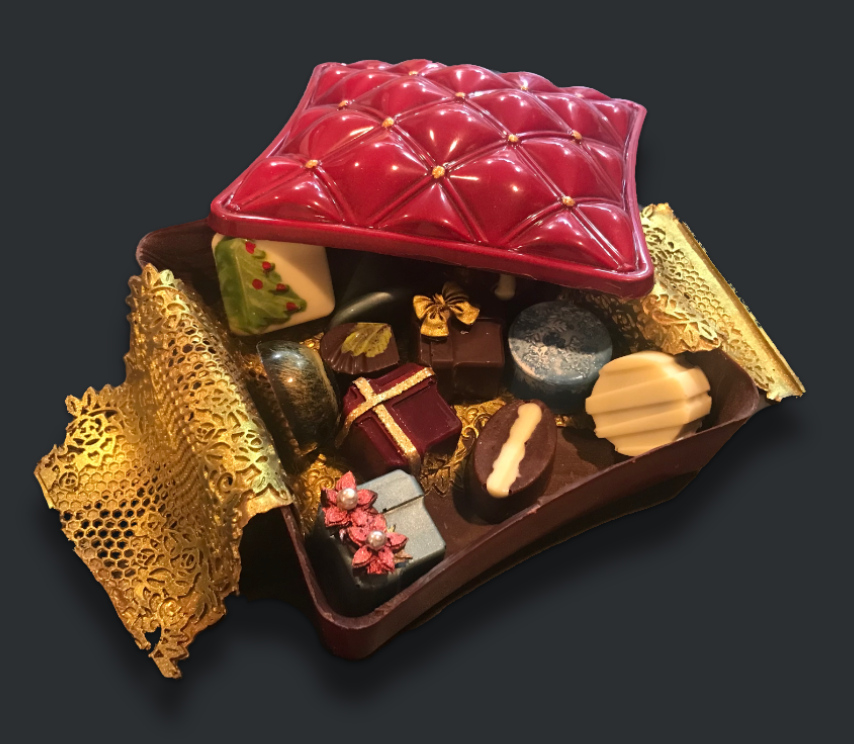
He might opt for a chocolate HOUSE. In the midst of my chocolate frenzy, I also made two pretty elaborate cakes (at least for me) and homemade ice cream for my mom's birthday!
-
All you artists are amazing. Thanks for sharing your creations. Very inspirational! What I want to know is, does your kitchen look like mine? (Complete disaster area!! My hubby can't WAIT for this chocolate season to be over!). LOL
-
So much fun!
-
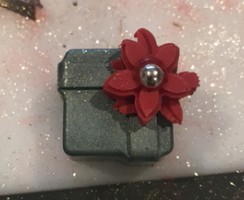
Thank you! The issue with the scraping is that it's not level, but I finally figured out that if I scrape side to side with an Oxo squeegee, I can get it MOSTLY clean. I then go back in with a small silicone spatula to get between the cavities a bit. It's just annoying that it can't be scraped as normal, but when you do, the scraper tool rides the outside rims and doesn't come close to the center. Lots of little packages with an extra foot from this faulty mold. At least my husband ground down the point so I CAN tap out the air bubbles now. First time I couldn't even do that because that tiny point was the only thing to touch the counter without tipping the mold at a severe angle. Funny you should mention 3D printing.. I did make contact with someone a few days ago, but just hadn't fully followed up as of yet. I have a Cricut but that seems like it would be a slow way to do a bunch of cavities, so I'm going to try something else first. If anyone is as stupid as me and decides to do a special project, I tell you what, this stuff is AMAZING. https://www.eat-the-evidence.com/gummy/flexible-chocolate-chocolate-gummy/#recipe. I actually ordered a tiny horse head cutter, and I'm thinking I *might* be able to cut out the shape and put it right down in the mold. We shall see... probably getting myself into trouble again, but this time I'm not showing any of my horse friends until AFTER I've figured out how to do it! LOL I did the packages in 'silver' and definitely didn't like the look. This helped a little, but CR 'silver' sure leaves a lot to be desired.
-
True. This, thankfully, is just a hobby for me. Nice break from running my insurance agency and horse farm
-
It seems that glycerine is my new best friend. 1/2 tsp added to the recipe allowed the 'ribbon' to roll out much thinner, and so far, 🤞it stays pliable so that you really don't even notice it when you plop the whole candy in your mouth. So now I'm wondering... what other ways could this be used? I wonder what would happen if you, for instance, had tiny shapes cut out of it to put down in the cavity and then poured chocolate right on top of it? I may just try some experiments here! Anybody know where I can find a tiny tiny horse head cutter? . It seems like the luster dust wouldn't stick to the mold but I'll be sure to report back LOL