
Becky R
-
Posts
49 -
Joined
-
Last visited
Content Type
Profiles
Forums
Store
Help Articles
Everything posted by Becky R
-
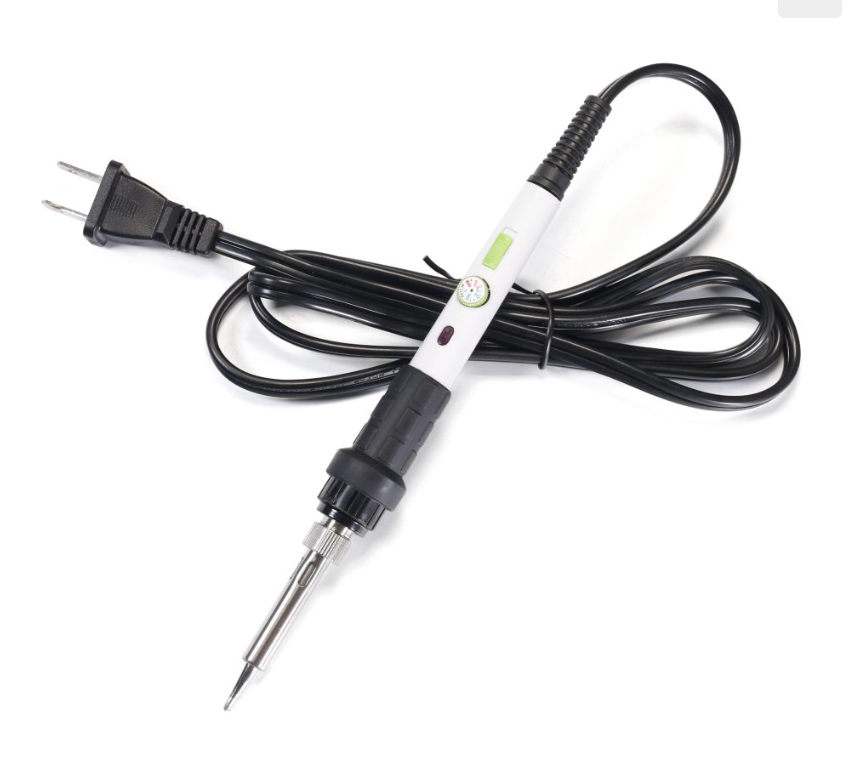
Yup! I guess this one is made with food safe, lead free tips, but its the same basic idea! There are a variety of tips to create various patterns in isomalt, chocolate, cookies, cakes... pretty interesting.
-
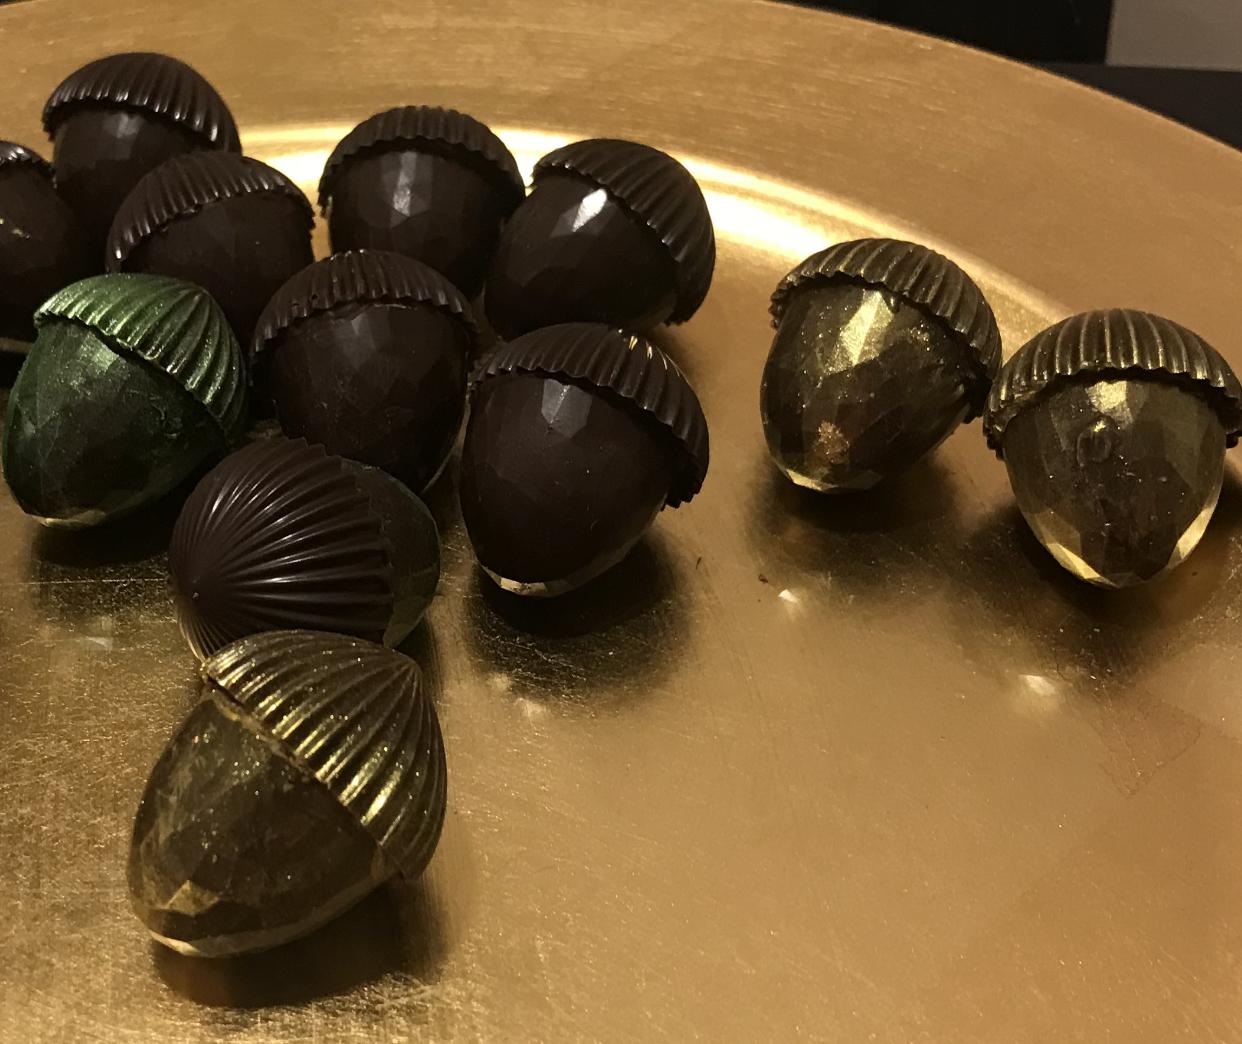
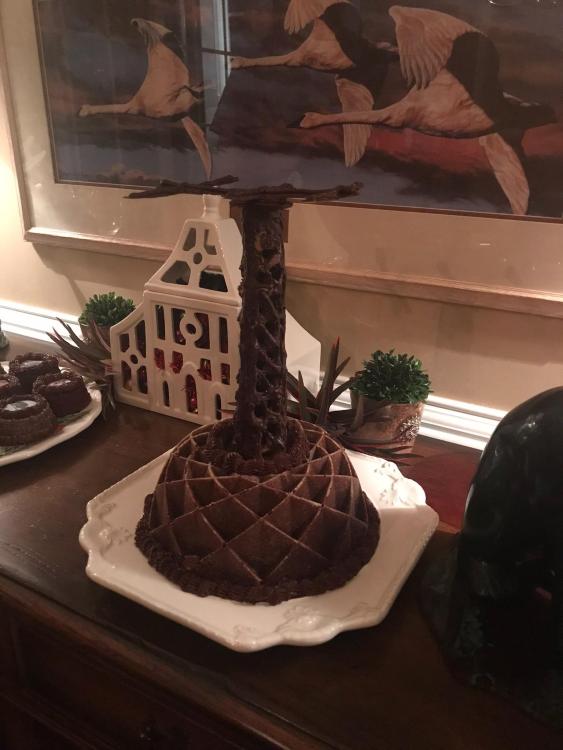
This little device is so cool! My goal was to create a dark chocolate amateur radio tower cake topper for my HAM hubby's birthday. I ended up with some bloom, but at least it was structurally solid and resembled his beloved tower! He's been bugging me to make him his very favorite candy, Nonpareils, so we will eventually melt this back down to repurpose the chocolate. Interesting project that I never would've accomplished without this carving tool. It'll be fun to figure out what else to do with it!

-
He might opt for a chocolate HOUSE. In the midst of my chocolate frenzy, I also made two pretty elaborate cakes (at least for me) and homemade ice cream for my mom's birthday!
-
All you artists are amazing. Thanks for sharing your creations. Very inspirational! What I want to know is, does your kitchen look like mine? (Complete disaster area!! My hubby can't WAIT for this chocolate season to be over!). LOL
-
So much fun!
-
Thank you! The issue with the scraping is that it's not level, but I finally figured out that if I scrape side to side with an Oxo squeegee, I can get it MOSTLY clean. I then go back in with a small silicone spatula to get between the cavities a bit. It's just annoying that it can't be scraped as normal, but when you do, the scraper tool rides the outside rims and doesn't come close to the center. Lots of little packages with an extra foot from this faulty mold. At least my husband ground down the point so I CAN tap out the air bubbles now. First time I couldn't even do that because that tiny point was the only thing to touch the counter without tipping the mold at a severe angle. Funny you should mention 3D printing.. I did make contact with someone a few days ago, but just hadn't fully followed up as of yet. I have a Cricut but that seems like it would be a slow way to do a bunch of cavities, so I'm going to try something else first. If anyone is as stupid as me and decides to do a special project, I tell you what, this stuff is AMAZING. https://www.eat-the-evidence.com/gummy/flexible-chocolate-chocolate-gummy/#recipe. I actually ordered a tiny horse head cutter, and I'm thinking I *might* be able to cut out the shape and put it right down in the mold. We shall see... probably getting myself into trouble again, but this time I'm not showing any of my horse friends until AFTER I've figured out how to do it! LOL I did the packages in 'silver' and definitely didn't like the look. This helped a little, but CR 'silver' sure leaves a lot to be desired.
-
True. This, thankfully, is just a hobby for me. Nice break from running my insurance agency and horse farm
-
It seems that glycerine is my new best friend. 1/2 tsp added to the recipe allowed the 'ribbon' to roll out much thinner, and so far, 🤞it stays pliable so that you really don't even notice it when you plop the whole candy in your mouth. So now I'm wondering... what other ways could this be used? I wonder what would happen if you, for instance, had tiny shapes cut out of it to put down in the cavity and then poured chocolate right on top of it? I may just try some experiments here! Anybody know where I can find a tiny tiny horse head cutter? . It seems like the luster dust wouldn't stick to the mold but I'll be sure to report back LOL
-
Not a chance. Also, the fight isn’t over unfortunately. That batch of ribbon ended up hardening to the point where it really isn’t pleasant to eat. I’m trying again with a different mixture, because I really do love how it looks. The person who insists on these stupid things just told me she’ll need more than her initial order. I may have to say only one of these per box or raise the price if she has to have more! It was fun for a while! LOL. Oh well, at least I provide you pros with some comic relief as I learn the hard way! The other issue is 3 of the 5 molds I have with this pattern are kind of concave, so you can’t get a good clean scrape. It also has a dimple in every mold right in the middle cavity. Hubby loves this one since there are automatic rejects from every batch due to that mold flaw…
-
Aha, but you are assuming that my chocolate comes out perfectly tempered every time! Still learning, and it's a LOT easier to hide little flaws with dashes of color!
-
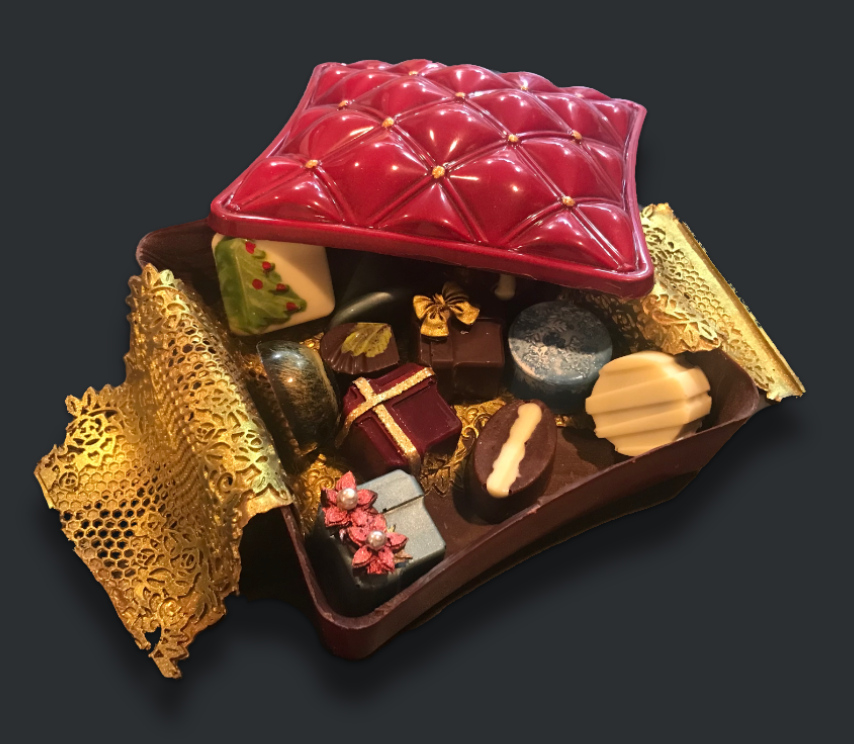
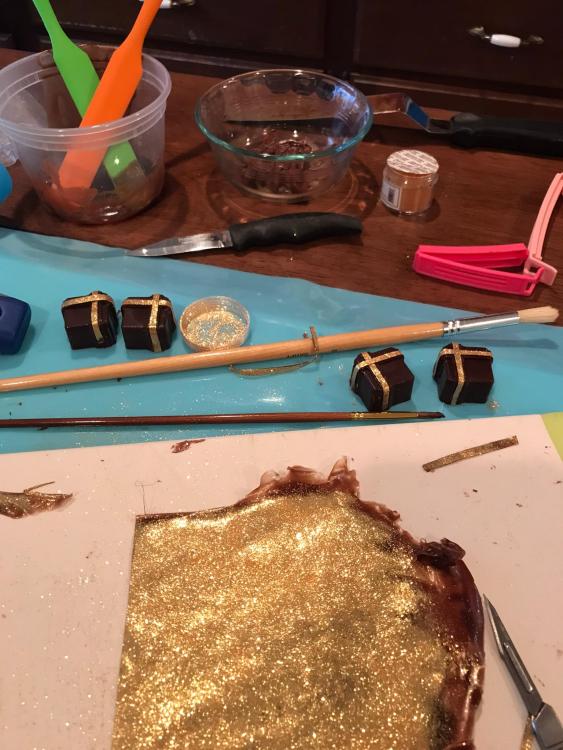
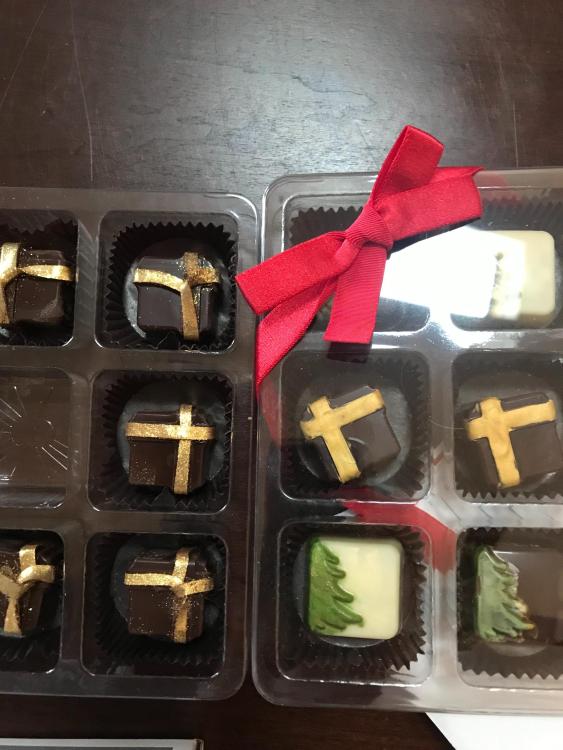
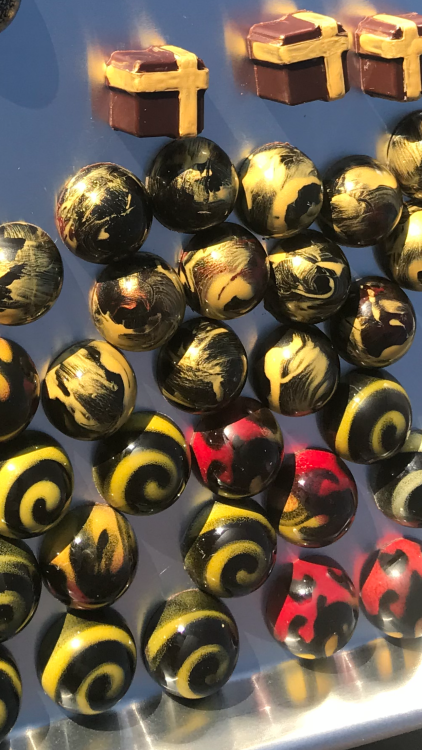
Gosh everyone... I didn't see all the responses, so I apologize for not saying anything. Thank you for chiming in! I FINALLY figured out how to deal with these crazy 'packages' that most of my folks want 😩 Anybody ever play with chocolate gelatin ribbon? It is actually pretty simple. The challenge here is it's just such a small area. I was initially trying to put some twists in the 'ribbon' but that's just not consistent enough without fighting with it and I'm already spending too much time on these crazy things. Cut strips, put chocolate 'glue' dots at the bottom of each side and stretch them. They look better in person as it is always hard to get pics of sparkly things. I like this better than the hand painted ones that show brush strokes (in the gift box on the right in the last pic.. you'll also see some of the ones with twists on the left in that pic. Too much trouble.)

-
 In case there are other folks like me, just getting started with molded chocolates, (or if others want some inexpensive back up tools that actually work) I figured I'd share some feedback on equipment I've tested. I have a Grex TG7 with a .7mm needle as my main brush, but quickly became frustrated with how slow it was to change colors and decided I needed more brushes to work with multiple colors. Clearly I wasn't going to buy very many of these as they are expensive! Happy to report that the Neoeco SJ83 Airbrush ($40 on Amazon) does a really nice job with CB with its .5mm nozzle. (it comes with a .1mm and a .2mm also but I think those are too small for this project. For newbies, the Grex has a couple of fan nozzles for wider areas, whereas these inexpensive brushes just have round, but they are dual action so you do have air for patterns in addition to a nice even distribution of color. Both are simple to heat with the heat gun if the CB becomes less fluid. The only issue is it is recommended to use the included stainless steel (or plastic) cups with the Neoeco, because many reported that their main colored cups chip off at times and you certainly don't want that mixing into your CB. The Vevor spray booth is very powerful and works great for chocolate molds, you'll just never fit a large cake in it.. but it is fully worth $82 to get started! I also took a chance on their compressor - 4.8 Gallon, 900W 2.2 CFM @90PSI 70 dB Ultra Quiet Oil Free. It has a tank, is small and is pretty quiet for under $120. It has more power than you really need, but that's kind of comforting. The larger tank means it doesn't come on very often. Their chocolate warmer is inexpensive also and comes in 1-4 (maybe 6) cavities. I'm having a little bit of difficulty keeping the temperature consistent, but will report back if I figure it out. So far, I just use it to keep CB and airbrushes warm, as I've been working with smaller amounts of chocolate until I figure out what I'm doing. I have the three 1/3 pan version so each compartment would hold a lot of chocolate, and you can certainly stack various containers of colors in there to maintain temperature; it's just not quite as precise as I'd like (probably user error). My bread proofer/fermenter does a nice job of keeping things warm as well and has a nice consistent temperature. My other favorite thing to use is the Oxo squeegee to scrape the molds. Since it is silicone, it really cleans them well without feeling like you are scratching the surface. It is also super easy to remove residual chocolate, and since it is not metal, you don't have to worry about keeping it warm during use. The chocolate doesn't tend to cling to it at room temperature. I just grabbed a few more so that I have a few shots before having to stop and clean any blades, as for me, trying to get the molds emptied and clean is still quite the juggling act. I'm good at making quite the mess! Hopefully this will help someone else! I'd love to hear about other tools that folks find particularly helpful. Since this post is not just about guns/airbrushes, I hope it is appropriate to have started it as a new topic.
 -
Interference powder? Not sure I've run into that as of yet!
-
Thank you! I was thinking if I piped the white, I'd have to do each side until it dried... very time consuming for sure. Maybe after the fact would be the way to go!
-
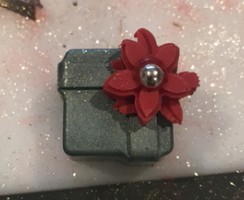
At this point, I know enough to be dangerous about molding chocolate, and wanted to run a few questions by the experts! Here are some of my first attempts. Unfortunately, the mold that most are gravitating to for gift giving is the little package. In this batch, I hand painted the 'ribbon' in the mold, but it wasn't dramatic enough, so I added some color after un-molding. They like it but I don't, I just can't seem to get it smooth with enough coverage. Tried airbrushing it yesterday (.7mm fan, small fan, and even the straight nozzle) but that's not going to be neat enough either. Suggestions? Is it a matter of not having the CB at a workable temperature? Wrong brush? It just seems that it's difficult to get the CB to really adhere to the slick mold with a brush in a way that looks presentable. I have a .5mm nozzle set coming for my Grex so who knows, maybe that will work better? I just had another idea.. would tempering/coloring white chocolate and piping it in be better? It would be tedious but everything about this particular mold is tedious LOL> I also want to paint in horse head silhouettes and suspect I'll run into the same issues. I then started thinking; maybe if I start with a thin layer of clear tempered CB, there would be more texture to paint on? Also, would this suffice to provide the extreme sheen so that it's not necessary to worry about subsequent colors being so carefully tempered? How many thin coats can you do (allowing them to dry in between) before you run into CB pulling away from the chocolate? In a Chef Rubber video, it was recommended to use 65 PSI and 93 degrees to spray, but would that temperature end up ruining an underlying clear temper? I sure would appreciate expert input here!
-
Following
-
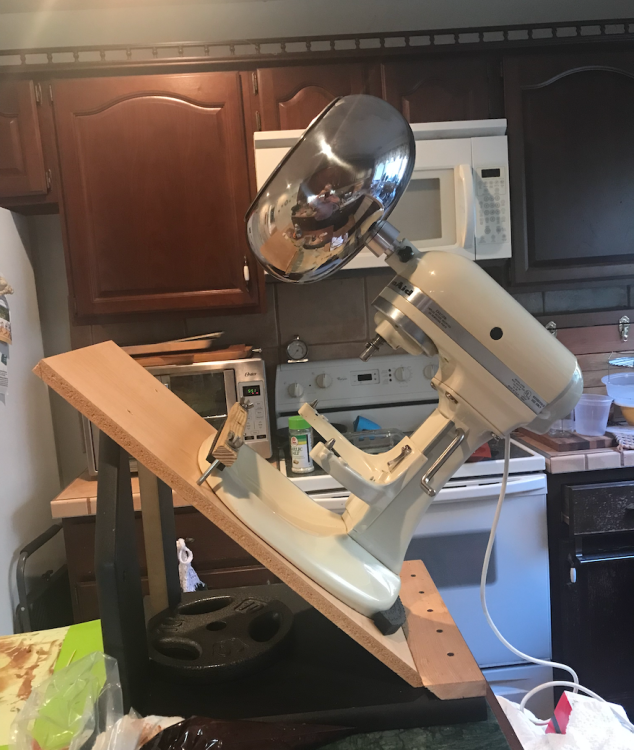
Hacking an older Kitchenaid mixer to use the panning attachment
Becky R replied to a topic in Pastry & Baking
Cool. That one is a lot deeper than the one I have so it wouldn't need the extreme angles, but it is also three times as expensive . We'll see how this works this weekend! -
Before I ruin a bunch of chocolate... is it OK to skip the parchment paper and just dump the molds right onto silicone? Sure seems like this would be easier, yet most folks I've been studying have seemed to put the parchment ON a silicone mat to keep it in place.
-
Hacking an older Kitchenaid mixer to use the panning attachment
Becky R replied to a topic in Pastry & Baking
I REALLY did. He's a sweetheart and impresses me every day! VERY talented man. -
They told me it couldn't be done. They didn't know my husband, the engineer! Brand new to candy making and wanted to try panning. Those machines are SO expensive though, and who knows if I'd really use it! So... this attachment was just over $100. The catch was, it was made for the KitchenAids that tilt. I have an ancient brute of a KA that I suspect is more substantially made than the newer ones if other current appliances are any indication. The salesrep told me there was NO. WAY. it would work because the most it could tilt was 30 degrees without tipping over. Hubby likes such a challenge! All materials were things we had hanging around the farm. If I find I REALLY like this, I can always upgrade to a system that would have more capacity, but this will give me a taste of what I'm getting into. Geeks are THE. BEST. 😂
- 9 replies
-
- 15
-

-

-
Molded and Filled Chocolates: Troubleshooting and Techniques
Becky R replied to a topic in Pastry & Baking
Great, just let me know. I just did a simple filling with white chocolate, cream cheese and freeze dried strawberry powder/pieces. Some of the pieces are large enough that I'll be able to see if they stay kind of crunchy or not. Might give us some clues... HOPEFULLY my shell temper worked... still not very confident, but I did figure out how to Sous Vide my own silk, so that's something right? -
I wonder if you mixed it with something that was freeze dried... it might help absorb any excess moisture that is causing the clumping. I've freeze dried eggnog before... it can then be powdered and would snatch up moisture.... would something like that work? I'm close to you and owe you a favor for all the info you gave me the other day
-
Thanks for the welcome. I'm still getting use to how to navigate this forum!
-
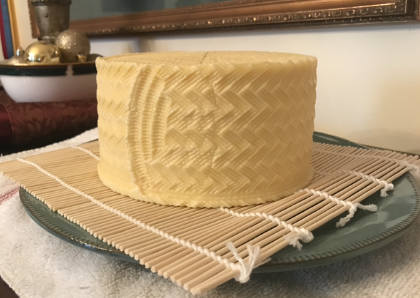
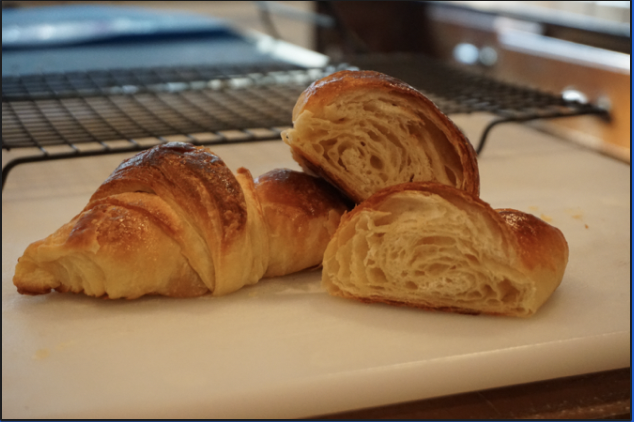
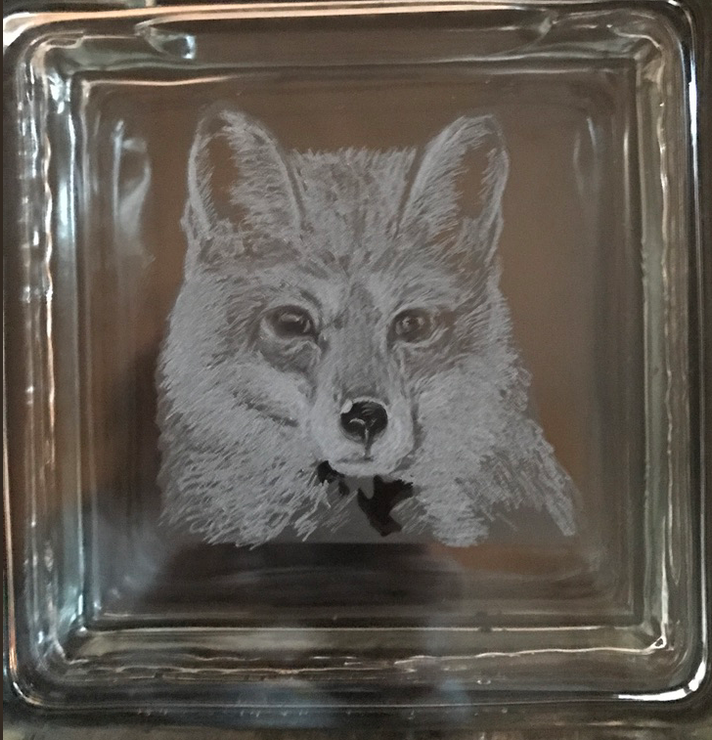
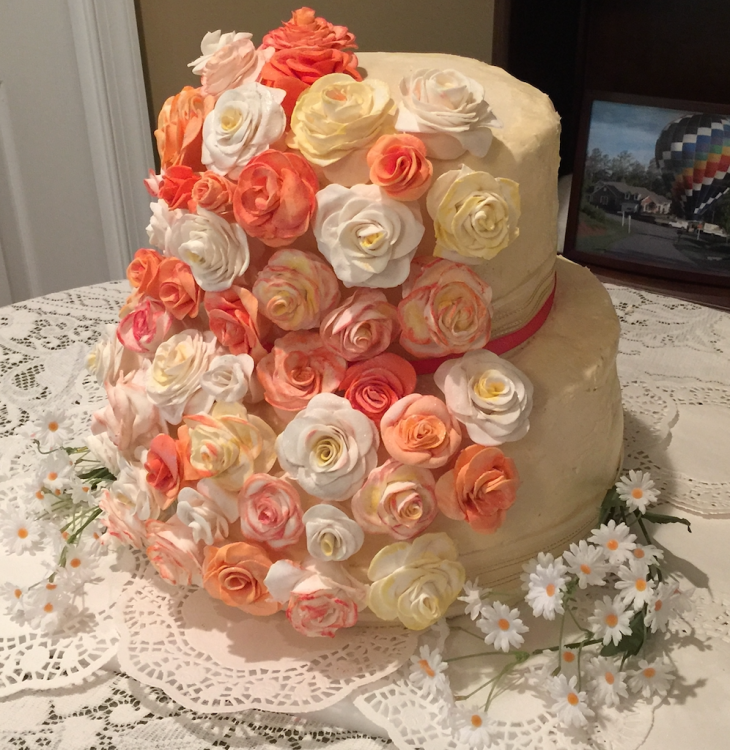
Hi everyone! I'm Becky, and I own an insurance agency in Central Virginia, have shown horses (hunters and jumpers) most of my life, and have a variety of interests and hobbies that allow me to use my creative side. Cheese making, baking, cake decorating, glass etching and painting have all been fun past times for me. Hoping my artistic skills will lend themselves to chocolate making, (which is what brought me to the forum) and really need to learn how to deal with fondant for cakes, so I was thrilled to realize that the forum covered many different topics! The folks here seem so helpful AND TALENTED... I'm really enjoying the time I've spent here so far and finally decided to participate as I have some questions about various things I've been reading. I dabble in a lot of areas, but have a lot to learn. I probably know enough to be dangerous in most categories, but am willing to share anything that is helpful to others!