-
Posts
397 -
Joined
-
Last visited
Content Type
Profiles
Forums
Store
Help Articles
Everything posted by PatrickT
-
We have a local bakery (Troubadour) that makes sourdough English muffins. They are the thickest and tastiest I’ve ever had. Part of their secret seems to be mixing just a hint of fine salt with the cornmeal they use on the tops and bottoms of them during baking. You might want to try that with your beautiful muffins next time - it’s a delicious hack!
-
These look absolutely beautiful! Maybe you should open your own Costa Rican bakery! 😂
-
Very impressive array of delicious breads! If others feel the way you do, perhaps you've discovered your cottage industry. 😃
-
You might find the resources from Tom Cucuzza at The Sourdough Journey helpful. All of his information is based primarily on the classic Tartine recipe (80/20 BF to WW), so not a pure white loaf. He has a particularly good “crumb read” guide, which I’ve also linked below. Website: https://thesourdoughjourney.com YouTube Channel: https://youtube.com/@thesourdoughjourney?si=lpG0PIgnmKcMaOyA Crumb Reading Guide:: https://thesourdoughjourney.com/wp-content/uploads/2021/12/How-to-Read-a-Sourdough-Crumb.pdf
-
Agree with @blue_dolphin - this is what I do with all of my loaves now. After baking, I allow the loaf to cool thoroughly, slice it, bag it, pop it in the freezer, and simply remove what I want to eat on a given day. If destined for use as bread, I seal the slices in a sandwich bag and allow them to come to room temp in the bag before using. If destined for toast, they can go directly into the toaster (sometimes requires more than one cycle).
-
GORGEOUS!! 🙌
-
Looks absolutely amazing!! Definitely going to give this a try. Thanks so much for posting all the deets!
-
LOVE that bread!! 😋
-
@ElsieD Fantastic! Any chance you’d be willing to post your modified recipe in its entirety? Thanks in advance! 🙏
-
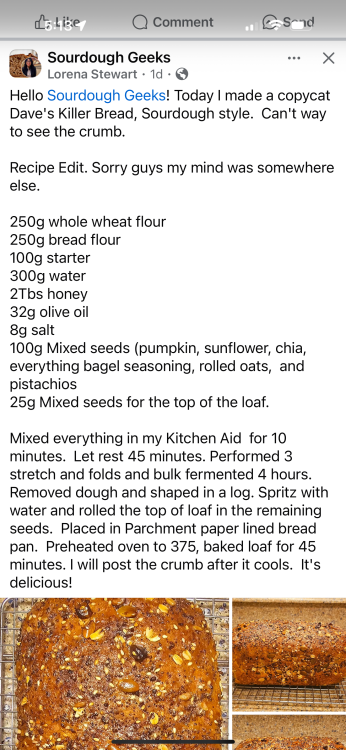
All good! Here’s the direct link to the post: https://www.facebook.com/share/p/14RPniZDJf/?mibextid=wwXIfr
-
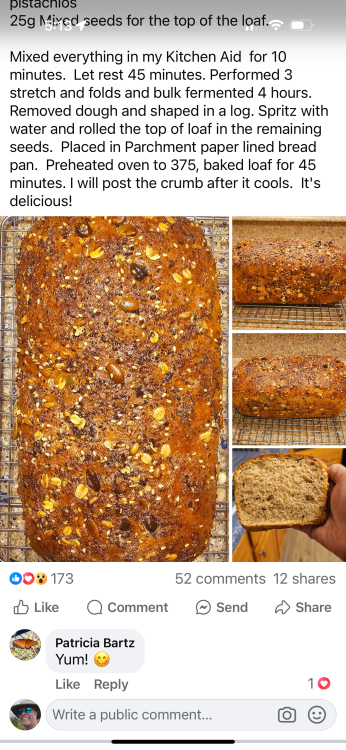
I dare say yours looks a lot better - but check out what was posted in the Sourdough Geeks Facebook Group today. It must be a popular recipe to try to recreate!
-
Are you leaving your scrapings on the counter all the time, then?
-
@Ann_T Your loaves are always spectacular! 😍 I think you'll really love the flavor of that Khorasan flour.
-
@Acelestialobject Sounds like you’re making good progress! Congrats. One more tool for you that will come in very handy: an inexpensive scale for weighing all your ingredients (essential for becoming better at replicating your efforts). This is a much more accurate method than measuring them by volume. There are gobs of these available. This is the one I use most often, which is small and basic but also very cheap. 😃
-
Thanks for providing the recipe link. That looks like a good one. Glad your loaf turned out more to your liking! Couple of additional questions for you: - Are you weighing your ingredients on a scale or are you measuring them? - Did you let dough rise overnight on the counter, as the recipe said? If so, how cool does your house get at night?
-
Your loaf looks amazing, as does your cheese! Being from Wisconsin, of course I had to say that. 😃😂
-
Absolutely! Lots of great info there to reread now and again. Yup - very likely. Here's the thing about covering your loaf during the first 20-30 minutes of baking: it traps the steam produced by the moisture in the dough as it bakes. That steam prevents the crust from hardening too fast, allowing the loaf to expand (you'll see this referred to as "oven spring") and give you a more open crumb. You could accomplish this by inverting another bread tin over the top of your baking one before you pop it into the oven. Remove it for the last 10-15 minutes of your baking time to allow the crust to color to your liking. Great plan! Awesome! Looking forward to that. Good luck!
-
Wow - fantastic! I'll definitely give this one a whirl. Thanks for sharing the great report. Glad you love it!
-
Magnificent!! 😃 And this was the first recipe I shared? How does it measure up to your recollection of Dave’s bread? Definitely have to try this one. Congrats on a tremendous bake!
-
Thanks! That's a great one to start with. There are also a couple of resources linked in that recipe that you should definitely check out. (1) About a quarter of the way down, there's a link to a blog post by Maurizio Leo, titled "How to make no-knead sourdough bread." When you make your next loaf, look carefully at the pictures you see there at various stages in the recipe and see how well they match up with your own dough. He also runs a website called The Perfect Loaf and recently published a sourdough cookbook by the same name. (2) Under the "Tips from our Bakers" section, there's a link to King Arthur's Sourdough Baking Guide. Lots of great additional information for you there, as well. Great observation! For my oven (and remember, yours might be different here), all of my loaves would be over baked if I baked them for an hour at 450F. I typically bake mine for about 40 minutes or so. I also noticed that it looked like you baked your loaf in a bread pan. Did you cover that with another bread pan for the first part of the bake? The thermometer isn't essential, but it's a great tool to have in your kitchen. This is the one I use. Pricey for sure but well worth the investment. In the interim, try that thumping method and see how you get on. We've all been there, trust me. I am most definitely not immune to flops now and again! 😂 Still, bread making is a wonderful hobby. As you pointed out, even things we judge as our "mistakes" taste good. And sharing your results with family, friends and neighbors is a great way to spread the joy of home baking. Keep posting your results - and good luck with your next bake! 😃👍
-
Oh geez - you are not obtuse! LOL I would try it with just your required 1 1/2 cups of water - no deduction needed. Good luck!
-
Thank you so much! It is a sourdough recipe, but you could just as easily convert it to yeast. In place of the starter weight in grams (let's just say that's 50g for a 500g flour weight loaf), just add half that amount of flour (25g - you could just use all bread flour here, for simplicity) and half that amount of water (25g) to the base recipe, then add your customary amount of yeast. I'd love to see your results if you try it!
-
-
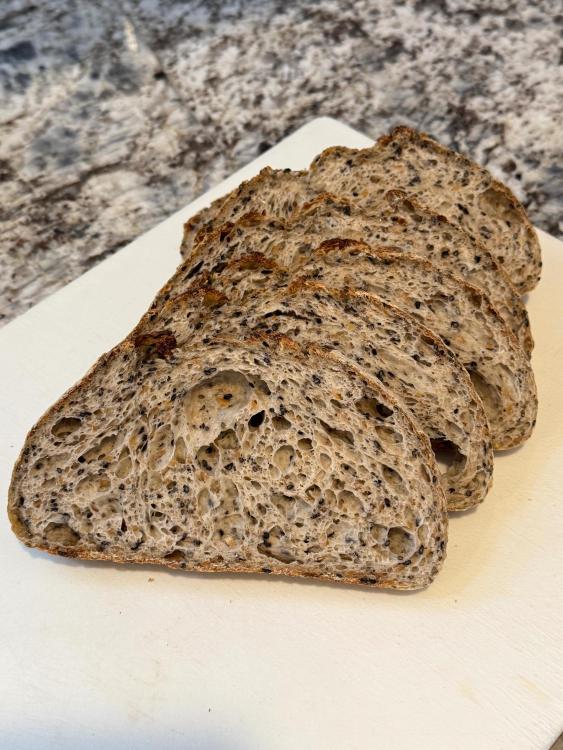
Sorry - my answer was not only poorly worded, I didn't even remember what I did correctly! Here are the specifics: I measured the total weight of my seeds in grams (126 grams, in my case). I measured out an equal amount of water (126 grams) and soaked the seeds in that overnight. They absorbed all of that water. I mixed the soaked seeds into my bread dough without making any other adjustments to the recipe. Turned out great! My apologies for the confusion! See? Just like I said to @Acelestialobject - definitely not an expert! 😂


