

Ashen
-
Posts
654 -
Joined
-
Last visited
Content Type
Profiles
Forums
Store
Help Articles
Posts posted by Ashen
-
-
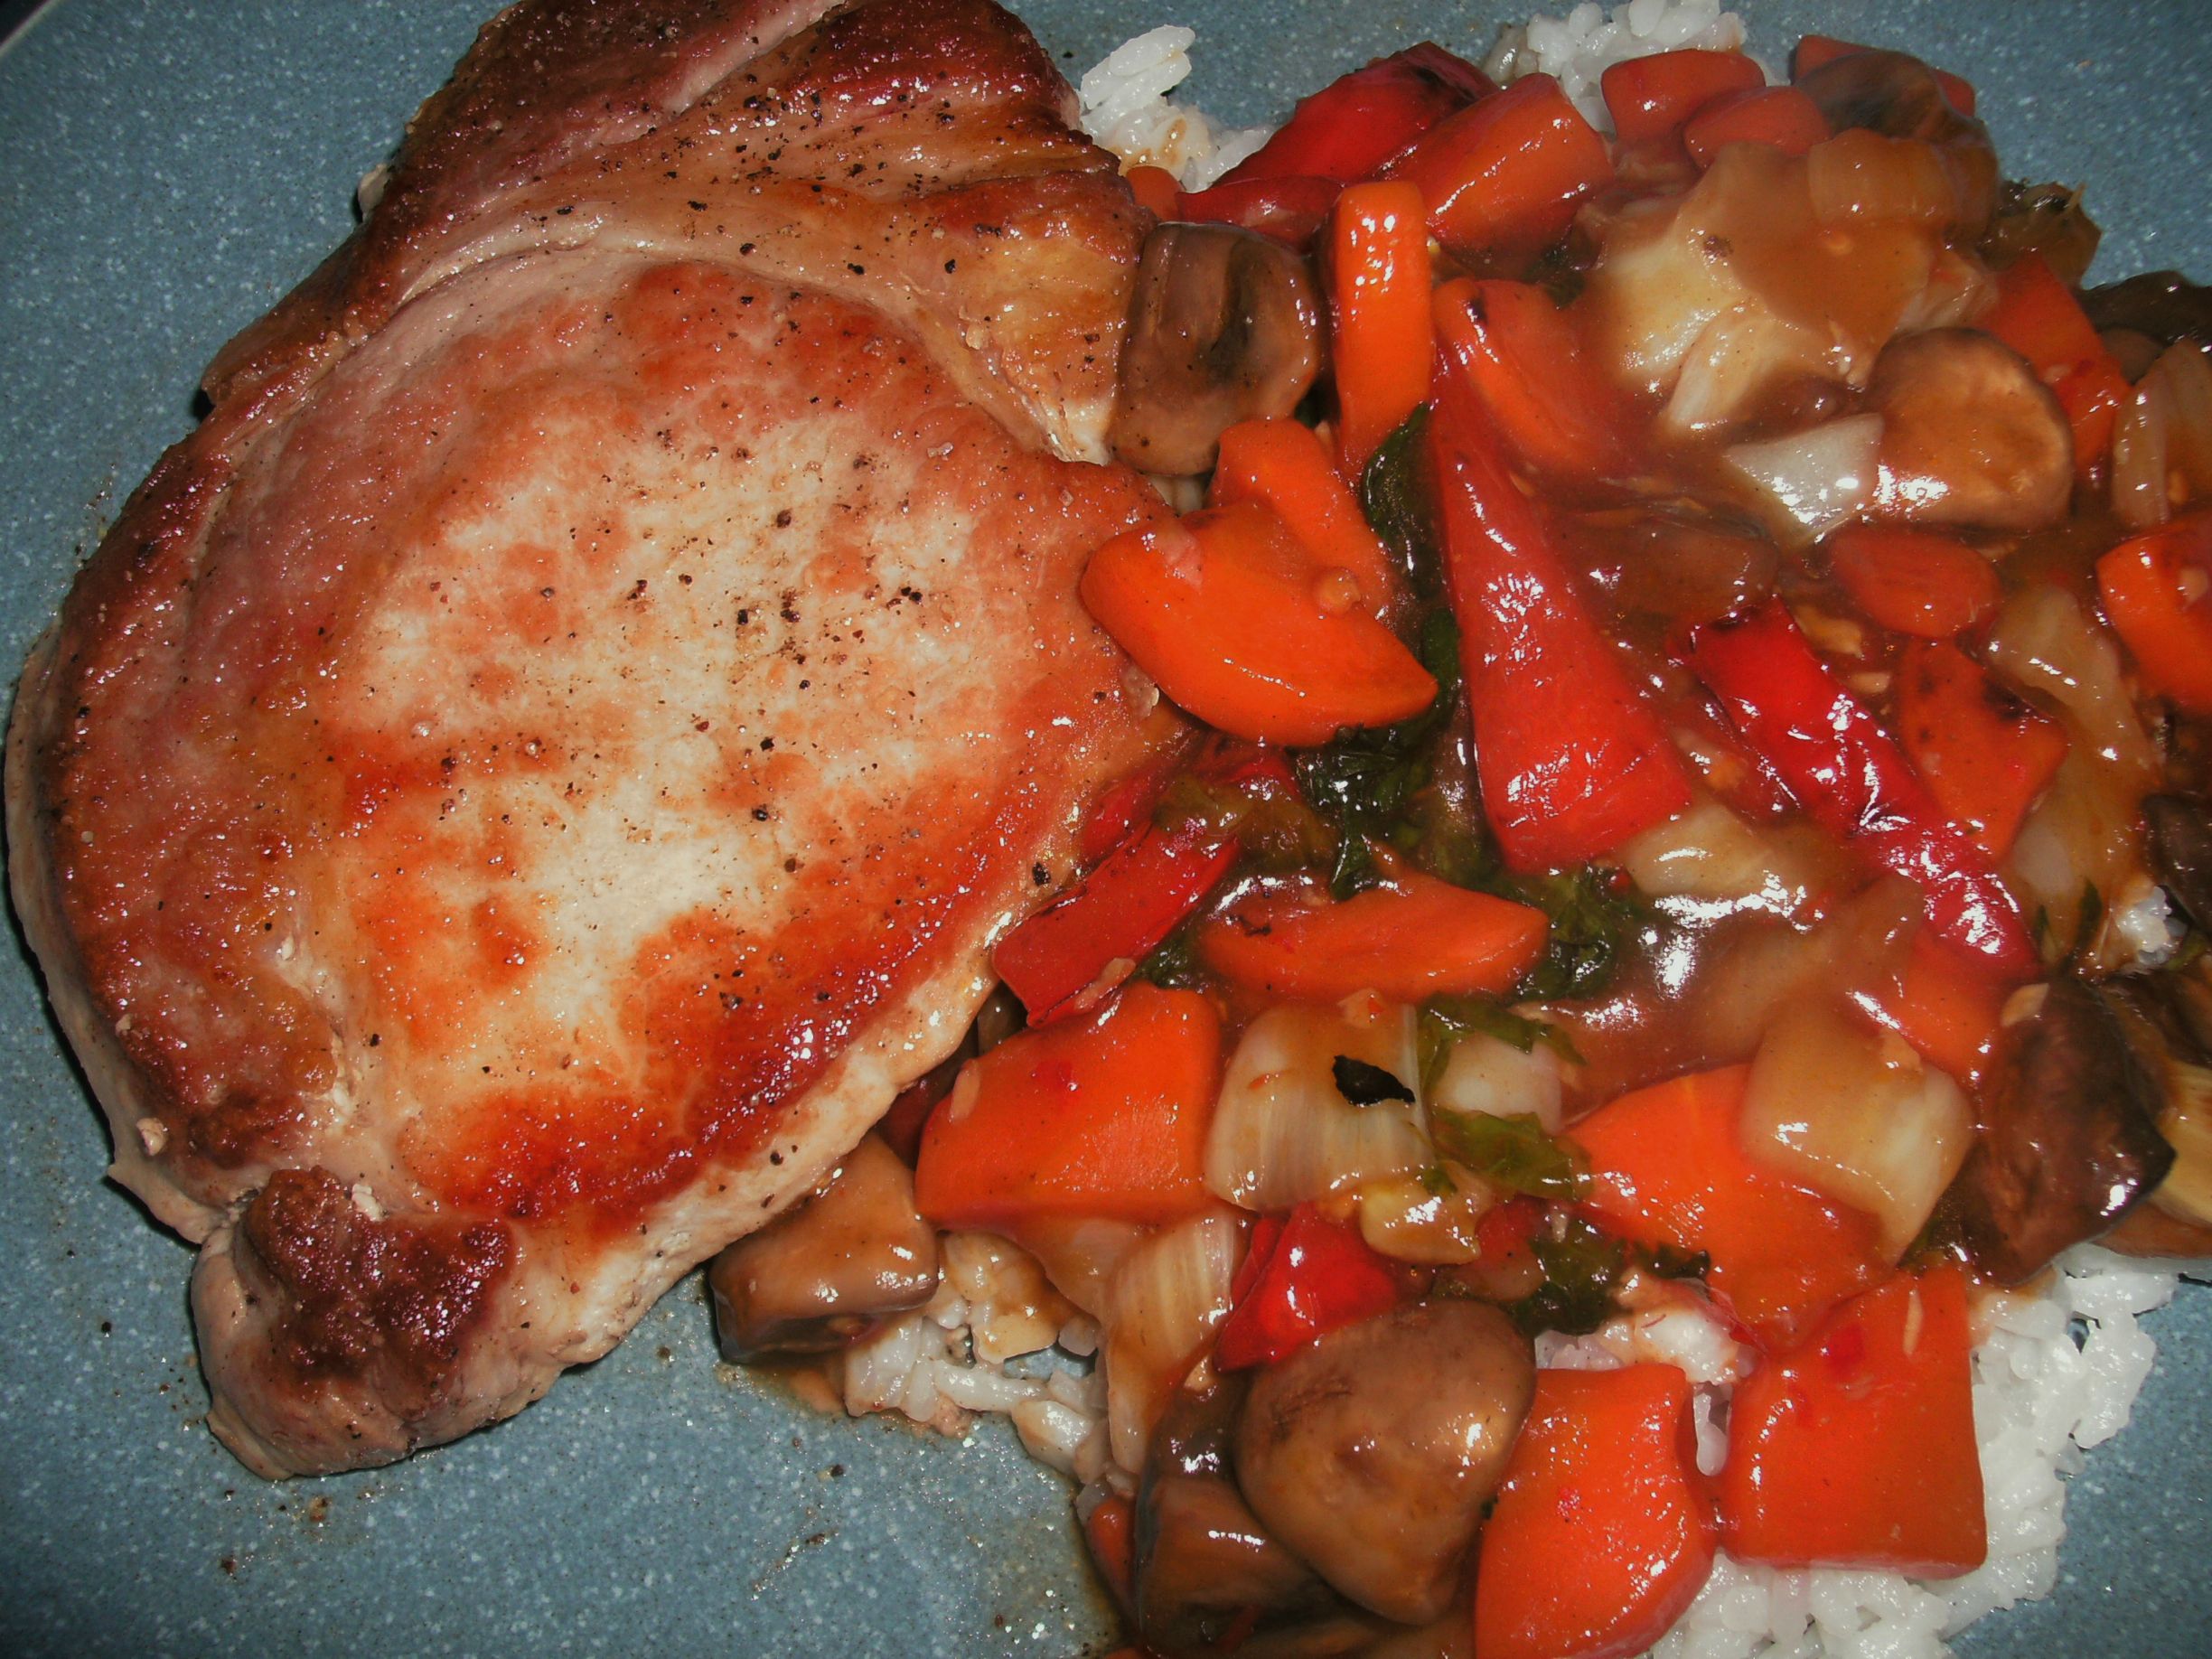
pork chop with veg stir fry over rice.
-
 6
6
-
-
I know this won't help you now but just a suggestion for anyone else you might find themselves in this situation. A cooler with a bag of ice is a lifesaver. or a bit outside the box if you have a deep freezer with the room, place the items in the cooler with a few bottles of water and then the whole thing in the freezer. The water will freeze first so if you notice it is starting to freeze pull out the cooler and then put back when it starts to warm up again.
-
2
-
-
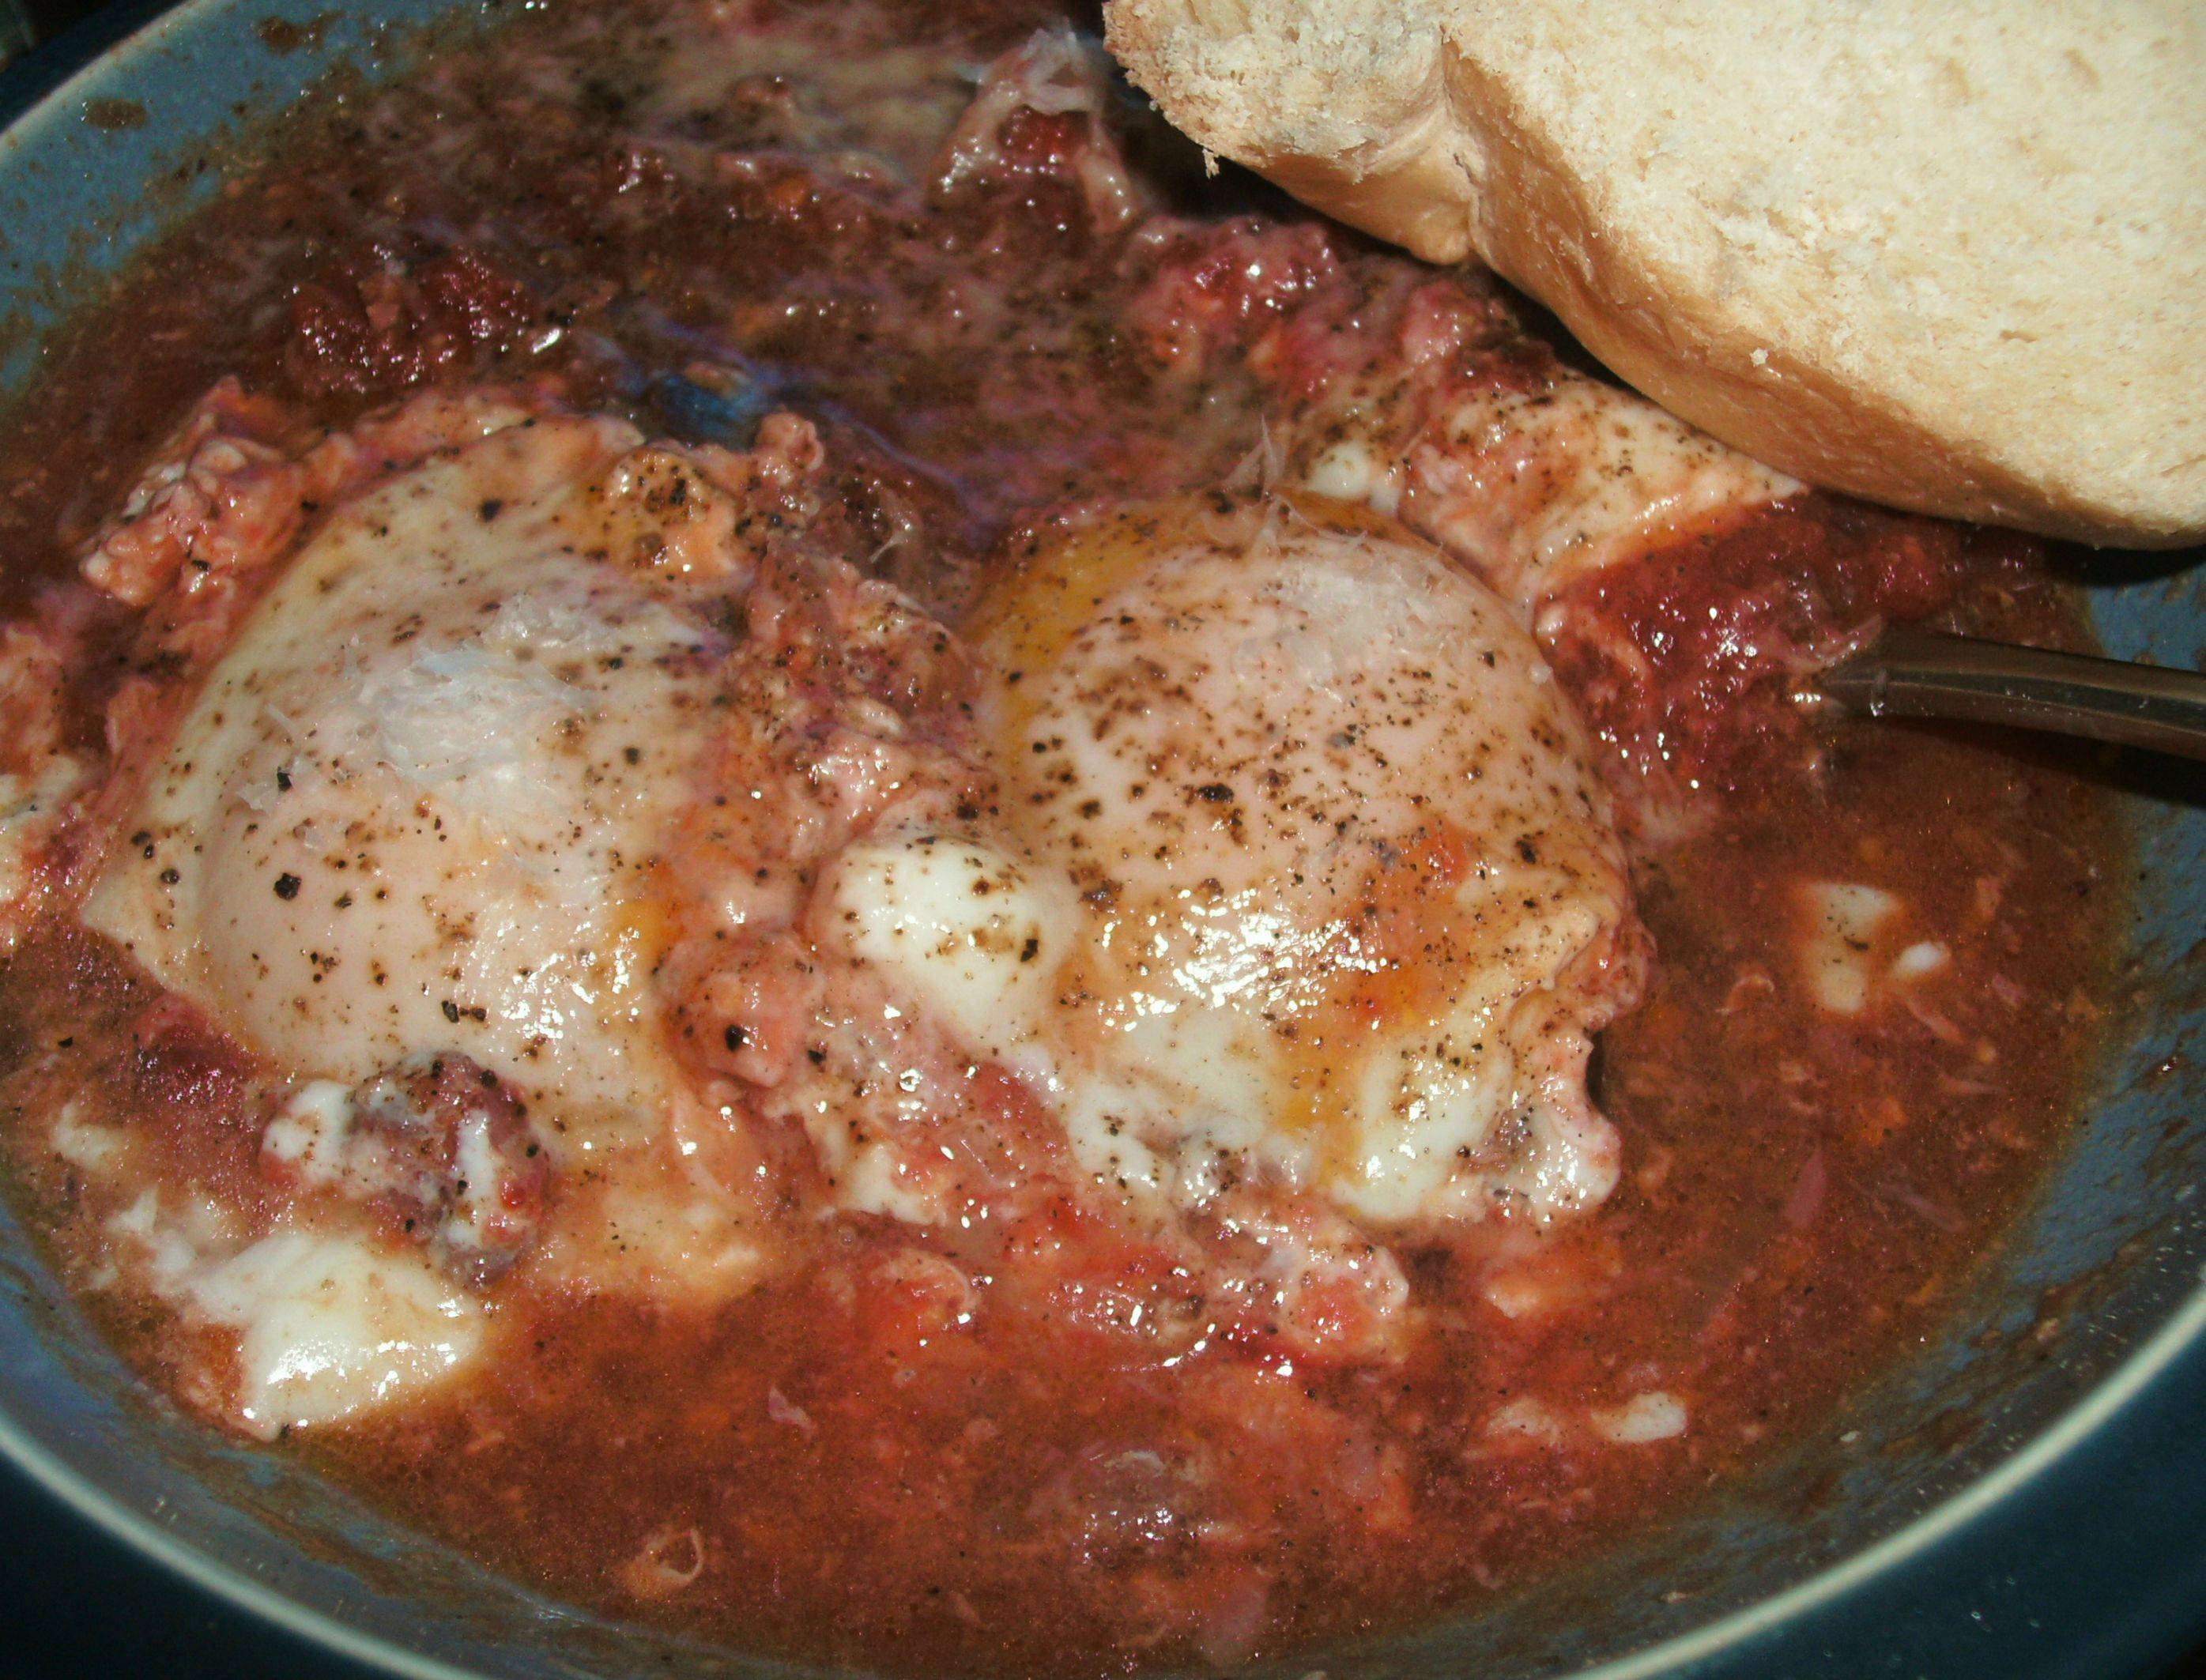
weinoo- that is the third name/variation for that dish I have seen this week.. well similar anyway shakshuka and eggs in purgatory ; also have a spicy element . I made this last weekend, not as photogenic as yours though.
-
5
-
-
Jamaican patties are awesome, I like the extra spicy ones the best. Red dot
-
I have read the article in question..If I remember correctly the main point of the article was about flavour in dishes where you are roasting ,searing, etc not boiling or braising. Example being bone in roasts or steaks and chops. I understand the theory but still prefer bone in for steaks and roasts , even if it doesn't add flavour. There is just something atavistic about meat on the bone that makes it satisfying to me.
They went on to talk about boiling or braising and that good results depended on breaking or sawing the bones open to expose the marrow , and making sure to have a good amount of connective tissues still attached. ( sinews, cartilage , tendons etc) Whole bones just don't give much flavour , as it takes a long time to dissolve through the bone.
Add to that the problem of denaturing the proteins too quickly and clogging many of the pores in the bone if you actually boil or hard simmer them them instead of slowly simmering. It was a revelation after I actually learned to simmered a chicken carcass properly , the bones would be so weak at the end they crumble easily. I had always done it at a much more aggressive simmer in the past and the bones would only give up a small amount of collagen and never got to that weak crumbly point. .
-
1
-
-
just realised I didn't give a temp for cooking the polenta in the pot, starting from cold , turn it up to med high until it starts to bubble, then down to just below med and lots of stirring
-
1
-
-
Ashen – I had to Google spezzatino. That looks delicious! Can I get some details on the polenta? How thick was it? And grilled how? Pan grilled, oven, grill?? It just looks so toasty and wonderful!
-
1
-
-
I am not overly worried about the semantics of the words. Most people I know call anything cooked on live fire source or indirect with smoke, BBQ and I understand what they mean. I tend to use them as separate terms though , as it is useful to have words that describe low and slow or fast and hot cooking methods with people that understand the distinction. I am more upset by recipes that call something bbq simply because it has bbq sauce on it. I am sorry but dumping bbq sauce on something cooked in a crockpot or oven does not make it bbq.
-
1
-
-
Beef spezzatino, grilled polenta and salad
-
6
-
-
fantastic " pulled pork " has been made for eons.
what SV brings to the Pig is consistency and fool-proof-ery, assuming you get 'good' pork.
you SV to your liking, then smoke the resulted cooked pork at about the same temp in your smoker/weber-smoker
and that way you take a great deal of the variability of results off the table.
Unfortunately , it takes the best part of bbq'd pulled pork off the table as well.. The bark. Admittedly that is my personal taste. Without decent bark , it is easier to braise a butt for few hours in flavoursome liquid and chuck some good natural liquid smoke in with it, than to slow poach it in a bag for as long as it would take on a smoker . Don't get me wrong , pig is one of the places I think SV really shines but like the old saying about someone with a hammer goes, not every cut of meat or end result is a nail imo.
-
1
-
-
Thanks for the tips everyone! Yes I did dry brine it with salt and sugar the night before.
I'm going to try it again, but this time with a smaller boneless Boston Butt so I don't have too much leftovers.
I assume it would take less time because it's smaller.
Should I take it off the oven right when it hits 200F? Or should I take it off at 190F because after it rests the carryover heat will bring it to 200F?
I will use the fork test and twist it to test for doneness as well.
My own experience with low and slow bbq is that it takes repetition to really nail this down to a perfect cook, there is no exact temp that guarantees the perfect shoulder to pull. At ~190 f I start testing the feel of the meat by pushing on it with my fingers; somewhere between 190 and 205 there will be a point where it just has the right soft and almost jelly feel to it. To the best of my knowledge this variation is down to slight differences in fat content and its distribution, and the inherent differences in tenderness between different animals.
edit... I just remembered, I had to take one up to 210 once to get to that point. that was a bit of a nerve wracking day as I thought something had gone wrong and I was ruining it by going to such a high temp.
-
1
-
-
did you cook it to the bo ssam recipe or just follow the heat/time recommendations. The recipe calls for a dry brine that could help with your juiciness problem .
is your oven temp true, a secondary oven thermo is a good idea.
shape of the roast can have all kinds of effects on how it cooks. a 5 lb long thinner cylinder shaped roast cooks much faster than a 5 lb ball shaped roast.
low and slow is the traditional way to get a good result with pulled pork but there are ways of going hotter faster that work as well. Myron Mixon is the most winning pro BBQ guy ever and he regularly wins, power cooking his butts and briskets, in as little as 1/3 of the time as his competitors. if I remember correctly the method relies on injecting before cooking , cooking uncovered in high humidity /high heat to a certain temp, also when he imparts smoke, then wrapped in foil and finished at a higher heat.
-
1
-
-
Only one side has the coils and they're packed tightly enough that I wouldn't attempt to drill between them. Just drill from the side that doesn't have coils.
The typical arrangement for a chest freezer is the evaporation coils are attached to the inside skin of the liner, and the condensation coils are attached to the outside skin of the cabinet , with the insulation in between. here is a link to a picture that gives a breakdown . Different companies don't all arrange the location of their coils in the same manner or even use the same pattern . spiral or zig zag patterns mostly. Most are installed , spaced and attached by hand , so you won't get precise location data . When I was younger , I literally attached hundreds of thousands of evap coils to the inside liners of chest freezers, and condenser coils to the outside cabinets of frost free upright fridges and freezers.
-
It is hard to know exactly where they will be. the Evaporation coils are in direct contact with the inside skin of the cabinet. usually in a descending spiral or possibly a zig zag pattern. The units purpose built with rails have the holes punched beforehand and the evap coils are installed not to cover them. A food safe adhesive is probably the best way to go.
-
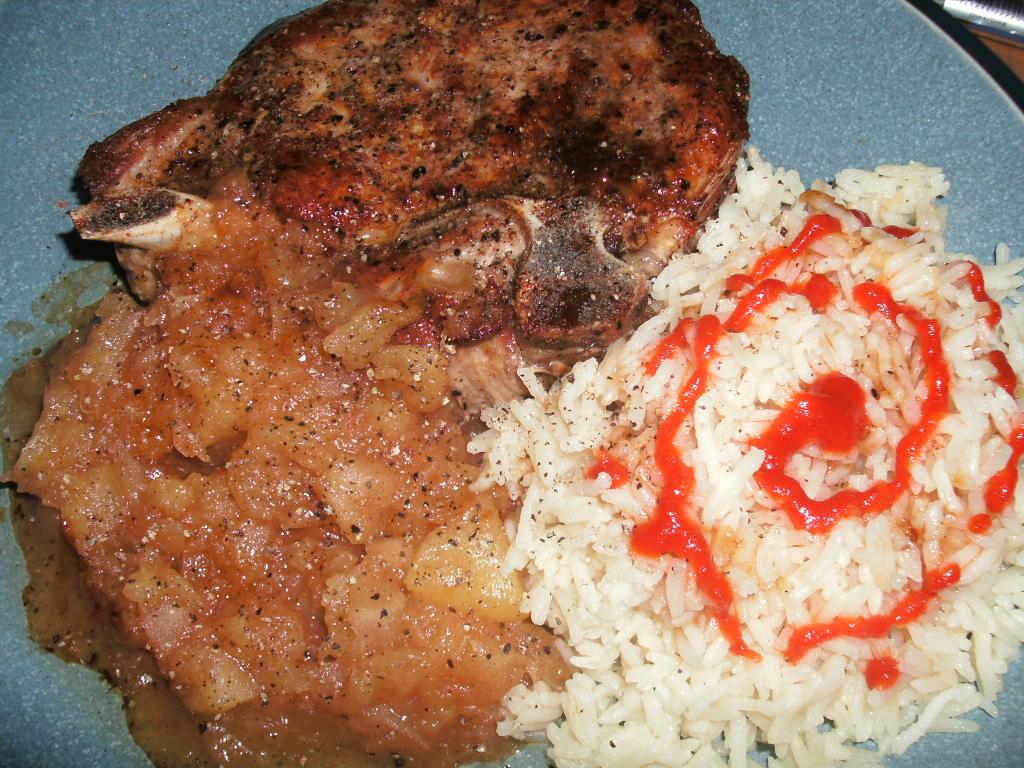
pork chop and applesauce with some rice. huy fong sriracha on the rice
-
7
-
-
Cast iron here too, much higher emissivity than stainless.
Take the time to preheat properly . easiest way to preheat evenly is in a 350 oven for about 20 mins . You are preheating the oven anyway to finish the chops.
-
I am wondering how you are going to affix the rails to the side walls?
-
The idea is to run it at a higher temp as a refrigerator, the moisture that is extracted when it is run as a freezer is what builds the frost on the walls of the unit. At fridge temps , it would collect on the bottom as water instead.
A more diy approach using desiccants , would be to build a tube from pvc and pvc end caps. inlet / outlets on each end , halfway fill the tube with desiccant , use a low power fan to draw air through the tube . A cpu fan might work well enough. the power cord is thin enough that you shouldn't need to put any holes in the freezer, the gasket should have enough flex to form around it closed.
-
All frost-free freezers and refrigerators are already a dehumidifier. Heat from the compressor is ejected outside of the box.
The only consideration is this:
For de-humidification to work, the cooling coil needs time to extract moisture. The problem is that the new freezers are too efficient. The compressor does not get to be running too often. So you may need to add a heat source inside the box, such as a low wattage light bulb.
dcarch
I miss understood your intent. I thought you were advocating placing a separate dehumidifier unit inside the chest freezer, instead of using desiccants. Typically chest freezers aren't frost free though , so I am still not sure how you mean to dehumidify the air.
If I was considering this , I would look to buy a unit that has two layers of baskets , similar to the following link I hated building Rail units , but it would be ideal for this conversion.
http://www.biggreenacres.com/uploads/2/9/7/7/2977443/4036833_orig.jpg
-
I think the heat generated by a de-hum compressor would be an issue.
-
Efficiency of a refrigerator or freezer is a function of mainly three factors:
1. Insulation quality.
2. Condensing coil effectiveness.
3. How often you defrost the evaporation coil.
dcarch
4. compressor motor efficiency
-
My WAG-(wild ass guess) it is a wagner looking at the handle.
-
1
-
-
Organic Black Ceylon.. with lemon and honey
-
There is always the bagged oven cleaner method with a vinegar soak afterward , if you are worried about the self clean option. I have passed up quite a few nice pans recently because my wife might throw them at me if I started bringing home more.
 lol
lol
What's the Best Way to Clean This Baking Sheet?
in Kitchen Consumer
Posted
Dry ice blasting would be the best way, not very feasible for most people, but still the best.